eSIM for Thailand and Cambodia: Regional or Local?
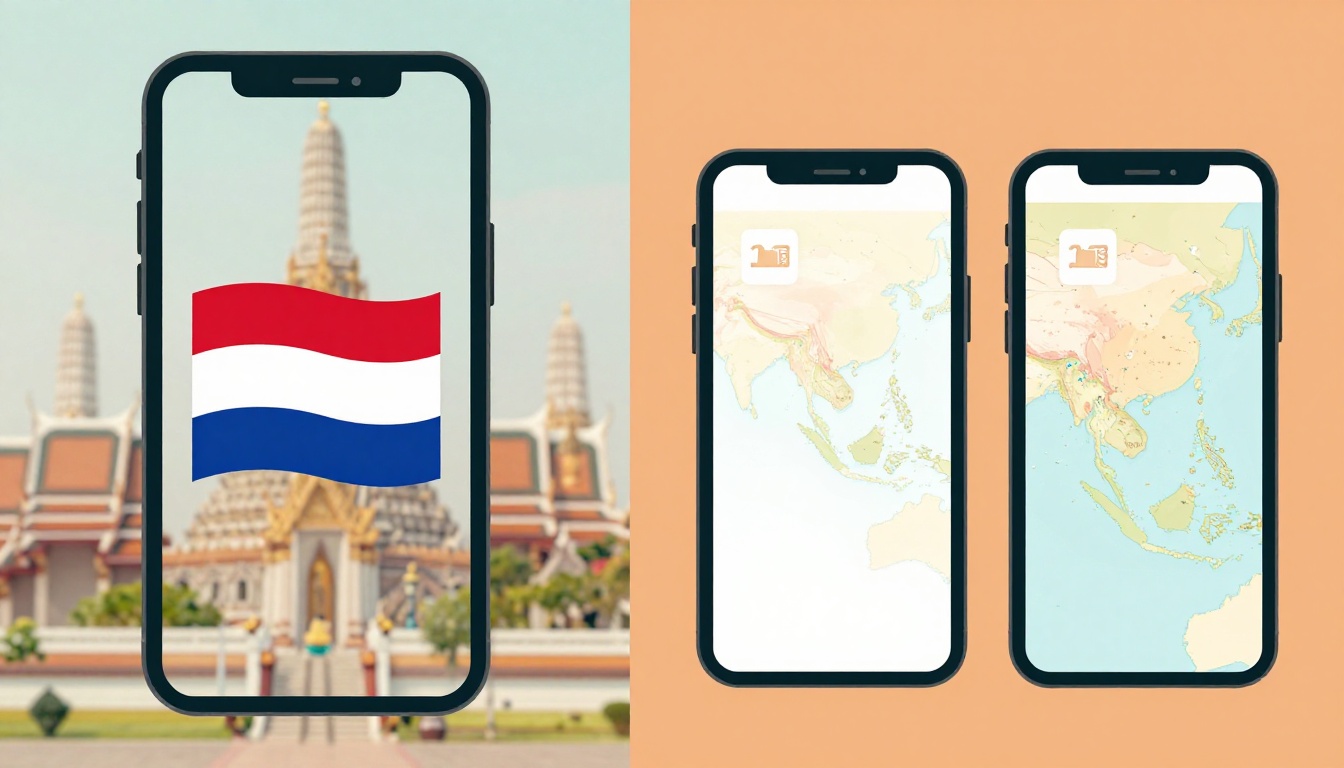
Choosing an eSIM for Thailand and Cambodia comes down to one main question: do you value border-crossing convenience or the lowest price per gigabyte? A regional plan is usually the better pick for short stays and frequent movement, while two local plans can cost less per GB when you spend a week or more in each country.
Before you buy, check your days in Thailand and Cambodia, expected data use, phone compatibility, and whether you need your home number active for banking SMS. A regional eSIM avoids manual profile switching at the border, while local plans may offer stronger value for longer stays, so let’s compare both options and see which fits your trip. For a closer look at coverage considerations, start with these Thailand and Cambodia travel eSIM options.
Thailand & Cambodia eSIM: Regional or Two Local Plans?
Choose a regional plan for short trips, side visits, and one simple setup. Choose two local profiles when you spend at least seven days in each country and use a lot of data.
| Factor | One regional eSIM | Two local eSIMs |
|---|---|---|
| Best itinerary fit | Short, multi-stop trips | Seven or more days per country |
| Border switching | Usually automatic | Manual profile change |
| Price per gigabyte | Often higher | Usually lower for heavy use |
| Setup steps | Scan one QR code | Install two separate profiles |
| Coverage | One plan covers both countries | Each profile covers one country |
| Plan renewal | Renew one regional plan | Renew each country plan separately |
When a Regional eSIM Makes Travel Easier
A regional eSIM keeps your data active when you fly between Bangkok and Phnom Penh. It can also help during an overland crossing, when you need maps, translation, and transport apps.
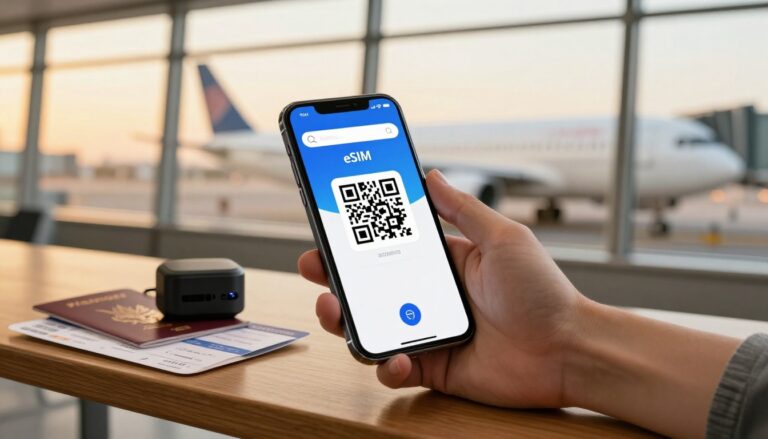
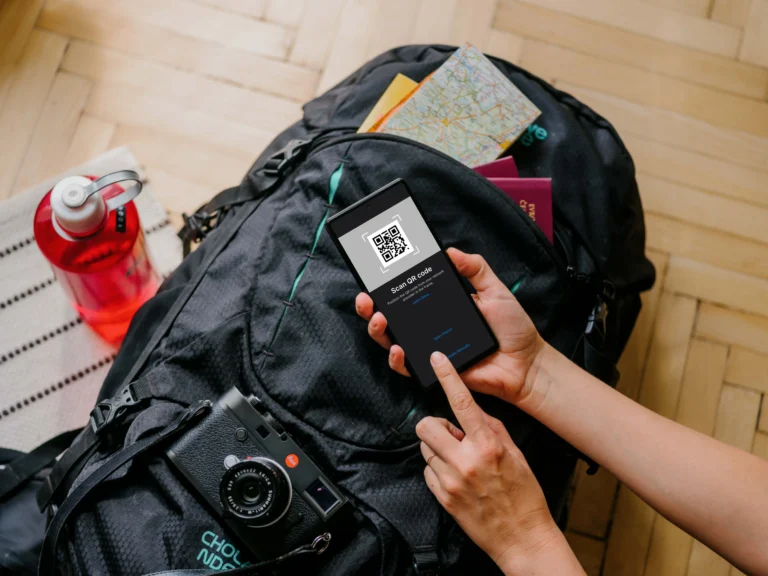
You install one multi-country profile and scan one QR code before departure. That means fewer account logins, fewer setup emails, and less chance of selecting the wrong data line.
Regional plans also simplify troubleshooting. If your connection stops, you only need to check one profile, one activation status, and one set of network settings. For extra guidance, follow this travel eSIM setup guide.
A regional plan is often worth the extra cost when staying connected matters more than the lowest possible data rate.
The tradeoff is price. Regional plans may cost more per gigabyte, especially when you stream video, upload photos, or use your phone heavily. Always confirm that the plan includes both Thailand and Cambodia before buying. Some regional packages cover only selected countries or limit data access in one destination.
When Two Local eSIM Plans Cost Less
Two local plans can offer better value for long stays or high data use. Country-specific packages often provide more data at a lower unit price, which matters during a two-week stay or longer.
You will need to install two profiles and scan two QR codes. After crossing the border, select the correct data line in your phone settings. You may also need to switch off the previous profile to avoid confusion.
This setup works well when you spend seven days or more in each country. It makes less sense for a quick two-day side trip to Siem Reap, because the second plan adds setup work and may have a minimum validity period.
Before purchasing, check these details:
- Confirm when each plan starts counting validity.
- Check whether hotspot use is allowed.
- Review the data limit and fair-use policy.
- Confirm activation rules for each country.
- Save the steps for switching between eSIM profiles before you cross the border.
Local plans can save money, but they require more attention. If you prefer one clean setup, a regional eSIM for Thailand and Cambodia remains the easier choice.
Choosing an eSIM for Thailand and Cambodia by Trip Length and Budget
Your itinerary should decide whether you buy one regional eSIM or two local plans. Start with your dates, estimate your data use, then add the cost and effort of managing another profile.
Count Your Exact Days in Each Country
Write down your arrival and departure dates for Thailand and Cambodia. Count the nights and full travel days separately, because a plan often starts when you activate it, not when you first land.
A five-day Thailand trip with a three-day Cambodia side trip usually favors one regional eSIM. A second local plan may add another QR code, another activation rule, and another minimum charge for only two days in Siem Reap or Phnom Penh. For short side trips under four days, the simpler regional option often makes more sense.
A two-week stay in Thailand followed by two weeks in Cambodia changes the calculation. Two local profiles can offer lower data costs in both countries, especially when you use mobile data heavily.
Install a local profile too early, and its validity may start before your trip begins.
Check the activation policy before scanning any QR code. If the plan starts immediately, wait until you are ready to use it. You can usually install the profile before departure, but avoid turning it on prematurely.
Compare the Real Price per Gigabyte
Ignore the advertised starting price until you know how much data it includes. Divide the total package price by the included gigabytes:
Total price ÷ included data = price per GB
For example, a $20 plan with 10GB costs $2 per GB. A $30 plan with 20GB costs $1.50 per GB. Use this simple comparison when reviewing eSIM cost per GB options.
A regional eSIM may have a higher unit price, yet still win on total convenience. You buy one plan, manage one profile, and avoid paying for a second package that you barely use.
Separate local plans can save more when you stream, upload photos, join video calls, or work online. Use a travel data calculator to estimate your total usage before comparing packages.
Prioritize Connection During Border Crossings
A regional plan makes sense when you need data during a bus, train, car, or plane journey between countries. Maps, translation apps, ride-hailing, hotel messages, and digital tickets become harder to access when your connection disappears at the border.
With one regional profile, you don’t need to change your data line while immigration staff check your passport. That convenience can feel like a small luxury, especially after a long overland journey.
Still, no eSIM guarantees service everywhere. Each plan depends on its partner networks and local coverage. Check the supported networks before buying, particularly if your route includes rural roads or remote temple areas.
How Much Data Do You Need for Thailand and Cambodia?
Your itinerary and phone habits should decide the data allowance for an eSIM for Thailand and Cambodia. Maps and messaging use little data, while video uploads and calls can burn through a plan quickly.
A Practical Allowance for a Seven-Day Trip
Most travelers can manage a seven-day Thailand and Cambodia trip with 5GB to 8GB. That covers Google Maps, Grab rides, translation apps, hotel messages, email, and occasional social media.
Download your main areas before leaving Wi-Fi. Google explains how to download Google Maps offline, which saves both battery and mobile data.
A simple split depends on your nights in each country. For four nights in Thailand and three nights in Cambodia, allocate roughly 3GB to Thailand and 2GB to Cambodia. Add extra capacity if Cambodia includes several long travel days or frequent ride-hailing.
Travelers who upload daily videos, stream music constantly, or use a phone hotspot should choose more data. One video call can also use far more data than a full day of maps and messages.
Data Planning for 14-Day and 30-Day Journeys
A 14-day vacation usually needs 10GB to 15GB. Light users may stay near 10GB, while regular social media users should consider 15GB.
Remote workers need more room for video meetings, cloud files, and hotspot use. For a 30-day journey, plan on 20GB to 50GB, depending on your work schedule and streaming habits.
| Traveler type | 14-day trip | 30-day trip |
|---|---|---|
| Light user | 10GB | 20GB |
| Regular social media user | 12GB to 15GB | 30GB to 40GB |
| Remote worker | 15GB or more | 40GB to 50GB |
Renewable plans can suit longer stays, but check the renewal process first. Some providers require account action, while others issue a new QR code. Track your usage during the first few days, then adjust before your data runs low.
Set Up Your Cross-Border eSIM Before Leaving Home
A few minutes at home can prevent a frustrating search for Wi-Fi in Bangkok or Siem Reap. Check your phone, install your profiles, and test the important settings before departure.
Check Your Phone and Install Each Profile
First, confirm that your phone supports eSIMs and shows “No SIM restrictions.” An unlocked phone can use travel plans from other networks, while a locked phone may reject the profile completely.
Install every profile on reliable home Wi-Fi before you leave. Scan each QR code from your provider, then label the lines clearly as Thailand, Cambodia, and Home.
Use names you can recognize quickly at a border crossing. A vague label like “Travel” creates unnecessary guesswork when you need data immediately.
Check when each plan starts counting its validity. Some plans activate during installation, while others begin when they connect to a supported network.
Keep the original QR email and activation details in your private inbox or a secure folder. Never post QR codes or activation details publicly, because someone else may use them.
For extra help, follow this QR code eSIM setup guide before your flight.
Keep Your Home Number Ready for Banking Texts
Dual SIM phones let you keep your home line active for incoming banking texts and two-factor authentication. Set the travel eSIM as your mobile data line, then leave the home SIM available for SMS.
Turn data roaming off for your home line. This stops the phone from using your regular carrier’s expensive international data. Apple explains how to turn off data roaming in its cellular settings.
Your travel eSIM may need data roaming turned on, depending on its network setup. Check the provider’s instructions instead of applying one roaming setting to every line.
SMS access depends on your home carrier, account settings, and network coverage. Send yourself a test code before departure, then confirm that your banking app still works.
Test Data, Calls, and Profile Switching
If your plan allows early activation, test the travel line before your flight. Select it as the mobile data line, turn off automatic data switching, and open a webpage.
Call your home number from another phone. Check that banking texts arrive while the travel eSIM handles data. Apple also explains how dual SIM data selection works.
When you reach Cambodia, switch the data line from Thailand to Cambodia. Turn off the old profile if needed, but keep your Home line active for important texts. This small pre-trip test makes an eSIM for Thailand and Cambodia much easier to manage.
The Best Choice for Different Thailand and Cambodia Itineraries
Your travel style should decide between a regional eSIM and two local plans. A short Bangkok and Siem Reap trip needs simplicity, while a longer beach, temple, or work itinerary can justify separate profiles.
Choose a Regional Plan for Short Multi-Stop Trips
Choose a regional plan when you spend one to five days in each country, especially during a quick border crossing. One setup keeps maps, translation apps, hotel messages, and ride-hailing available without manual profile changes.
A three-day Bangkok stay followed by two days in Siem Reap is a classic regional-plan trip. You pay a little more per gigabyte, but you avoid buying and switching a second profile for a short visit.
The same choice suits a family vacation with Bangkok, a Cambodian temple stop, and several travel days between destinations. Parents usually value one working connection more than a slightly lower data rate.
Choose enough total data for both countries, not just your longest stay. A 10GB regional plan may fit a week-long trip, while heavy photo sharing or video calls may require more.
Choose Two Local Plans for Long, Data-Heavy Stays
Separate local profiles make more sense when you spend seven or more days in each country. A beach-and-temple itinerary, such as Phuket followed by Angkor Wat and Phnom Penh, can lower your total price per gigabyte.
A business trip also favors local plans when you stay in Bangkok for two weeks, then work from Cambodia. Frequent video calls, hotspot use, cloud files, and media uploads can quickly outweigh the extra setup.
Remote workers should compare more than the advertised data allowance. Check each plan’s:
- Validity period and activation date.
- Supported networks in your destinations.
- Hotspot and tethering rules.
- Top-up process and available payment methods.
Local plans require a manual switch after crossing the border. That small task is worth handling when the lower unit cost saves real money.
Use a Simple Final Decision Checklist
Before choosing an eSIM for Thailand and Cambodia, check:
- How many days will you spend in each country?
- How many gigabytes will you need?
- How many border crossings will you make?
- Does your phone support dual SIM use?
- Do you need your home number for banking SMS?
- Are you comfortable switching profiles manually?
For a practical starting point, compare this travel eSIM for Thailand option with your expected data use. Choose a regional plan for convenience and short stays. Choose local plans for longer stays and lower data costs.
Conclusion
The best eSIM for Thailand and Cambodia depends on how quickly you move and how much data you use. A regional eSIM usually fits short, fast-moving trips because one profile keeps your setup simple across both countries. Two local plans can deliver better value when you stay longer and use high volumes of data.
Before departure, check that your phone is unlocked and install each profile on home Wi-Fi. Keep your home SIM active for banking SMS, but turn off data roaming on that line. Estimate your total data needs before comparing plans, then confirm coverage, validity, activation rules, and hotspot support for both destinations.
Your itinerary should make the decision clear. Choose convenience for a short border-crossing trip, or accept extra profile management when longer stays make local pricing worthwhile. When you’re ready, compare your options and choose a travel eSIM for Thailand that matches your route, data habits, and budget.