Thailand Data Plan Prices: Compare Cost Per GB and Validity
You’ve barely left the airport in Bangkok when flashy signs promise unlimited data at premium prices. Tourist plans often cost more because they bundle convenience, short validity periods, voice credits, and airport retail costs.
A dtac eSIM or other digital plan can offer better value, but the headline price doesn’t tell the whole story. Compare the cost per gigabyte, speed limits, validity rules, network access, and setup method before you buy. For broader context, review these Thailand eSIM data prices and then see how each plan’s terms affect your real cost. Next, we’ll break down what tourist pricing includes and where the extra charges come from.
Picking a Thailand Data Plan: Compare Tourist Prices by Real Value
| Comparison point | Airport tourist kiosk passes | Direct digital profiles |
|---|---|---|
| Price per GB | About $3 to $5 per GB | About $0.80 to $1.50 per GB |
| Speed rules | May throttle after a daily limit | Usually lists a fixed high-speed allowance |
| Setup time | 15 to 45 minutes, including queues | Install before departure in a few minutes |
| Network access | Depends on the package and host network | Usually states the supported Thai network |
| Validity | Often starts at purchase or activation | Often starts after first local connection |
| Calling credits | Local minutes or credits may be included | Data-only plans are more common |
The total price can hide the plan’s real value. A cheaper package only helps when it provides enough high-speed data for your trip. Check the allowance, speed rules, and validity before comparing the headline price.
What the Airport Price Includes Besides Data
Airport sellers pay for terminal space, staff, inventory, payment systems, and immediate customer support. They build those operating costs into the package price, so you may pay more for the same underlying mobile connection.
That markup doesn’t make airport plans automatically bad. Buying at the terminal suits travelers who need help, have a locked phone, or couldn’t prepare before departure. It also provides a physical SIM and face-to-face support.
However, compare the premium with the convenience you receive. If an airport plan costs $30 for 6GB, its data costs $5 per gigabyte. A direct digital profile with 15GB for $15 costs $1 per gigabyte. Both may connect through a national Thai network, but the airport option charges more for speed, setup, and assistance.
Official tourist SIM registration rules may also require passport verification before activation. Review the NBTC Tourist SIM registration requirements to understand the identity verification process for foreign visitors in Thailand.
How to Compare a Plan Beyond the Headline Price
Divide the plan price by its usable high-speed allowance. Then check whether the plan slows after a daily fair-use limit, includes tethering, or renews automatically.
For example, a $12 plan with 10GB of high-speed data costs $1.20 per GB. A $20 unlimited plan may slow after 500MB each day, leaving you with poor performance for video, uploads, and hotspot use.
The fixed 10GB plan may offer better value, even with a lower total allowance. Before buying a travel eSIM for Thailand, confirm that its data works for tethering and that the validity period begins when you connect locally. You can also review this travel eSIM setup guide before departure.
How Thailand Tourist SIM Pricing Works Behind the Advertised Deal
Thailand tourist SIM prices usually reflect four separate costs: retail convenience, speed limits, bundled services, and validity timing. Read the terms before paying, especially the fair-use policy, activation date, and included services.
The Convenience Markup at Arrival Kiosks
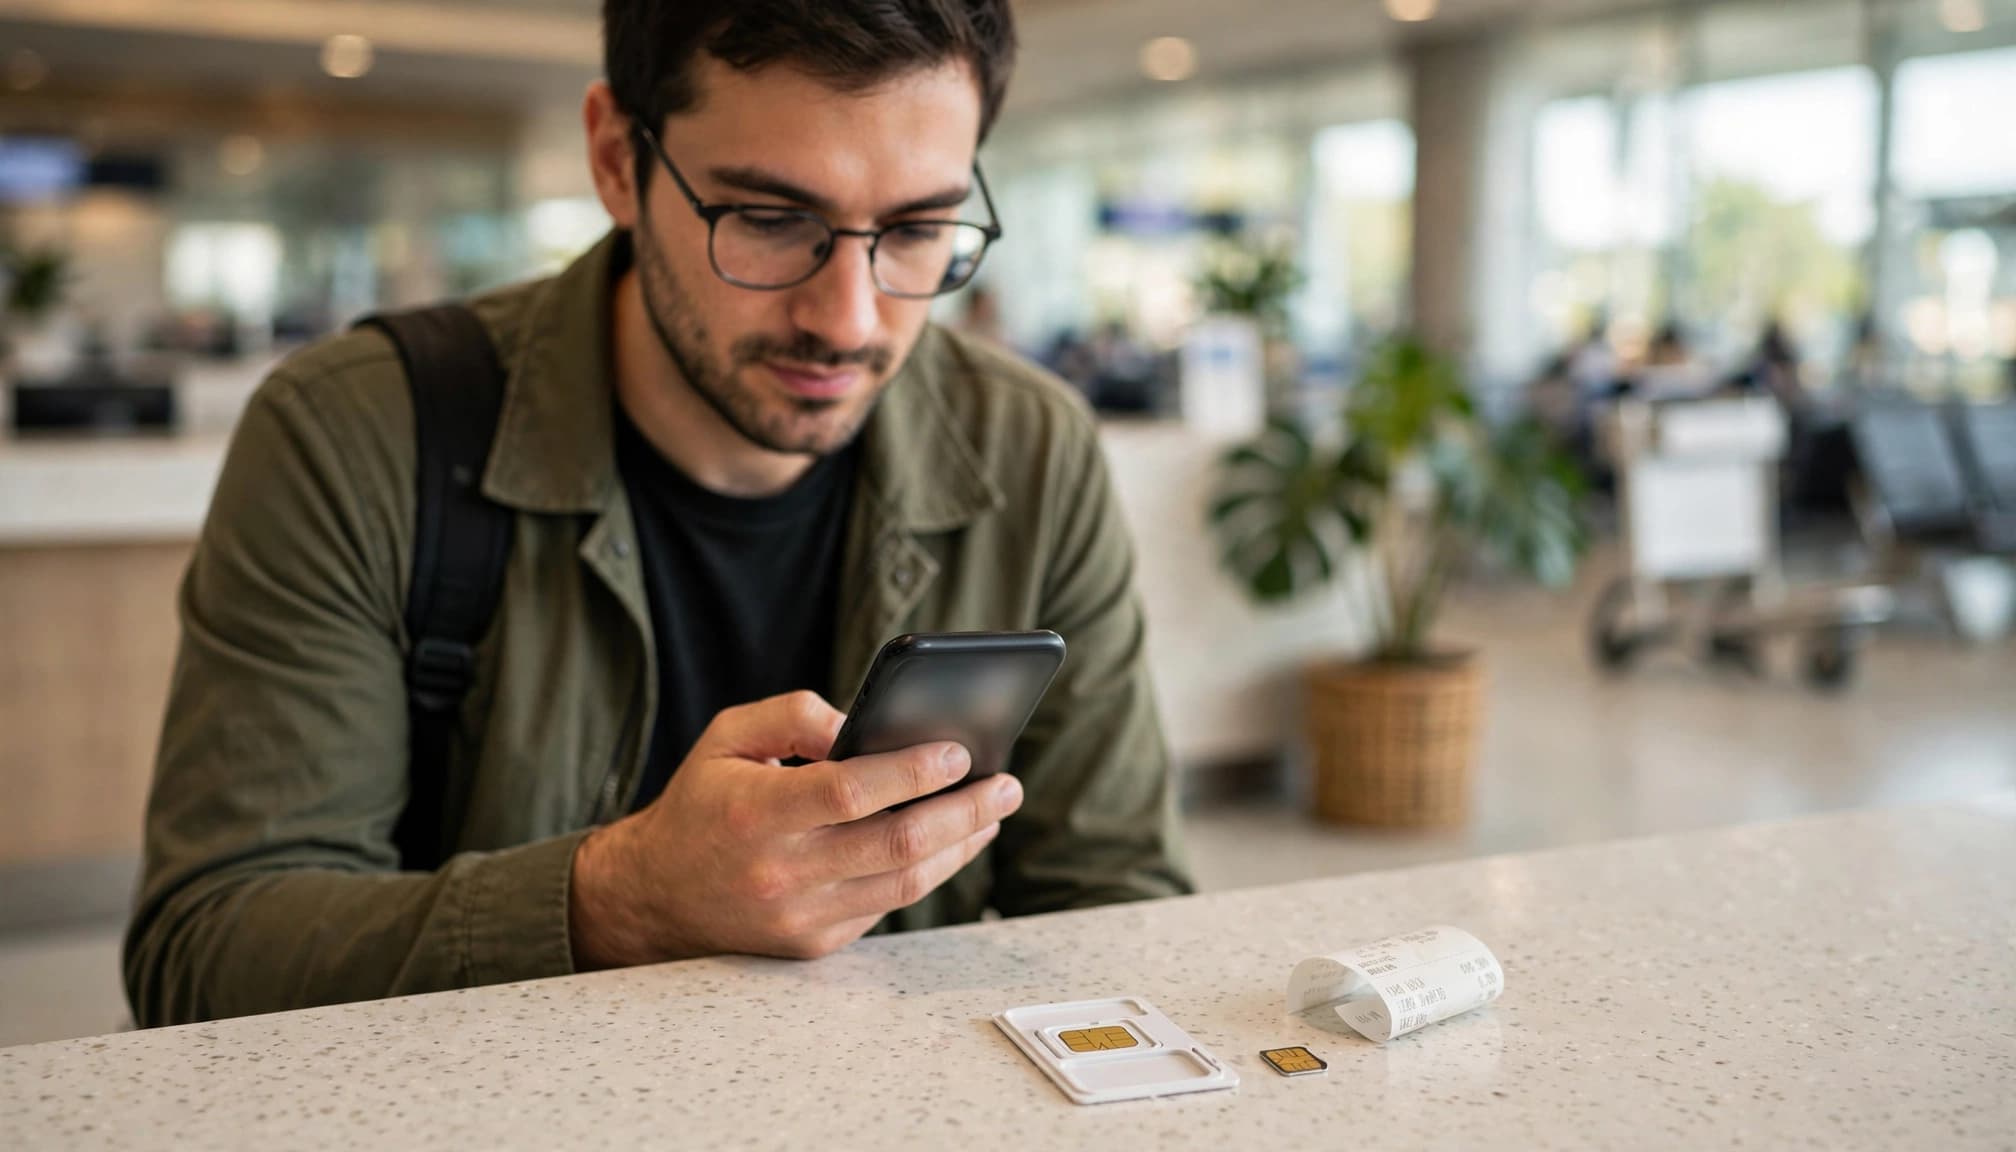
Airport kiosks sell speed and human assistance, not a different kind of mobile signal. Staff can install a physical SIM, check basic phone settings, and help activate the service. Those services add labor and retail costs to the final price.
Airport rent, inventory, payment systems, and staff support also affect the package price. As a result, two plans using the same host network can have very different prices. The cheaper option may simply require you to handle installation yourself.
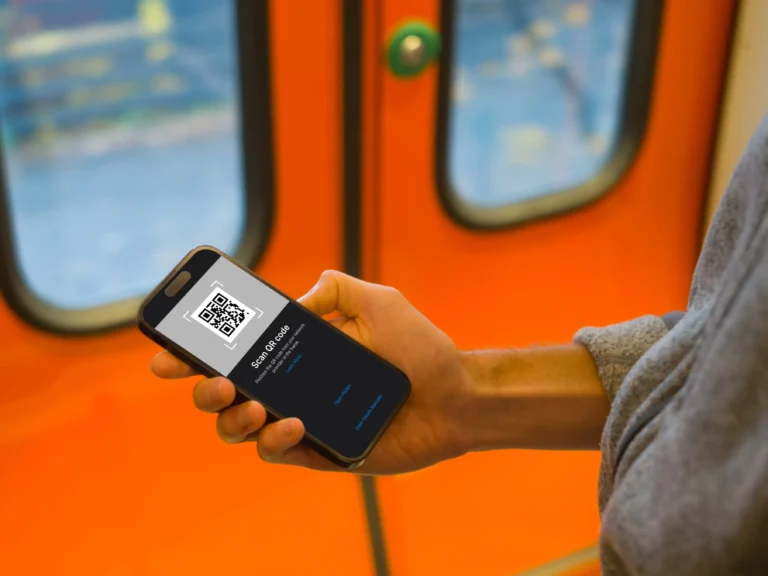
A digital profile bought before departure often costs less because you avoid the airport retail markup. Choose this route if you can check your phone’s compatibility, scan a QR code, and adjust mobile data settings without assistance. You can review this QR code eSIM setup guide before leaving home.
Use a trusted seller and confirm the plan names its host network clearly. A dtac eSIM can offer good value, but the listing should explain its network access, data allowance, validity, and activation rules.
Why Unlimited Data Often Slows Down
“Unlimited” describes the billing structure, not always the connection speed. Many tourist plans apply a fair-use policy that reduces speeds after a daily or total high-speed allowance.
The exact threshold varies by provider and package. One plan might slow after a daily allowance, while another might apply its limit across the entire validity period. Never assume that every unlimited Thailand SIM follows the same rule.
After throttling begins, maps and ride-hailing may still work, but they can load more slowly. Video streaming, photo uploads, video calls, and hotspot connections usually suffer more.
Before buying, look for four details:
- The amount of high-speed data included.
- The reduced speed after the allowance ends.
- The time when the allowance resets.
- Whether the plan permits tethering or hotspot use.
A fixed 10GB or 15GB package may suit you better when reliable performance matters. Compare the usable high-speed allowance instead of choosing the most attractive word on the package.
Bundled Calls, Social Apps, and Other Extras
Tourist plans may include local call minutes, a Thai phone number, or access to selected chat apps. These extras help travelers who need to call hotels, restaurants, tour operators, or local drivers.
However, many visitors communicate through WhatsApp, FaceTime, Messenger, or other internet calling services. Those apps use mobile data, so local voice credits may add little value during a short holiday.
Pay for voice credits when your itinerary requires regular local calls. Otherwise, a data-only plan can keep your Thailand data plan prices lower. App perks also come with limits, such as selected services, specific validity periods, or restricted features.
Free chat access does not always replace full mobile data. You may still need regular data for maps, browser searches, ride-hailing, banking apps, and photo backups. Check the included services on the provider’s official tourist SIM details before treating an app bundle as a major saving.
When the Validity Countdown Starts
Validity can begin at different points, and the distinction affects your real cost. QR code installation, eSIM activation, and the first connection to a Thai network are separate events.
Some plans start counting when you install the profile, while others begin only after the eSIM connects to a local network. Always check the provider’s activation policy before purchasing.
Install the profile on reliable home Wi-Fi when early setup is allowed, then keep the travel line turned off until you arrive in Thailand. This reduces airport setup time without wasting valuable validity days.
If you’re comparing Thai travel plans, review the dtac Thailand eSIM activation and validity details before paying. A cheaper plan loses value if the validity period starts earlier than expected or expires before your return flight..
Choose the Right Thailand Data Allowance for Your Trip
The right Thailand data plan depends on your travel days and phone habits. A dtac eSIM with a large allowance may waste money if you mainly use maps and messages.
Start with your recent cellular usage, then add a small buffer. Your past month provides a better estimate than a generic tourist package.
Estimate Data Use by Travel Activity
Maps, translation tools, messaging, and ride-hailing usually consume modest amounts of data. Social media browsing uses more, especially when apps automatically load videos.
Video streaming, video calls, hotspot use, and cloud photo uploads can consume several gigabytes quickly. Remote workers should review this Thailand eSIM hotspot guide before choosing a smaller plan.

Use these ranges as planning estimates, not fixed rules:
- A one-to-seven-day trip usually needs 5GB to 8GB for regular navigation, translation, messaging, and ride-hailing.
- An eight-to-fifteen-day vacation often needs 10GB to 20GB with social media, photo sharing, and internet calls.
- A sixteen-to-thirty-day stay may need 30GB to 50GB, especially with hotspot use or frequent video uploads.
Hotel Wi-Fi can reduce cellular use, but don’t depend on public networks for banking or sensitive accounts. The FTC’s public Wi-Fi guidance explains why open networks can expose personal information.
Download offline maps before leaving your hotel. Also restrict automatic photo backups until you reach trusted Wi-Fi. These two changes can protect your allowance without preventing normal travel use.
Pick Validity Based on Your Actual Dates
Count every day you need service, starting with your first local connection. Include island trips, side excursions, and the final day you need airport directions.
A short plan can waste money when your trip runs longer. You might need a second package, even though the original plan still had unused data.
Fixed-duration plans work well for clearly defined holidays. Renewable plans and top-up options offer more flexibility for long stays or changing itineraries. Check whether top-ups extend service or only add data.
Before buying, confirm the expiration time and local time zone. Some plans expire at a set hour, rather than exactly after the advertised number of hours. Also check whether unused data rolls over, since most fixed tourist plans remove it when validity ends.
Set Up Your Thailand eSIM Before You Leave Home
Set up your Thailand eSIM before departure, while you have reliable Wi-Fi and time to solve problems. A few checks can prevent expensive airport roaming and rushed support calls.
Check Phone Compatibility and Carrier Unlocking
Open your phone’s cellular or mobile settings and look for an Add eSIM option. Then check the device information for carrier status.
On an iPhone, open Settings, General, and About. The Carrier Lock field should say “No SIM restrictions.” Apple’s international eSIM guidance explains where to find this setting.
A phone can support eSIM technology and still remain locked to its home carrier. In that case, another provider’s Thailand eSIM may not connect.
Also confirm that your phone model supports the network bands used by the selected plan. Check the seller’s compatibility list before payment. Test the installation process at home, rather than waiting beside an airport charging station.
Install the Profile on Home Wi-Fi
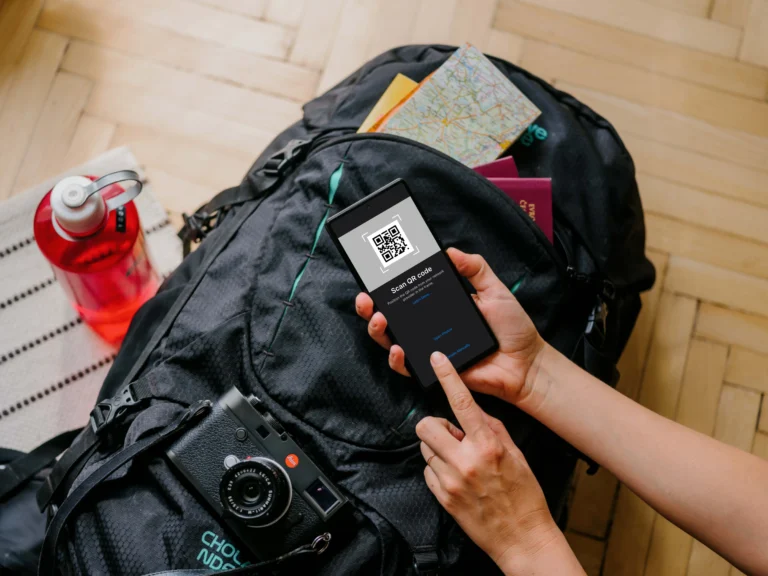
Use a stable Wi-Fi connection and keep your activation email nearby. Most installations follow this basic process:
- Open Cellular or Mobile Network settings.
- Select the option to add an eSIM.
- Scan the seller’s QR code.
- Label the line “Thailand” or “Travel.”
- Follow the provider’s activation instructions.
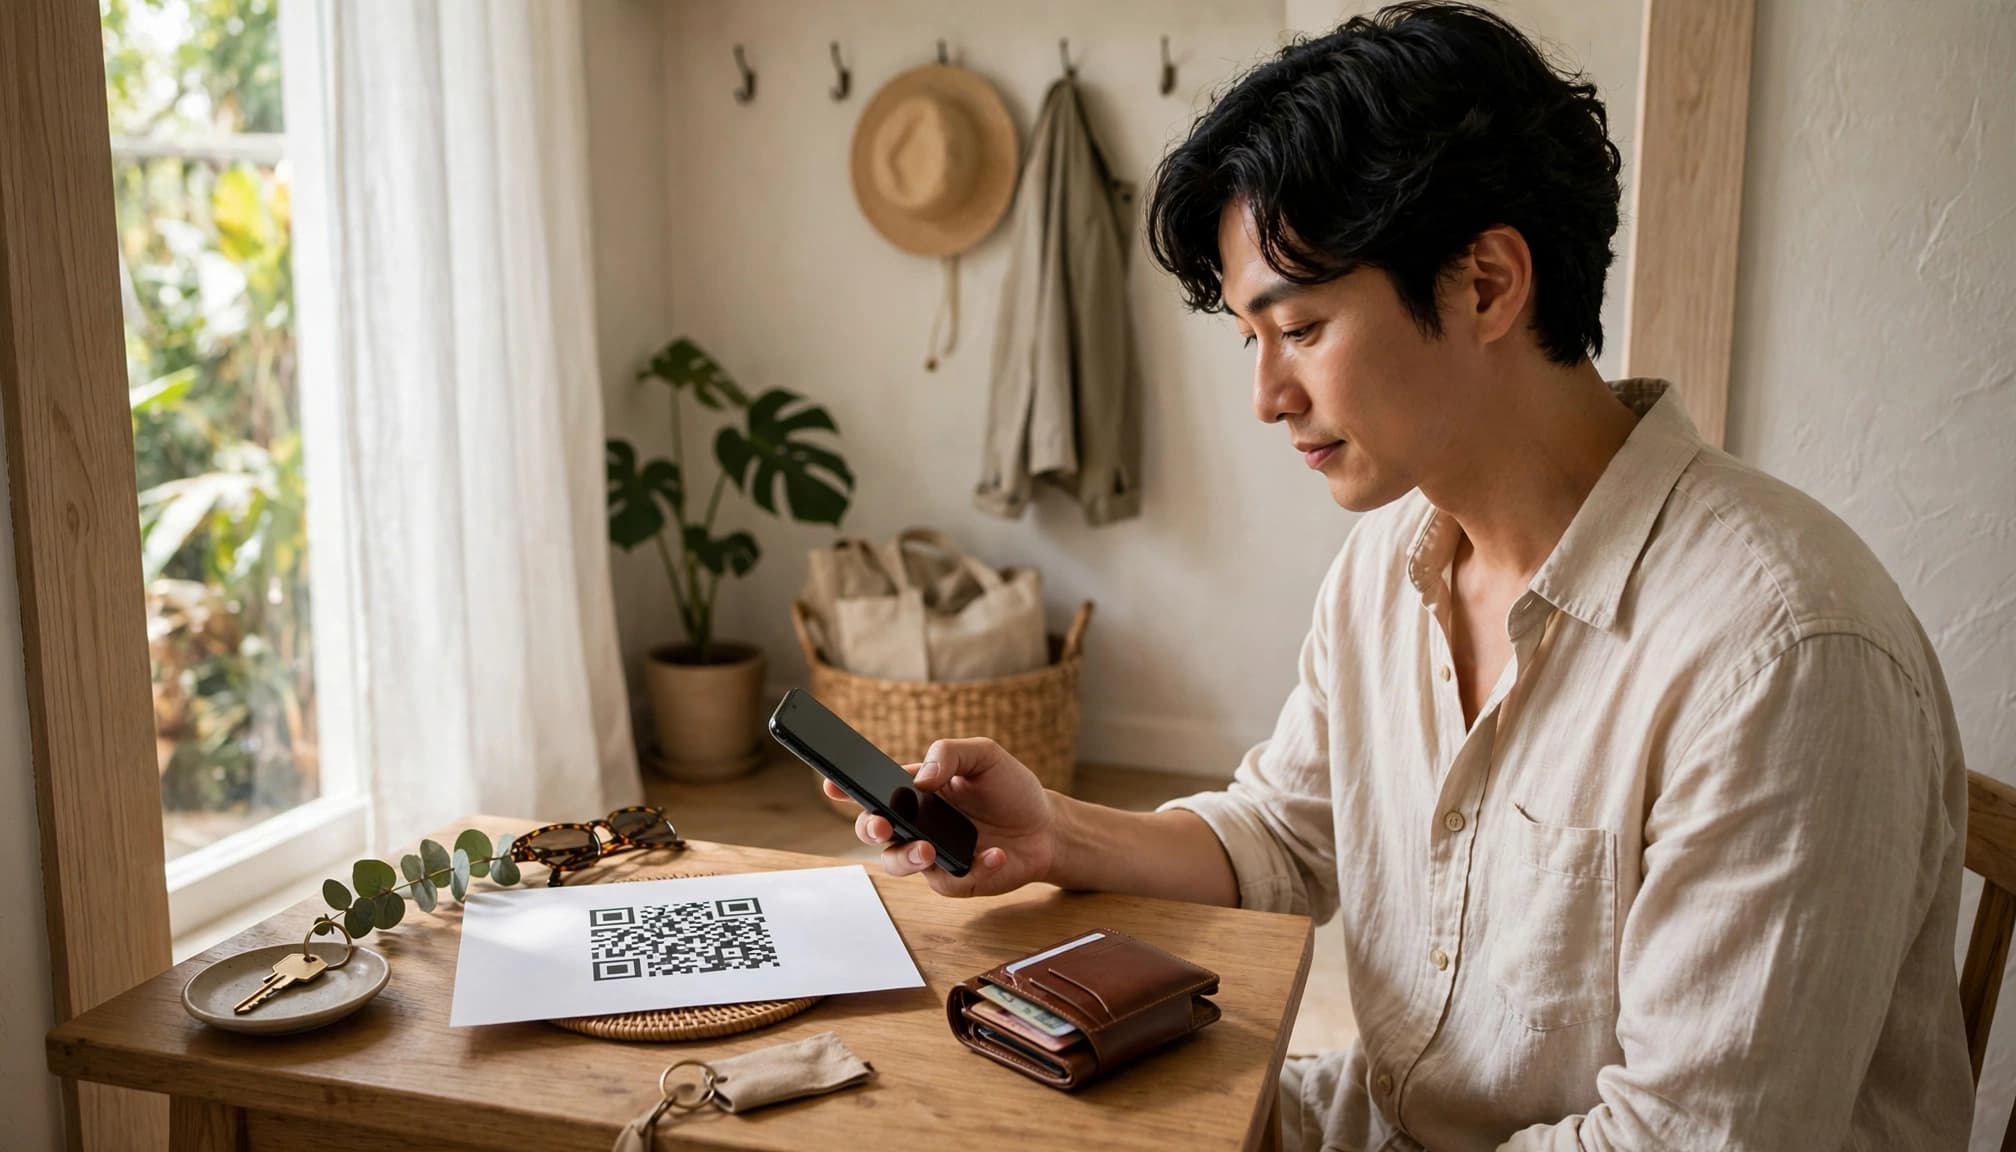
Save a screenshot or printed copy of the QR code and plan details. Keep the original email too, because support may request the order number.
After installation, don’t delete the eSIM profile unless the provider tells you to. Many plans allow installation before travel, but installation doesn’t always start validity. Check whether the countdown begins after installation, first local connection, or manual activation.
Use the Travel Line Without Losing Banking Texts
Keep your primary number active if your bank sends security codes by SMS. Select the Thailand line for mobile data, then disable data roaming on your home line.
Turn off automatic data switching between lines. This setting can move data back to your home SIM when the travel line loses signal. Calls and cellular data may create roaming charges, while receiving texts often doesn’t. Your carrier’s rules still apply, so confirm them before flying.
Activate Data Safely After Landing
After landing, turn off airplane mode and select the Thailand line for mobile data. Enable data roaming on that line only when the plan requires it.
Wait briefly for network registration, then restart the phone if service doesn’t appear. Test Google Maps or a simple webpage before leaving the airport.
If you see signal without internet, check that the Thailand line handles data. Missing APN details can also block access, so review these travel eSIM APN settings. If the plan still fails, confirm its activation terms before trying eSIM connectivity troubleshooting.
Is a dtac eSIM the Best Fit for Your Thailand Trip?
A dtac eSIM suits travelers who want a known Thai network without visiting an airport kiosk. However, network quality alone doesn’t make a plan suitable. Your trip length, data needs, phone compatibility, and comfort with setup all matter.
When a Direct Digital Profile Makes Sense
An online dtac eSIM works well when you want to skip airport lines and prepare before departure. You can install the profile on home Wi-Fi, then activate mobile data after landing.

Digital plans also reduce the chance of paying for unused voice credits. Many travelers rely on messaging and calling apps instead of traditional local minutes.
Before checkout, compare the price per gigabyte and validity period. Then confirm the high-speed allowance, 4G or 5G access, and hotspot support.
A digital profile can also keep your physical SIM slot free. That helps if you want to keep your regular number active for banking texts. Your phone must support dual SIM use for this setup.
Review Thailand and Asia eSIM options if your itinerary includes nearby countries. A regional plan may fit better than a Thailand-only profile.
When an Airport Purchase May Still Be Worth It
An airport SIM may suit you when you have no working Wi-Fi or need immediate connectivity. Staff can also help if your phone requires technical setup.
Ask questions before paying. Confirm the high-speed allowance, expiration time, hotspot rules, and refund policy.
Also ask whether the plan includes 4G or 5G access across islands and rural areas. Coverage can vary outside Bangkok and major tourist centers.
Don’t choose a package simply because it says “unlimited.” Compare the kiosk’s usable high-speed allowance with the online price per gigabyte. Check top-up options and customer support before accepting the higher airport price.
A dtac eSIM is a strong fit when you can handle installation yourself. Airport support becomes more valuable when setup problems could leave you without maps, transport apps, or hotel contact details.
Conclusion
Thailand tourist plans often cost more because they include airport convenience, bundled services, and immediate assistance. A prepared digital profile can reduce both the price and setup time, especially when you compare the plan’s real high-speed allowance.
Before choosing a dtac eSIM or another option, check high-speed data, price per gigabyte, fair-use limits, validity, network access, and activation rules. Then check phone compatibility, estimate your data use, confirm when the activation clock starts, and choose a travel eSIM for Thailand that matches your trip.