Thailand & Vietnam eSIM: Regional vs. Single Plans Compared
Thailand & Vietnam eSIM: Regional vs. Single Plans Compared
Choosing between one regional eSIM and two country-specific plans can complicate a Thailand and Vietnam itinerary. The best eSIM for Thailand and Vietnam depends mainly on how long you’ll stay in each country.
A regional plan keeps border crossings and short visits simple, while separate plans can cost less during longer stays. Your trip length, data needs, network quality, setup effort, and access to home-bank SMS messages all matter. Start by comparing regional Asia eSIM plans with two single-country options.
Thailand and Vietnam eSIM Plans Compared
Your itinerary should decide whether you buy one regional profile or two single-country plans. Short stays favor convenience, while longer visits often reward careful cost planning.
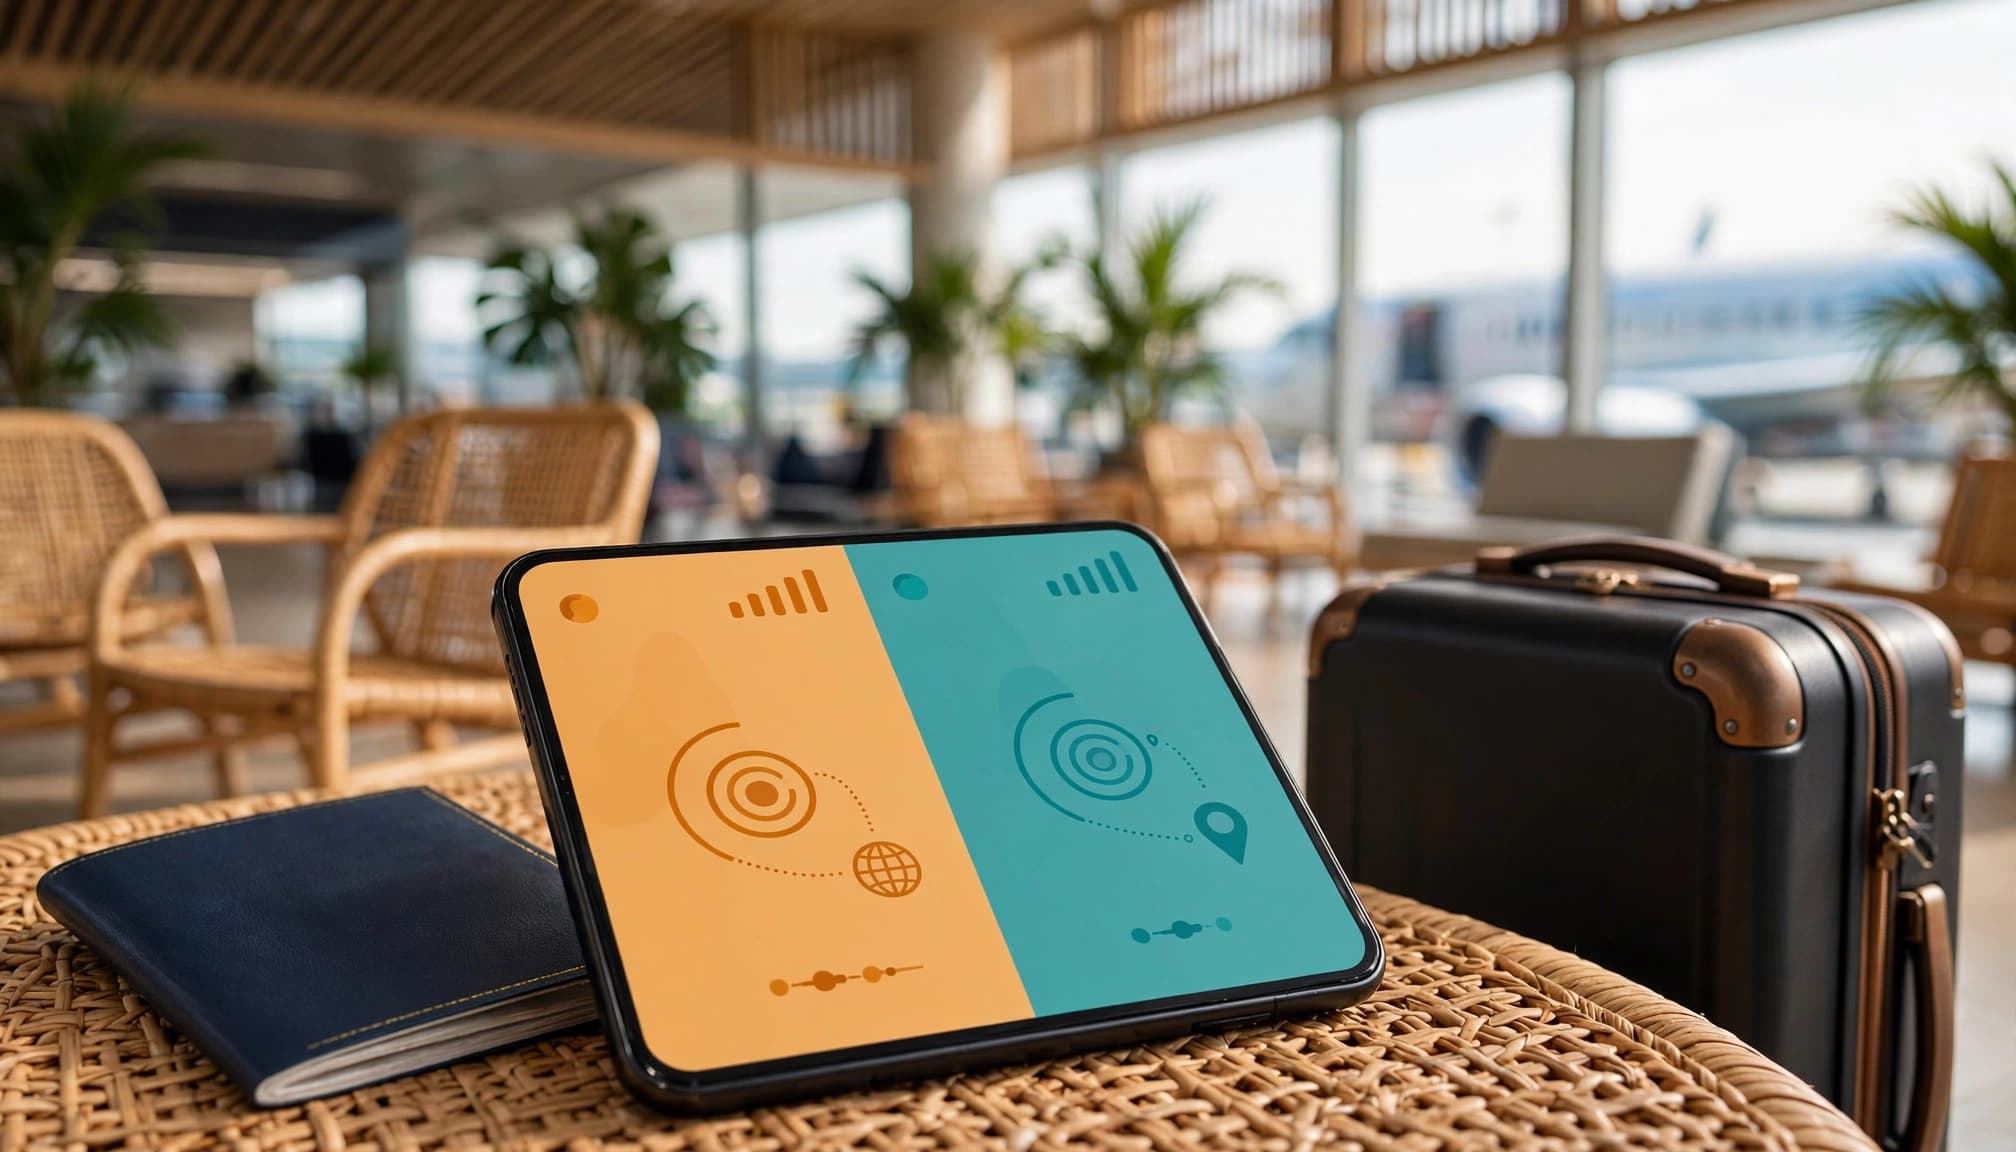
| Travel factor | One regional multi-country plan | Two separate local profiles |
|---|---|---|
| Best itinerary | One to five days per country | Seven or more days in each country |
| Border convenience | Automatic network registration | Manual data-line changes |
| Price per GB | Often slightly higher | Usually better for larger data bundles |
| Setup steps | Scan one QR code | Install two QR codes |
| Network access | One plan covers both destinations | Each profile connects to its assigned country |
| Data sharing | One allowance works across both countries | Each country has its own allowance |
| Running-out risk | One shared pool can disappear faster | You can size data for each stay |
Actual prices, speeds, hotspot support, and coverage vary by plan. Check the current terms before buying, especially if you plan to visit islands or rural areas. A Thailand Vietnam eSIM for multi-country travel can also help you check likely network performance before choosing a profile.
When a regional plan saves time and stress
A regional eSIM uses one installed profile across Thailand and Vietnam. You scan one QR code, select the travel line, and let the plan connect to an available partner network in each country.
That setup matters the moment you land. You can open Google Maps, book a Grab ride, translate an address, or read a hotel message without searching for a shop or changing SIM cards. The same convenience helps during domestic flights, rushed airport transfers, and land-border crossings.
You also avoid the awkward moment when your phone has no data while you are standing in an immigration queue. For a Bangkok stopover followed by Hanoi, or a short Vietnam side trip after Phuket, one profile keeps the process clean.
The tradeoff is cost. Regional plans may charge more per gigabyte, particularly when you use large amounts of data for video calls, tethering, uploads, or social media. Review the eSIM cost per GB in Southeast Asia before paying for convenience.
When two single-country plans offer better value
Separate Thailand and Vietnam eSIMs often make more sense when you spend seven or more days in each country. You can choose a larger Thailand package for a long island stay, then select a smaller Vietnam plan for a short city visit.
This approach reduces wasted data because each allowance matches your time in that destination. Heavy users can also get a lower unit price with country-specific bundles, especially when regional plans include a single shared pool.
The downside is extra setup. You need to install two QR codes, label both profiles clearly, and change the active data line when crossing the border. Before departure, complete the installation on reliable Wi-Fi. This travel eSIM setup guide walks through the basic steps for iPhone and Android.
Check two details before buying each plan:
- Confirm that the profile supports hotspot use if you will share data with a laptop or travel companion.
- Check whether mobile data roaming must remain enabled for the eSIM to connect.
For longer stays, that small amount of extra work can save money. For short, multi-stop travel, the regional option usually earns its higher price through simpler arrivals and fewer settings to manage.
How to Choose the Best eSIM for Thailand and Vietnam
The best eSIM for Thailand and Vietnam depends on more than the cheapest price. Compare your itinerary, data habits, network support, and phone features before you buy.
Use these four rules to narrow down the right setup without overcomplicating your trip.
Match the plan to your days in each country
Count your exact days in Bangkok, Phuket, Hanoi, Ho Chi Minh City, and every other stop. A three-day Bangkok visit needs a different plan from a three-week Thailand itinerary.
A regional plan usually makes sense for side trips under five days per country. You pay for one profile, one setup, and one shared allowance. That convenience matters when you move quickly between airports, islands, and border crossings.
Two local plans may offer a lower unit cost when you stay seven days or longer in each country. You can buy more Thailand data for a long island stay, then choose a smaller Vietnam package for a short city visit.
Check when validity starts before you pay. Some plans begin at purchase, while others start during installation or after the first connection. Installing too early can reduce the days available for your trip.
Check primary network coverage, not just the data allowance
A large data allowance doesn’t guarantee reliable service. Your eSIM still needs access to a strong host network in the places you plan to visit.
Check which local networks support the profile in both countries. AIS and TrueMove are useful Thailand examples, while Viettel and Vinaphone are important Vietnam networks to verify. Before choosing a plan, compare the available Thailand eSIM options and confirm which local carriers each profile supports.
Coverage can change quickly outside major cities. A profile that works perfectly in Bangkok or Ho Chi Minh City may perform differently on islands, beaches, rural roads, and mountain routes.
Look for network information that matches your actual itinerary. If you plan to visit northern Vietnam, smaller Thai islands, or remote coastal areas, coverage deserves more attention than a cheap price per gigabyte.
Choose automatic service for border days
A regional profile can register with a supported local network after you arrive. Your phone handles the network change while you focus on immigration, luggage, and your first ride.
That automatic service helps when you need to book Grab, open Maps, message your hotel, or translate an address immediately. Nobody wants to reconfigure two lines while standing outside an airport with poor Wi-Fi.
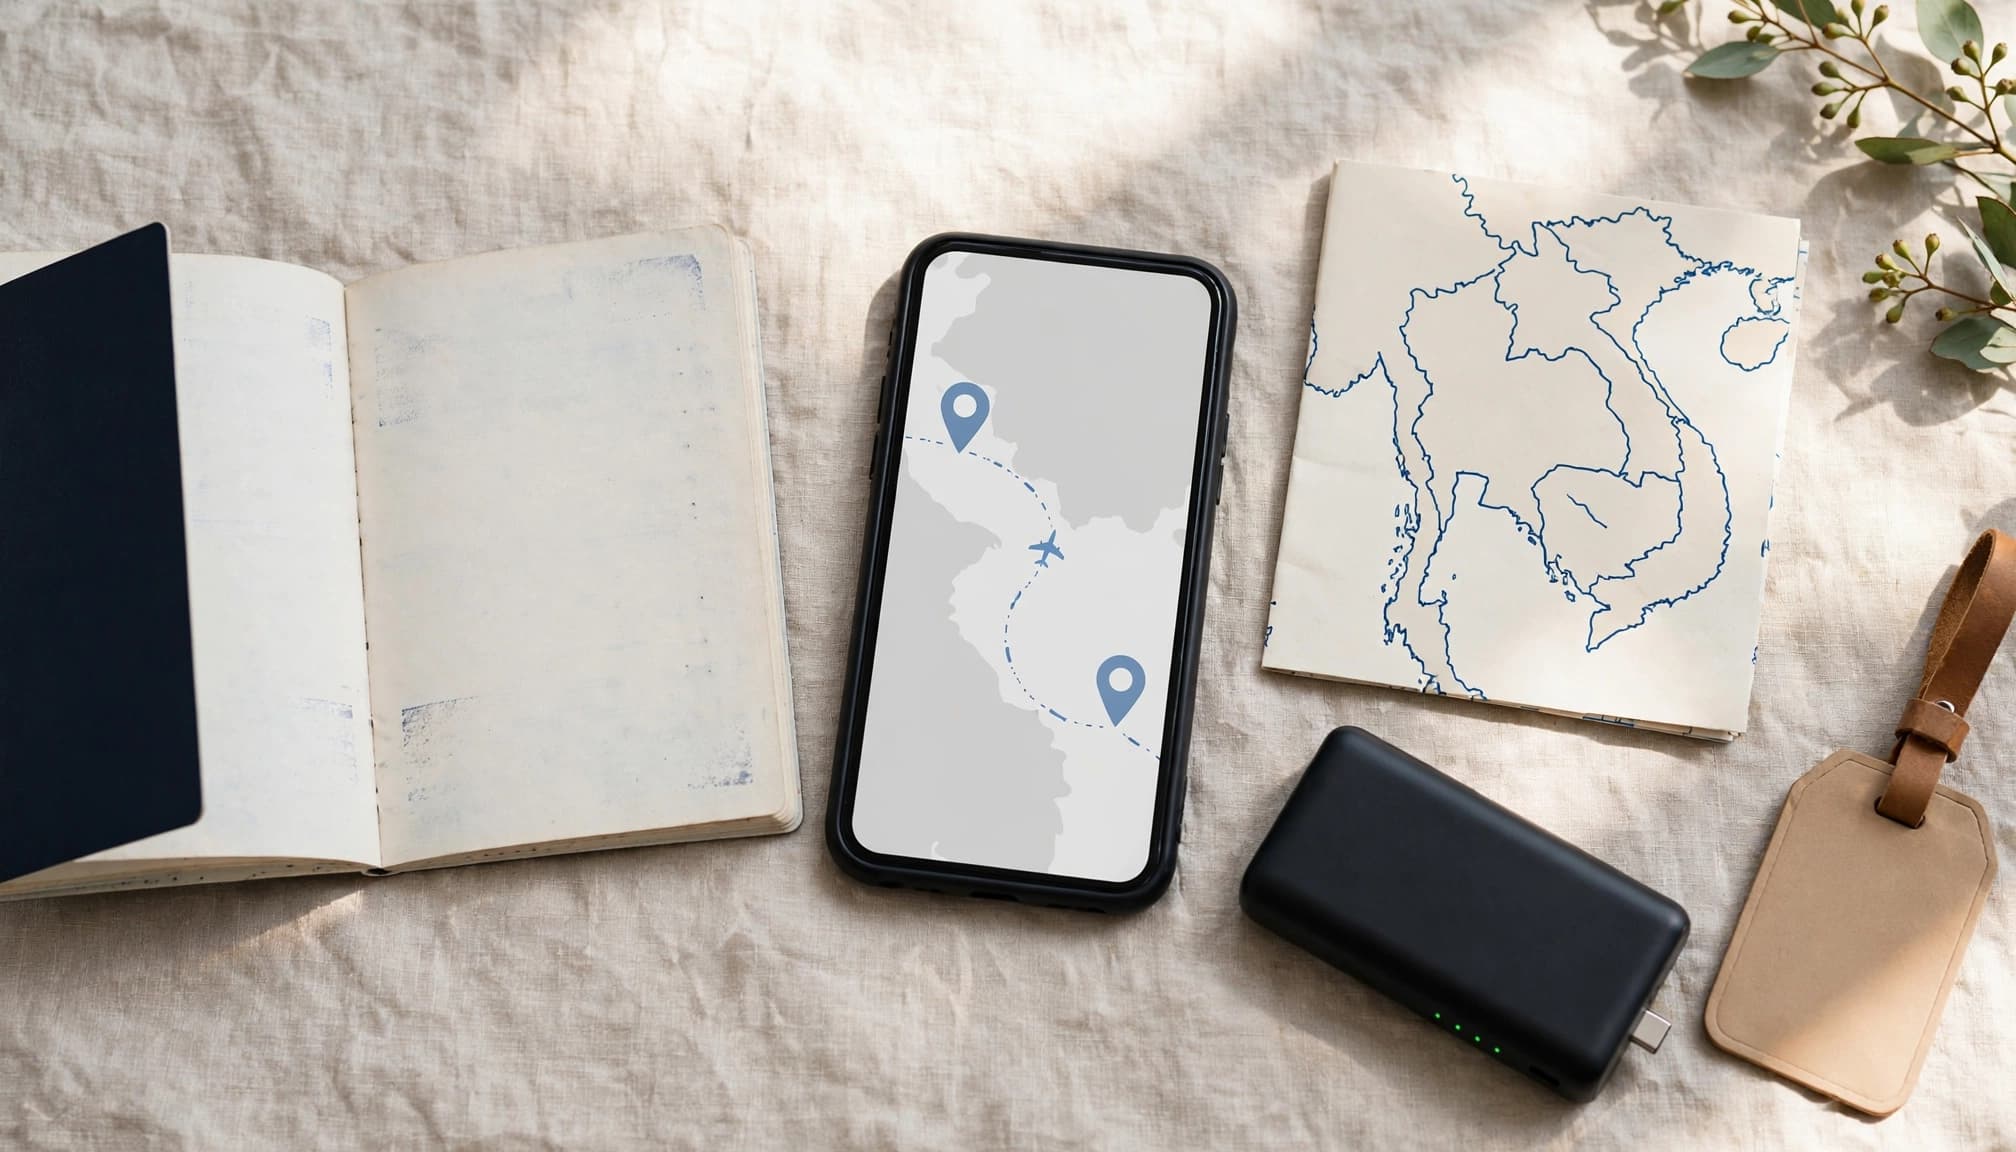
Separate profiles can work well, especially during longer stays. You must select the correct data line in your phone settings after crossing the border. Learn how to switch between eSIM profiles before departure.
A regional plan earns its higher price when border-day convenience matters more than the lowest data rate.
Also check your home line before takeoff. Disable data roaming on it, or your phone may quietly use your expensive domestic plan when the travel eSIM loses signal.
Keep your home line available for security texts
A dual-SIM phone can keep your home SIM active for incoming bank codes while the travel eSIM handles mobile data. This setup keeps your regular number available without making it your data connection.
Set the travel eSIM as the default data line, then disable data roaming on the home SIM. Turn off automatic data switching if your phone offers that setting. You can also review this dual-SIM setup for travel eSIMs before installing the profile.
Some carriers charge for calls or outgoing texts while you’re abroad. Confirm your home-carrier rules before using the line for replies, calls, or verification messages.
SMS access also depends on your phone’s dual-SIM support and your home plan. Incoming codes may work normally, but test the arrangement before leaving home.
How Much eSIM Data Do You Need for Thailand and Vietnam?
Your data habits matter more than the destination alone. A traveler who checks maps and sends messages needs far less than someone uploading photos, streaming video, or joining work calls.
Estimate everyday use before you buy
Maps, messaging, email, ride-hailing, and occasional browsing usually use modest data. Social media feeds consume more, especially when they autoplay videos. Cloud photo backups and video calls can use a surprisingly large amount within a few hours.
Start by checking your phone’s recent mobile data usage. Look at your last seven or 30 days, then remove apps you won’t use while traveling. This gives you a much better baseline than guessing from the plan name.
As a starting estimate, consider these ranges:
- A seven-day Thailand and Vietnam trip usually needs 5GB to 8GB for light to moderate use.
- A 14-day vacation often fits 10GB to 20GB, especially with regular social media and photo uploads.
- A 30-day journey may need 20GB to 50GB, particularly for frequent streaming, hotspot use, or video calls.
These figures are starting estimates, not guarantees. Your best eSIM for Thailand and Vietnam may need a larger allowance if you work remotely or rely on mobile data all day.
For a more detailed estimate, use this travel data calculator before comparing regional and country-specific plans.
Download offline maps, hotel details, tickets, playlists, and entertainment before departure. Google’s offline Maps instructions can help you save major destinations before leaving home Wi-Fi.
Leave room for transit days and unexpected use
Travel days often consume more data than planned. Airport transfers, long train rides, delays, and remote excursions leave you with more time online and fewer reliable Wi-Fi options.
You may stream a podcast during a delay, upload photos from a train, or use video calls when a hotel connection fails. Those small extras can quickly drain the smallest package.
Add a safety margin instead of buying the exact minimum. A 20% to 30% buffer gives you room for changes without forcing an emergency top-up.
Unlimited plans can help heavy users, but read the conditions first. Fair-use limits may reduce speeds after a daily allowance, while some plans restrict hotspot use or charge extra for tethering. Check whether the provider slows video, limits 5G access, or renews automatically.
Top-ups and renewable plans work well for long trips. Before buying, confirm whether unused data rolls over, since many plans delete the remaining balance when validity ends.
Set Up Your Thailand and Vietnam eSIM Before You Fly
A few setup checks can prevent expensive roaming, failed activation, and airport frustration. Complete them at home, while you still have reliable Wi-Fi and time to fix problems.
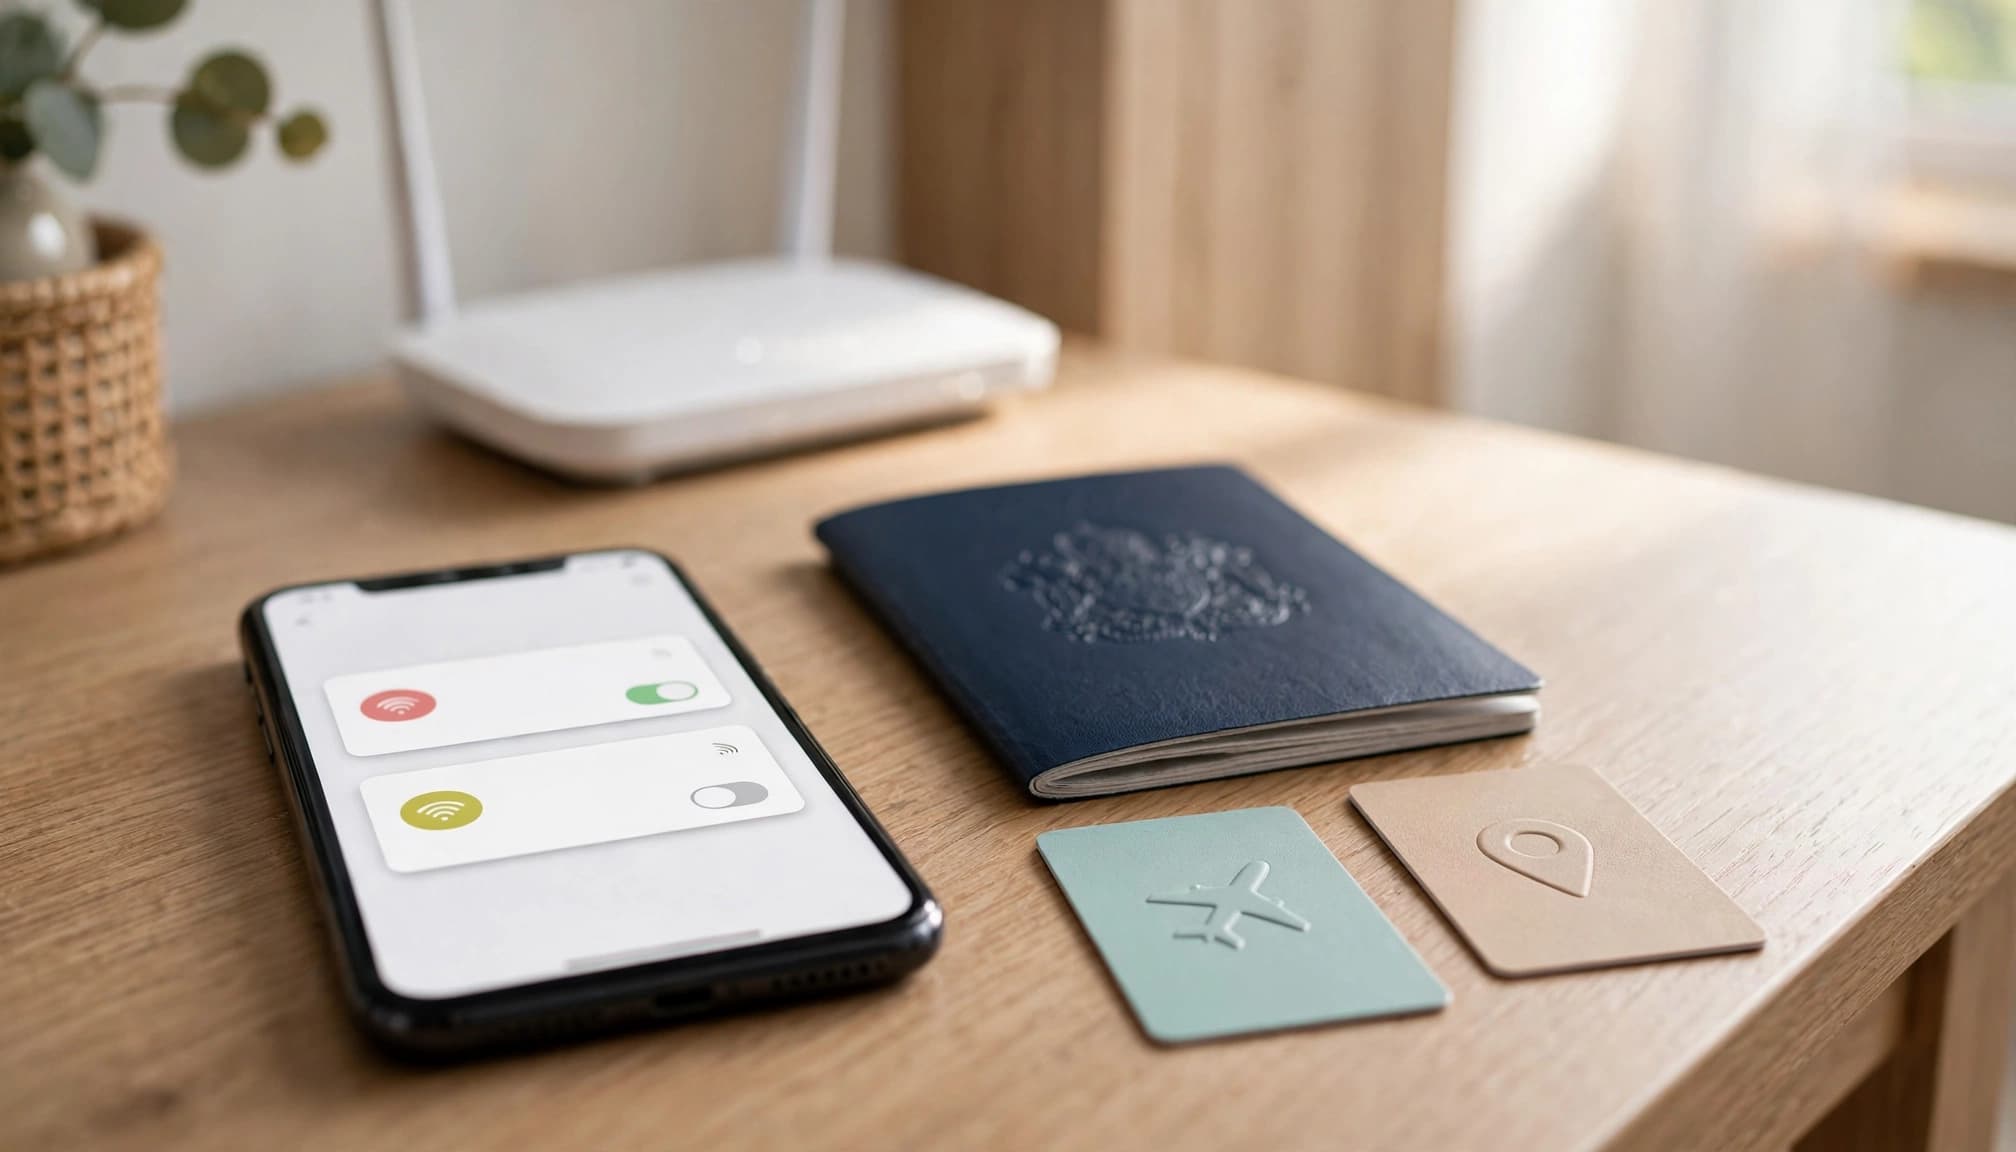
Confirm your phone can use an unlocked eSIM
Start with the phone, not the plan. An eSIM won’t work if your device stays locked to your home carrier.
On an iPhone, open Settings > General > About. Look for Carrier Lock and confirm it says “No SIM restrictions.” Apple’s international iPhone eSIM guidance shows where to find this setting.
Android menus vary by manufacturer, but check for network unlock information in Settings > Connections, Network & internet, or SIM manager. You should also find an option to add or download an eSIM. If neither option appears, your phone may not support eSIM service.
Before buying, confirm these details:
- Your phone supports the required LTE or 5G bands in Thailand and Vietnam.
- The device has enough eSIM capacity for the profiles you plan to install.
- Your phone supports dual-SIM use if you want home-line SMS access.
- Your model allows both profiles to remain installed while you switch the active data line.
A locked phone cannot use a travel eSIM until the home carrier removes the restriction. Contact the carrier before departure, because unlock rules and waiting times vary.
Install profiles on reliable Wi-Fi
Follow the provider’s activation instructions and install every profile before your flight. Use stable home Wi-Fi, scan each QR code carefully, and save the activation email offline.
Installation and activation are not always the same step. Some profiles install at home but activate after connecting to a supported network abroad. Others start their validity as soon as you install them. Check the activation policy first, or you may lose travel days before takeoff.
Keep the QR code and manual details in your email, cloud storage, or a secure note. Don’t delete an installed eSIM just because it appears inactive. Many QR codes work only once, and deleting the profile can make reinstallation difficult.
Two single-country plans need clear labels. Name one profile Thailand and the other Vietnam. A regional plan can use a label such as Thailand + Vietnam. Clear names make the correct data-line choice obvious when you arrive at the airport.
Select the travel line and prevent roaming charges
After installation, open your SIM or cellular settings and select the travel eSIM as the mobile data line. Keep your home line active if you need incoming bank codes, but turn off data roaming for that line.
Also disable data switching or automatic mobile data switching. Otherwise, your phone may use the home line when the travel profile loses signal. Leave data roaming enabled on the travel eSIM only when the provider requires it.
Test the setup before leaving:
- Confirm the travel profile appears as installed and active.
- Check that your home line remains available for incoming SMS.
- Open a webpage using mobile data with Wi-Fi turned off.
- Confirm the phone identifies the travel profile as the data line.
If the profile shows no service, review the provider’s instructions before deleting anything. This guide to fixing eSIM data problems can help you check common connection settings.
Make the Final Choice for Your Southeast Asia Itinerary
The best eSIM for Thailand and Vietnam depends on your itinerary, not just the headline price. A regional plan fits short, busy trips, while separate country profiles suit longer stays and heavier data use.

Choose a regional plan for simple border travel
Pick one regional eSIM if you will spend one to five days in each country, cross borders often, or want the easiest setup possible. One profile handles both destinations, so you don’t need to change the active data line after landing.
That convenience matters during airport transfers, land crossings, and short side trips. You can book a ride, open Maps, and message your hotel without searching through phone settings.
A regional plan also makes sense when your total data needs are moderate. You pay a little more per gigabyte, but the simpler setup can be worth more than a small saving.
Choose separate profiles for longer stays
Two country-specific eSIMs usually offer better value when you stay seven days or longer in Thailand and Vietnam. You can match each allowance to your plans instead of sharing one regional pool.
This option suits travelers who upload photos, stream video, use hotspot data, or work remotely. It also gives you more control over the cost per gigabyte in each destination.
You will need to install both profiles, label them clearly, and switch the data line after crossing the border. Check the provider’s APN requirements too, especially if the connection fails after installation. These travel eSIM APN settings can help with that check.
Run through this final checklist
Before buying, compare the complete plan terms, not just the advertised price. Confirm the following:
- Your exact trip length in Thailand and Vietnam.
- Your total data allowance, including a 20% to 30% safety buffer.
- The host networks and coverage available at islands, beaches, and rural stops.
- Your phone’s unlocked status, eSIM support, and available profile capacity.
- Hotspot permissions if you will connect a laptop or another phone.
- Home-SIM access for incoming bank and two-factor authentication texts.
- Validity rules, activation timing, speed limits, top-ups, and data expiry.
A short, multi-stop itinerary favors one regional profile. A longer trip with high data use favors two country profiles. Compare your route and data habits, then review a travel eSIM for Thailand option for coverage and plan details across both countries.
Conclusion
The best eSIM for Thailand and Vietnam depends on how you travel. Regional plans prioritize convenience across borders, while single-country plans can provide better value when you stay longer in each destination.
Before buying, check network access, data limits, activation timing, phone compatibility, and home-SIM settings. You can also compare best eSIM apps for travel when reviewing regional options.
A short, multi-stop route favors one regional profile. Longer stays and heavier data use may favor separate plans. The right choice depends on your route and usage pattern, not just the cheapest advertised price.