eSIM Activation Time: Why It Can Take 20 Minutes
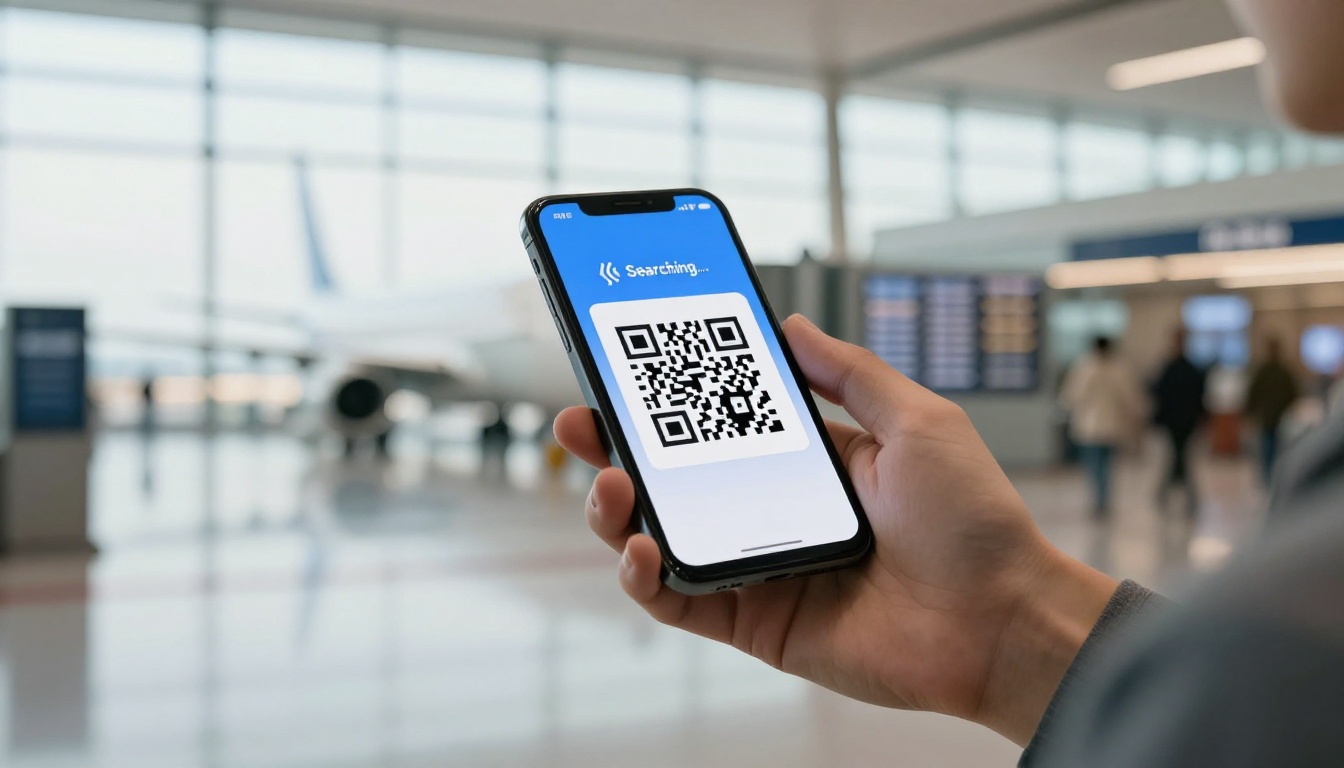
You’ve landed, scanned your eSIM QR code, and now your phone has been stuck on “Searching…” for 20 minutes. Frustrating? Absolutely, but it doesn’t always mean the installation failed.
eSIM activation time depends on network handshakes, server load, identity checks, and local tower registration. Simple profiles often connect in under two minutes, while complex roaming setups can take up to 20 minutes. This guide covers the main causes, quick fixes, provider criteria, and pre-trip steps that help you get online faster, starting with the travel eSIM activation guide.
What Controls Your eSIM Activation Time?
Your eSIM activation time depends on more than scanning a QR code. The phone must download the profile, install it, register with a local network, and receive permission to use mobile data.
A fast profile connects in under two minutes. Roaming plans with extra verification, busy servers, or local network congestion often take 15 to 20 minutes. That delay doesn’t automatically mean the eSIM failed.
Downloading The Profile Is Not The Same As Connecting
Scanning the QR code starts the profile download. Your phone retrieves an encrypted carrier profile and stores it in the eSIM component. This step needs a stable Wi-Fi or internet connection, but it doesn’t always activate mobile data.
Activation happens when the installed profile registers with a supported network. The phone then completes security checks, confirms your plan, and connects to a local partner tower. Apple explains several setup methods, including QR codes and carrier activation, in its iPhone eSIM setup instructions.
If the profile appears in your Cellular or SIM Manager settings, installation is complete. The remaining delay comes from network registration, coverage, or plan rules.
The Normal eSIM Activation Timeline
The process usually follows this order:
| Stage | What Happens | Typical Timing |
|---|---|---|
| QR scan | The phone reads your activation details. | A few seconds |
| Profile download | The device contacts the carrier server. | Under two minutes |
| Profile installation | The eSIM becomes available in settings. | A few seconds |
| Carrier registration | The phone searches for an approved local network. | One to 15 minutes |
| Data connection | The plan authorizes internet access. | Immediate after registration |
Phone compatibility matters first. An unlocked device with eSIM support gives the profile a clean starting point. Coverage, Wi-Fi quality, tower congestion, and incorrect APN settings then control the next steps. Check the APN settings for travel eSIMs if the profile installs but data remains unavailable.
Plan rules also affect timing. Some eSIMs start when you install them, while others begin after the first local network connection. That difference explains why one plan works instantly and another keeps showing “Searching…” for several minutes.
Four Fast Fixes When Your Travel eSIM Activation Delays
Most travel eSIM delays come from a missed network setting, not a failed installation. Try these fixes in order, then wait briefly after each one before moving on. Do not delete the eSIM profile unless your provider confirms that you can reinstall it.
Toggle Airplane Mode To Start A Fresh Tower Search
Turn Airplane Mode on for about 10 seconds, then turn it off. This cuts the current radio connection and forces your phone to search for nearby networks again.
Give the phone one or two minutes to reconnect. Then open Cellular or Mobile Network settings and confirm that the travel line remains enabled. Also check that the travel eSIM handles mobile data instead of your home line.
This quick reset often clears a phone that keeps showing “Searching…” after landing. For more steps, see this guide to fix eSIM data connection problems.
Check Data Roaming On The Travel Line
Travel eSIMs often use a partner network in another country. That setup requires Data Roaming turned on, even when your plan includes roaming data and doesn’t charge traditional roaming fees.
Open your phone’s Cellular or Mobile Network settings, select the travel line, and turn on Data Roaming. Keep mobile data assigned to that line, then wait a few minutes for registration.
Keep Data Roaming off on your home line when appropriate. That prevents accidental charges from your regular carrier while you travel.
Confirm The Correct APN Settings
The Access Point Name, or APN, tells your phone how to reach the provider’s data network. Many travel eSIMs load the APN automatically, but some providers require manual entry.
Open the travel eSIM’s Cellular or Mobile Network settings and compare the APN with the provider’s instructions. Check every character, including spelling and capitalization. A single incorrect letter can block mobile data.
Save the change, turn mobile data off and back on, then wait briefly. Don’t copy APN details from another provider, since each network uses its own settings.
Restart The Smartphone Before Escalating
Perform a full restart before contacting support. Restarting clears temporary network and memory errors, refreshes the SIM manager, renews the radio connection, and gives the phone another chance to complete carrier registration.
After the phone turns back on, confirm that the travel line and Data Roaming remain enabled. Test the connection outdoors or near a window if the phone still shows no service. Stronger signal access helps separate a settings problem from weak indoor coverage.
If these steps fail, contact the eSIM provider before removing the profile. Some activation codes work only once, so deleting the installed eSIM can turn a temporary delay into a replacement request.
Four Technical Reasons Why eSIM Activation Gets Delayed
An eSIM activation delay usually comes from network registration, identity checks, server traffic, or plan timing rules. Exact timing depends on the provider, phone model, destination country, and partner network.

The Local Cell Tower Handshake Can Take Time
Your digital profile must complete a secure registration process with a local partner network before mobile data works. The phone identifies the available tower, confirms the eSIM’s roaming permission, and requests network access.
Airports, stadiums, festivals, and busy city centers create heavy registration demand. Remote areas create a different problem, since towers sit farther apart and signal strength often drops. A weak signal forces the phone to repeat its search, which stretches the eSIM activation time.
Providers with direct Tier 1 host-carrier access usually have fewer roaming intermediaries. Secondary roaming channels can add extra routing steps before your phone receives service. That difference matters when you travel outdoors, cross borders, or arrive somewhere with limited coverage.
Before purchasing, check the provider’s coverage map and listed network partners. A low price means little if the plan relies on a weak partner network at your destination. If your eSIM connects but shows no data, use these steps to fix travel eSIM network connection issues.
Identity Verification Can Create A Processing Queue
Some countries require passport or identity registration before a mobile data line starts. The provider sends your details for a real-time check, then waits for approval from the relevant carrier or local authority.
Incomplete information creates another delay. A mismatched name, incorrect passport number, unreadable document image, or expired identification can send the request to manual review. Peak arrival times also create processing queues when large groups of travelers activate plans at once.
Pre-cleared prepaid profiles avoid much of this wait when local laws allow instant activation. Other plans complete verification after arrival, which explains why the same QR code works quickly for one traveler and slowly for another.
Enter your details exactly as they appear on your official documents. Keep the confirmation email, passport details, and verification receipt available until mobile data works. For country-specific requirements, check the provider’s instructions before leaving home.
SM-DP+ Server Traffic Can Slow Profile Downloads
The SM-DP+ server is the secure system that delivers an eSIM profile to a compatible phone. Your device contacts this server, confirms the activation details, and downloads the encrypted carrier profile.
That connection requires stable Wi-Fi or mobile internet. A crowded airport network, poor hotel Wi-Fi, regional routing problem, or heavy provider demand can slow the download. In some cases, the phone appears stuck before installation even begins.
The GSMA includes SM-DP+ systems within its standards for secure consumer eSIM provisioning. You can review its eSIM security and compliance information for more technical background.
Install the profile at home on reliable Wi-Fi before departure. Follow the provider’s activation rules, because some plans start immediately after installation. A practical QR code eSIM setup guide also helps prevent connection problems at the airport.
The Activation Clock May Start At Different Points
Providers use different activation triggers, so the validity period does not always begin when you buy the plan. Some plans start when the profile installs, while others wait until the eSIM connects to a supported tower in the destination.
That distinction changes how a delay looks. A plan that starts on first local connection can show no data before landing, but it preserves its validity during the trip. A plan that starts during installation can work sooner after arrival, but unused travel days can disappear while you prepare.
Check the provider’s terms before scanning the QR code. Look for language stating whether validity begins at:
- Purchase.
- Profile installation.
- First connection to a supported local network.
The activation clock is not a minor detail. It determines whether a 20-minute wait costs travel time or simply delays the first connection.
How To Compare eSIMs By Activation Speed
The fastest eSIMs usually combine direct carrier access, pre-cleared verification, and a ready-to-download QR configuration. Compare those technical details instead of trusting claims like “instant activation,” because no provider guarantees immediate service in every location.
| Activation Factor | Slower Profile, 15 to 20 Minutes | Faster Profile, Under 2 Minutes |
|---|---|---|
| Network protocol | Secondary roaming channels | Direct Tier 1 carrier integration |
| Verification | Real-time passport or identity checks | Pre-cleared prepaid activation |
| Server provisioning | Profile created after purchase | Pre-routed QR configuration |
| Activation trigger | First local tower registration | Installation or automatic local detection |
| Best use case | Long-term stays with flexible timing | Airport arrivals, road trips, and outdoor travel |
Look For Direct Network Access And Clear Coverage Details
Direct Tier 1 carrier agreements often reduce the number of roaming handoffs between your phone and the local network. That cleaner path can support faster registration, especially when you arrive during a busy travel period.
Check whether the plan names its local network partners. Also confirm whether it connects through several networks or only one partner. A multi-network plan gives your phone more options when one carrier has weak coverage or slow registration.
Coverage details matter even more outside major cities. Airports can overload nearby towers, while rural roads rely on fewer sites. Islands often have limited coastal coverage, and mountain areas can block signals entirely.
Look for coverage information that explains the actual network behavior, not vague claims about nationwide access. A plan that automatically selects another approved carrier can connect faster than one that keeps searching for an unavailable partner. For a closer look at network selection and automatic activation, see these eSIM apps with automatic activation.
Check Verification Rules Before You Buy
Identity checks can add more time than the QR scan itself. Some destinations require a passport number, local address, selfie, document photo, or live video check before the carrier releases mobile data.
A low-priced plan loses its appeal when a delayed review blocks service at arrival. Check the destination’s rules before buying, then confirm whether the provider completes verification during checkout or after installation. Some registration systems require document photos and identity verification, as explained in the GSMA eSIM technology guide.
Choose plans with clear instructions and pre-verification when local regulations allow it. Prepare your passport, matching personal details, and a well-lit document photo before departure. Small errors, such as a name mismatch or unreadable passport image, can send your request into manual review.
Confirm The Profile Download And Validity Rules
A pre-routed QR configuration can download faster because the provider has already linked the activation details to a prepared profile. Dynamic profiles require the server to create or assign that configuration after purchase, which adds another processing step.
Before scanning, confirm three rules:
- Whether the QR code works only once.
- Whether the provider allows eSIM reinstallation.
- Whether validity starts at purchase, installation, or first local connection.
A one-time QR code requires extra care. Save the QR image, SM-DP+ address, activation code, and purchase email securely before travel. Do not delete the profile after a failed connection unless support confirms that reinstalling it is safe.
Also check when the validity clock starts. A profile that activates during installation can lose travel time before departure, while one that starts after local network registration preserves the plan but takes longer to connect. That timing detail often matters more than a small difference in price.
Pre-Trip Setup Checklist For A Faster Connection
Complete your eSIM setup at home, not while standing at an airport gate. Stable Wi-Fi, saved activation details, and tested line settings can cut down your eSIM activation time when you arrive.

Install The eSIM Profile On Stable Home Wi-Fi
Scan the QR code and download the eSIM profile several hours before departure. Home Wi-Fi gives your phone a stronger, more reliable connection than crowded airport internet.
Installation and activation can follow different rules. A profile can install successfully but wait until arrival before connecting to a local network. Follow the provider’s instructions before turning on the line or starting the validity period.
Once installed, label the line with the destination name, such as “Japan” or “Italy.” Clear labels prevent you from selecting the wrong SIM later, especially when your phone stores several profiles.
If you manage multiple lines, review this guide on how to switch eSIM profiles on iPhone and Android. A few minutes of preparation can prevent a frustrating settings hunt after landing.
Save The SM-DP+ Address And Activation Code Offline
Save the SM-DP+ address, activation code, QR code, purchase email, and support contact in a secure offline location. Keep a screenshot in your photo gallery, but also store the details in a password manager or written travel folder.
Airport Wi-Fi can fail, and your home line might not provide data overseas. Offline backups give you access to the setup information when you need it most.
Protect these details carefully. An SM-DP+ address and activation code can contain account or installation information. Don’t post screenshots online or send the full code through unsecured messages.
Keep The Home Line Available For Verification SMS
Keep your primary line active until you confirm that it receives essential SMS messages. Banking codes, account alerts, and provider verification texts often still go to your regular number.
Set the travel eSIM as the mobile data line, then disable data switching between lines. On iPhone, Apple explains these Dual SIM controls in its guide to using Dual SIM with an eSIM. Android menus vary by manufacturer and model.
Don’t remove your primary SIM before testing SMS delivery. Keep it active for verification, while preventing it from using expensive cellular data abroad.
Test The Travel Line Before Leaving Home
Open your SIM settings and confirm that the travel profile appears, the correct line is selected, and the provider’s setup instructions remain accessible. Check Data Roaming, APN details, and mobile data selection before packing your phone.
The travel eSIM might not connect to its destination network at home. That result is normal when the plan only activates after local tower registration.
Before departure, confirm that your phone supports eSIM, has an unlocked carrier status, and runs a current operating system. Test the settings with Wi-Fi enabled, then review them again after landing. This preparation removes several common causes of a 20-minute activation delay.
Conclusion
A 20-minute eSIM delay can involve network registration, identity checks, SM-DP+ traffic, or activation rules. Toggle Airplane Mode, check roaming and APN settings, restart your phone, and install the profile before departure.
Compare coverage, partner networks, verification steps, and activation rules, not only price per gigabyte.