
eSIM Not Working Abroad? Fix These 9 Issues (Fast Checklist)
Landing in a new country only to find your phone stuck on “Searching” or “No Service” is a major buzzkill. You’re standing outside the airport, trying to call a ride or load a map, but the data just won’t flow. While it feels like a catastrophe, I’ve seen that most eSIM Not Working Abroad issues aren’t caused by a broken chip or a hardware failure.
Actually, nearly 99 percent of these tech hiccups come down to simple settings that got bumped or toggled incorrectly during the flight. This guide is a complete deep dive into how you can fix your connection in minutes. We are going to walk through a nine point checklist that handles everything from roaming toggles to APN settings. You don’t need to be a tech genius to get back online; you just need a systematic approach to clear the digital cobwebs.
Quick Checks That Fix Most eSIM Problems First
Before you start messing with deep system menus, let’s look at the low hanging fruit. These are the fixes that take about 30 seconds but solve the vast majority of connectivity complaints. Often, your phone’s cellular modem is just confused by the sudden change in geography and needs a quick nudge to recognize the local towers.
Think of your phone like a person waking up in a dark room. It needs a second to find the light switch. By toggling specific settings, you force that “handshake” between your device and the local cell tower. If you see signal bars but no data is actually moving, your phone usually has a physical connection but a software block.
Restart Phone and Toggle Airplane Mode
The 10 second Airplane Mode trick is the undisputed king of troubleshooting. Swipe down to your control center, tap that plane icon, wait for ten seconds, and tap it again. This forces the device to disconnect from everything and scan the horizon for the strongest available signal. It’s the digital equivalent of “refreshing” a webpage that won’t load.
If the plane trick fails, give your phone a full restart. Powering down clears the temporary cache of the cellular modem. Sometimes the modem gets stuck looking for a tower from your home country that simply isn’t there. A fresh boot kills those old processes and lets the eSIM start its search from scratch. It is a classic move for a reason; it works.
Confirm Cellular Data Is On
It sounds too simple to be the problem, doesn’t it? Yet, you’d be surprised how often travelers forget to verify that Cellular Data is actually turned on for the specific travel line. In your settings, you need to ensure the master “Cellular Data” switch is green.
More importantly, you must check that the data is assigned to your new travel eSIM and not your home SIM card. Many people land and assume the phone will automatically know which one to use. It doesn’t always work that way. If the data is still trying to route through your home provider (which you’ve likely turned off to avoid fees), you’ll have zero internet access.
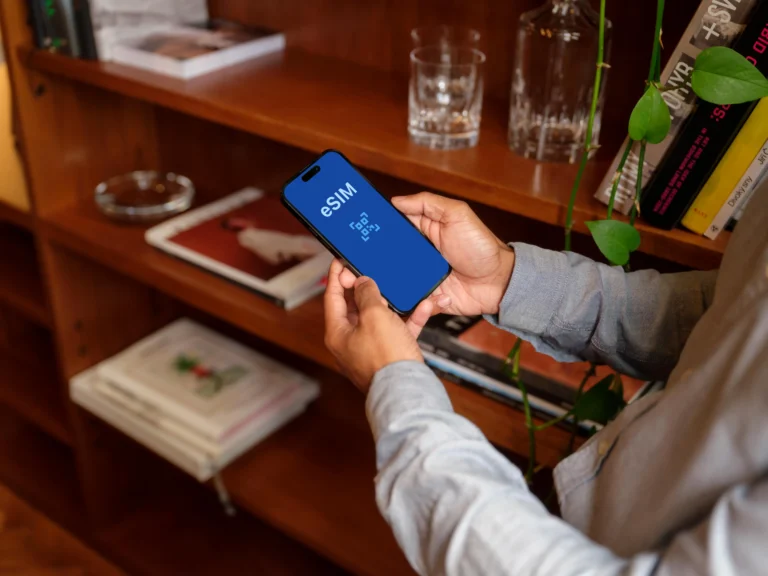
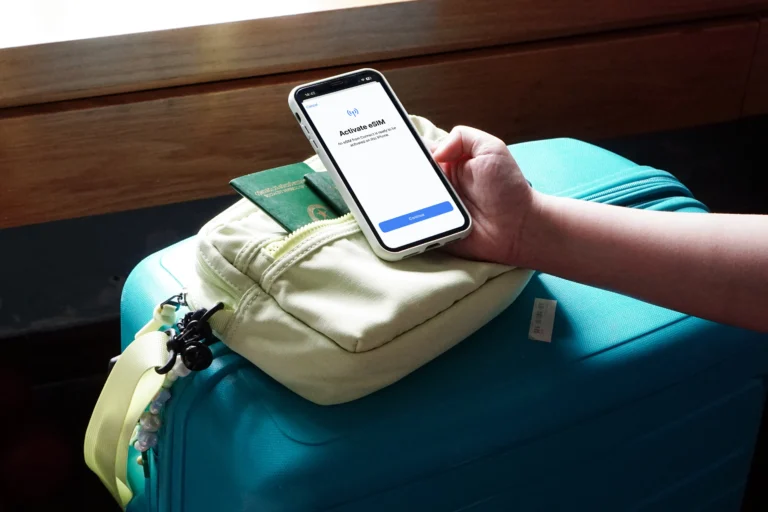
Issue 1: Your eSIM Is Installed But Not Active
One of the most frequent points of confusion is the difference between an eSIM being “installed” and it being “active.” You might have scanned the QR code back home and saw the profile appear in your list, but that doesn’t mean it is actually running. Many phones allow you to keep the profile on your device while the line itself is essentially “off.”
When you look at your list of cellular plans, the travel eSIM should labeled as “On” or “Active.” If it says “Off,” the phone isn’t even trying to talk to the local network. Activating it is usually a one tap process within your settings menu. For those still exploring their options, checking out top eSIM providers for global travel can help you choose a service that makes this activation process clearer.
Selecting The Correct Line
Navigating to the Cellular or Mobile Data menu is your first step. On an iPhone, you’ll find this under “Cellular Plans,” while Android users usually look under “SIM Management.” You need to explicitly tell the phone that this specific travel line is the primary driver for data.
If you see both your home SIM and the travel eSIM, ensure the travel one is the selected path. If the phone is searching for a signal on a line that isn’t supposed to have service in that country, you’ll see those frustrating “No Service” bars. Turn the travel line on, and if you’re worried about costs, keep the home line off entirely until you’ve settled in.
Issue 2: Data Roaming Is Disabled
This is the big one. If I had a dollar for every time this was the solution, I’d be flying first class. Most travelers are trained to keep “Data Roaming” off to avoid a $500 phone bill from their home carrier. However, for a travel eSIM to function, Data Roaming must be turned ON for that specific line.
Why Travel eSIMs Need Roaming
Technically, even a “local” travel eSIM is considered a “visitor” on the network. Because the eSIM provider is essentially renting space on a local carrier’s towers (like Vodafone or Orange), your phone views this as roaming. Without that toggle enabled, the phone will block all data to “protect” you from charges.
Don’t worry; as long as you have the toggle turned on only for your travel eSIM and not your primary home SIM, you won’t get hit with surprise fees from back home. It feels counter-intuitive, but it’s the bridge that allows the data to actually flow. If you’re feeling a bit lost with the tech side, looking into eSIM frequently asked questions can clear up why these settings are so vital.
Issue 3: Wrong Line Is Set For Mobile Data
Modern smartphones are clever, but they aren’t mind readers. They often have a setting called “Default Voice Line” and another for “Cellular Data.” It’s entirely possible to have your voice line set to the travel eSIM while the data is still trying to pull from your home SIM.
Check your settings to ensure “Cellular Data” is locked onto the travel line. I also strongly recommend disabling “Cellular Data Switching.” This feature tells the phone to switch back to your home SIM if the travel signal gets weak. While it sounds helpful, it usually just results in your home carrier charging you $15 a day for a “travel pass” you didn’t want. Lock it to the eSIM and keep it there.
Issue 4: Network Selection Is Wrong
By default, phones use “Automatic” network selection. This is usually fine, but occasionally your phone will latch onto a network that has a great signal but no data agreement with your eSIM provider. You’ll see four bars of signal, but nothing will load. This is a classic “handshake” failure.
Forcing A Supported Network
To fix this, go into your eSIM settings and find “Network Selection.” Turn off the “Automatic” toggle. After a few moments, a list of every available local carrier will appear. You need to check your eSIM’s welcome email or app to see which network they actually support.
Select that specific carrier manually. It might take a minute or two for the phone to register, but this often bypasses local conflicts where the phone is trying to “talk” to the wrong company. Manual selection is a great way to force stability in areas where multiple networks are competing for your phone’s attention.
Issue 5: APN Or Network Settings Are Missing
APN stands for Access Point Name. Think of it as the digital address your phone needs to send its data packets. If this field is blank or contains the settings from your home carrier, your data and the internet will never meet. Most modern eSIMs push these settings automatically, but things can get garbled during installation.
Quick Network Reset Fix
If your APN fields are empty, you’ll need to enter the info manually. You can find these details in your eSIM provider’s setup instructions. If you’re tired of digging through menus, a “Reset Network Settings” is the nuclear option.
Be warned: this will wipe out your saved Wi-Fi passwords and Bluetooth pairings. However, it also completely flushes the cellular “brain” of your phone, forcing it to grab fresh, correct settings for any active SIM. If your eSIM is stuck in a loop of errors, this reset is often the only way to break the cycle and start fresh.
Issue 6: Phone Is Locked Or Region Restricted
If you’ve tried every setting and nothing works, the problem might be the phone itself, not the eSIM. If you bought your phone via a carrier contract and haven’t fully paid it off, it might be “Network Locked.” A locked phone is programmed to only work with one specific carrier’s SIM cards.
You can check this easily in your settings. On an iPhone, go to Settings > General > About and look for “Carrier Lock.” It should say “No SIM restrictions.” If it says anything else, the phone is locked. In this case, no travel eSIM will ever work until you call your home carrier and ask them to unlock the device for international use.
Issue 7: Coverage Is Limited Where You Are
Sometimes the issue isn’t digital; it’s physical. If you’re hiking in the Swiss Alps or wandering through a remote coastal village in Vietnam, there simply might not be a tower nearby. No amount of setting changes can fix a lack of physical infrastructure.
Note that 5G can actually be less stable than LTE in many parts of the world. If you have four bars of 5G but nothing is loading, try forcing your phone into “LTE Only” mode. LTE is often more robust and has better range than the higher-frequency 5G bands, especially in transition zones where the coverage is spotty.
Issue 8: Apps Do Not Work Even With Data
 Photo by Kamaji Ogino
If your browser works but WhatsApp or Google Maps won’t load, you’re likely facing an app-specific permission issue or a VPN conflict. Some apps have a “Cellular Data” toggle in their own individual settings. If you disabled this back home to save data, the app will refuse to work abroad even if your eSIM is perfectly fine.
Another common culprit is a VPN. Many VPNs use “kill switches” that block all traffic if the connection isn’t perfectly encrypted. Sometimes, the local network’s routing doesn’t play nice with your VPN’s protocols. Turn off your VPN completely while troubleshooting; you can always turn it back on once the basic connection is stable.
Final 60 Second Reset Before Giving Up
If you have reached this point and things are still broken, take a deep breath. There is one golden rule: DO NOT DELETE the eSIM. Most travel eSIMs are “one-time use.” If you delete the profile, you can’t just scan the QR code again. It’s gone forever, and you’ll likely have to pay for a new one.
Before you give up and buy a physical SIM, reach out to the eSIM provider’s support team. They can see on their end if the line has been activated or if there is a regional outage. Mention the steps you’ve already taken (Roaming on, APN checked, Manual network selected) to speed up the process. They’ll appreciate that you’ve done the heavy lifting.
How To Stay Connected If The eSIM Still Fails
If all else fails, you need a backup plan. Grab some coffee at a shop with free Wi-Fi and use that time to download offline maps on Google Maps or Maps.me. This ensures you can at least navigate back to your hotel without needing a live data stream.
If you are traveling with a partner whose phone is working, ask them to turn on their hotspot for 60 seconds. This can give your phone the momentary data “boost” it needs to finish an activation or download a carrier update. If the eSIM is truly a dud, your last resort is a local physical SIM card. They are usually available at any convenience store or airport kiosk and will get you through the rest of your trip.
Conclusion
Technical glitches shouldn’t ruin your travel experience. By following this checklist, you’ve ruled out the most common setting errors that keep phones offline. Most of the time, a simple roaming toggle or a manual network search is all it takes to bridge the gap between “No Service” and a high-speed connection. Always remember to check your device compatibility and carrier lock status before you even leave home to ensure a smooth transition. For more expert advice on maintaining your connection while on the road, visit gohub.vn for further travel connectivity tips. Enjoy your trip and stay connected out there.