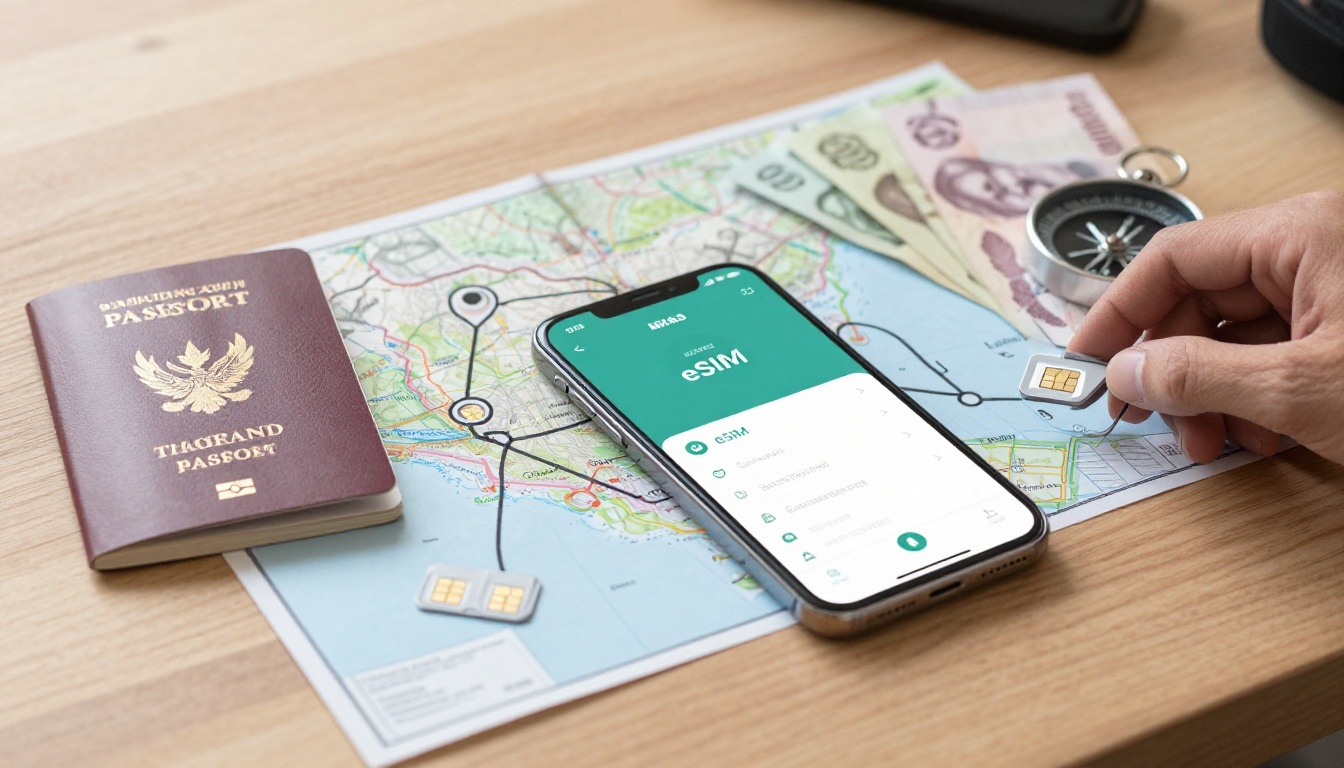
Picking a Thailand Data Plan: The Break-Even Point on Regional Plans
Crossing from Thailand into Laos can turn a cheap data plan into two annoying purchases. The direct answer is simple: a regional plan often wins when you spend under four days in each country.
Finding the best value means looking past a tempting headline price. The best eSIM for Laos and Thailand depends on trip length, data use, base fees, coverage, and how much setup you can tolerate.
Start with your full itinerary, not the first country on your booking.
Picking a Thailand Data Plan: The Break-Even Point on Regional Plans
Two local passes can look cheaper until you add both minimum charges. A regional eSIM can look pricey until you realize it covers the full border hop.
These planning estimates show where the math often lands.
| Trip scenario | Separate Thailand and Laos passes | Regional Thailand and Laos eSIM | Best choice |
|---|---|---|---|
| One to three days in each country | About $16 to $22 combined | About $10 to $14 total | Regional plan |
| 12 days in Thailand, two days in Laos | Cheap Thailand plan plus short Laos pass | One rate across both stops | Often regional |
| Ten or more days in each country | About $0.80 to $1.20 per GB | Roughly $1.50 per GB | Separate passes |
Prices move around. Providers change allowances, validity periods, host networks, and activation terms.
The short-trip verdict is usually clear: avoid paying two minimum fees. Long stays need a closer look at total data costs.
When a Regional Plan Saves Money
A regional plan often wins when you spend fewer than four days in each country. You pay once, install once, and don’t leave unused data behind in a plan you barely touched.
This matters most during quick border stops. A two-day Laos visit can make a second local plan feel like buying a full suitcase for one shirt.
Compare the total trip price, not only the advertised cost per gigabyte. A low per-GB rate means little if the plan forces you to buy more data than needed.
When Separate Local Plans Cost Less
Separate plans can cost less during long stays, especially when both countries offer generous local data packages. Ten days or more in Thailand and Laos is the usual point where local pricing starts looking pretty good.
A lower rate of about $0.80 to $1.20 per GB can beat regional data around $1.50 per GB. That gap gets real when you work remotely, upload media, or rely on hotspot data.
Check each plan’s validity, top-up price, hotspot rules, and device support first. Cheap data isn’t a bargain if it expires halfway through your stay.
How to Find Your Data Break-Even Point
Your break-even point is the trip pattern where two country plans cost the same as one regional plan. Write down four things before buying: fixed fees, included data, validity, and expected daily use.
That small bit of homework saves the kind of money mistake that feels silly later.
Compare Base Fees With the Price Per Gigabyte
Every eSIM has a starting price. Separate Thailand and Laos plans each carry that base cost, even when you use little data.
Use this simple calculation: total plan cost equals base fees plus included or extra data costs. A short stay creates wasted data and duplicate fees.
Longer stays change the equation. Once you use most of each local plan, the lower local price per GB can finally justify two profiles.
Count Border-Crossing Days as Real Data Days
Don’t treat travel day as a free day. The Chiang Rai to Bokeo route can require maps, translation, messages, transport apps, and last-minute booking checks.
A regional plan keeps data available while your phone moves between networks. It can also prevent a second daily charge during a short stop.
Border days are often your highest-value data days because you need directions and confirmations at the same time.

Price Convenience Against Manual eSIM Switching
One regional profile is cleaner than two country profiles. With separate eSIMs, you may need to open iOS settings and change your cellular data line after arrival.
That isn’t difficult, but it is one more thing to get wrong after a long bus ride. A regional profile can switch host networks automatically when the plan supports it.
Confirm automatic network selection and local coverage before purchase. Don’t assume every regional plan handles both countries the same way.
Keep Your Home Number Available for Two-Factor Codes
Dual SIM settings can keep your home number active for banking texts and account codes. Your travel eSIM handles mobile data, while your home line stays available for incoming SMS.
Turn off data roaming on the home line. Otherwise, your phone can pull expensive home-carrier data without you noticing.
SMS availability depends on your carrier, account settings, and phone support. Test important banking apps before departure, not at a border counter.
Is a Regional Plan the Best eSIM for Laos and Thailand?
For short visits, frequent border crossings, and simple setup, a regional plan is usually the no-brainer. For long stays and heavy use, two local plans can win on raw cost.
The best eSIM for Laos and Thailand also needs the right coverage, hotspot access, validity, activation timing, and unlocked-device support. Browse current Thailand eSIM options with your exact travel dates beside you.
Estimate Your Daily Data Before Buying
Light users often need data for maps, messages, ride apps, and occasional browsing. Around 500 MB to 1 GB per day can be a reasonable planning range.
Moderate users add social feeds, music, video calls, and restaurant research. Plan closer to 1 GB to 2 GB daily if that sounds like you.
Heavy users can burn through several gigabytes daily with video streaming, remote work, and hotspot use. Download offline maps, tickets, and travel documents before flying.
Check Coverage, Validity, and Device Support
Check the practical stuff before paying. Confirm your iPhone is unlocked, supports eSIM, and works with the plan’s supported Thailand and Laos networks.
Also check the validity period, fair-use limits, hotspot access, and activation rules. Some plans start validity at purchase, while others start upon network connection.
A plan can look cheap and still disappoint. Fast-expiring data is not good value for a later border crossing.
What a Regional Plan Does Not Fix
A multi-country profile removes a purchase and profile switch. It does not magically give every traveler the same speeds or coverage.
Keep your expectations practical, especially outside major cities.
Local Coverage Still Matters
Thailand and Laos have different terrain, network partnerships, and coverage gaps. A regional eSIM only works where its local partner network reaches.
Check your planned routes, including islands, rural roads, and mountain areas. If a provider lists several networks, confirm whether your plan can actually use them.
Hotel Wi-Fi can help, but don’t build your whole trip around it. Maps and ride apps are most useful when you’re outside the hotel.
More Data Does Not Always Mean Better Value
A giant regional allowance can look kick-ass on paper. It isn’t a deal if you use only a fraction of it during a four-day trip.
Buy enough data for your real habits, plus a small buffer. Don’t pay for a remote-work package if you only need navigation and messages.
This is where travelers overthink the wrong thing. The cheapest plan is the one you fully use without running out.
Set Up a Cross-Border eSIM on an iPhone Without Roaming Fees
Set up the profile over reliable home Wi-Fi before departure. Activate service only when your plan’s rules tell you to do so.
A few clean settings can keep your home line available without turning it into a roaming bill.
Confirm the iPhone Has No Carrier Lock
Open Settings, tap General, then tap About. Find Carrier Lock and confirm it says “No SIM restrictions.”
A locked iPhone may reject a travel eSIM, even when the phone supports eSIM technology. Fix that issue with your home carrier before the trip.
Install the Regional Profile Over Home Wi-Fi
Scan the eSIM QR code or follow the provider’s manual steps before flying. Save the QR code and activation details somewhere secure.
If you cannot scan the code, use the manual details supplied by the provider. This QR code eSIM setup guide shows the iPhone steps.
Don’t delete an installed eSIM unless the provider confirms reinstallation works. Some profiles cannot be scanned twice.
Choose the Travel Line for Cellular Data
Open Settings, tap Cellular, then select Cellular Data. Choose the regional travel line as your mobile data source.
Keep your home line selected for calls or incoming SMS when needed. If data does not work, check that the travel eSIM has the data checkmark.
Use these travel eSIM data fixes before assuming the plan failed.
Turn Off Data Roaming on the Home Line
Open the home line’s cellular settings and switch off Data Roaming. Then check that your travel line shows service after landing.
Some travel eSIMs require data roaming enabled on the travel line itself. Follow the provider’s instructions for that line, not your home line.
Monitor data use during day one. It is much easier to adjust habits early than to buy emergency data later.
Use This Pre-Trip Checklist to Avoid Paying Twice
Run through these details before you leave. It takes five minutes and cuts down on expensive surprises.
- Calculate the exact number of days you will spend in Thailand and Laos.
- Estimate daily data for maps, messages, social media, streaming, and work.
- Compare total plan costs, not only each plan’s per-GB price.
- Check coverage along your routes, including rural areas and border towns.
- Confirm that your iPhone is unlocked and supports eSIM.
- Save QR codes and manual activation details outside your email inbox.
- Download offline maps, reservations, and key travel documents.
- Review home-line roaming settings before switching on your travel eSIM.
Keep the full trip in view. Two cheap-looking plans can cost more than one regional option once duplicate base fees appear.
Choose the Plan That Fits the Actual Trip
A regional plan usually wins for quick stays, short border crossings, and travelers who want less phone fiddling. Separate country plans can win when you stay longer and use enough data to benefit from local rates.
Calculate your base fees, expected data use, validity, and coverage before buying. Then compare your itinerary with a travel eSIM for Thailand and pick the option that keeps you connected in both countries.