Thailand eSIM Plans: The Real Cost per GB
Planning time in Bangkok, Chiang Mai, or Thailand’s southern islands? Your best Thailand eSIM depends on your real data use, network access, speed limits, coverage, and setup time.
The straight answer is simple: compare the total price per GB, confirm access to a strong local host network, and choose clear high-speed data limits. A useful benchmark sits below $2 per GB, but check the full package price instead of trusting a low advertised daily rate.
Before you buy, compare Thailand eSIM cost per GB, then check the network and speed rules that matter after you land.
The Straight Answer: How to Pick the Right esim thailand Plan
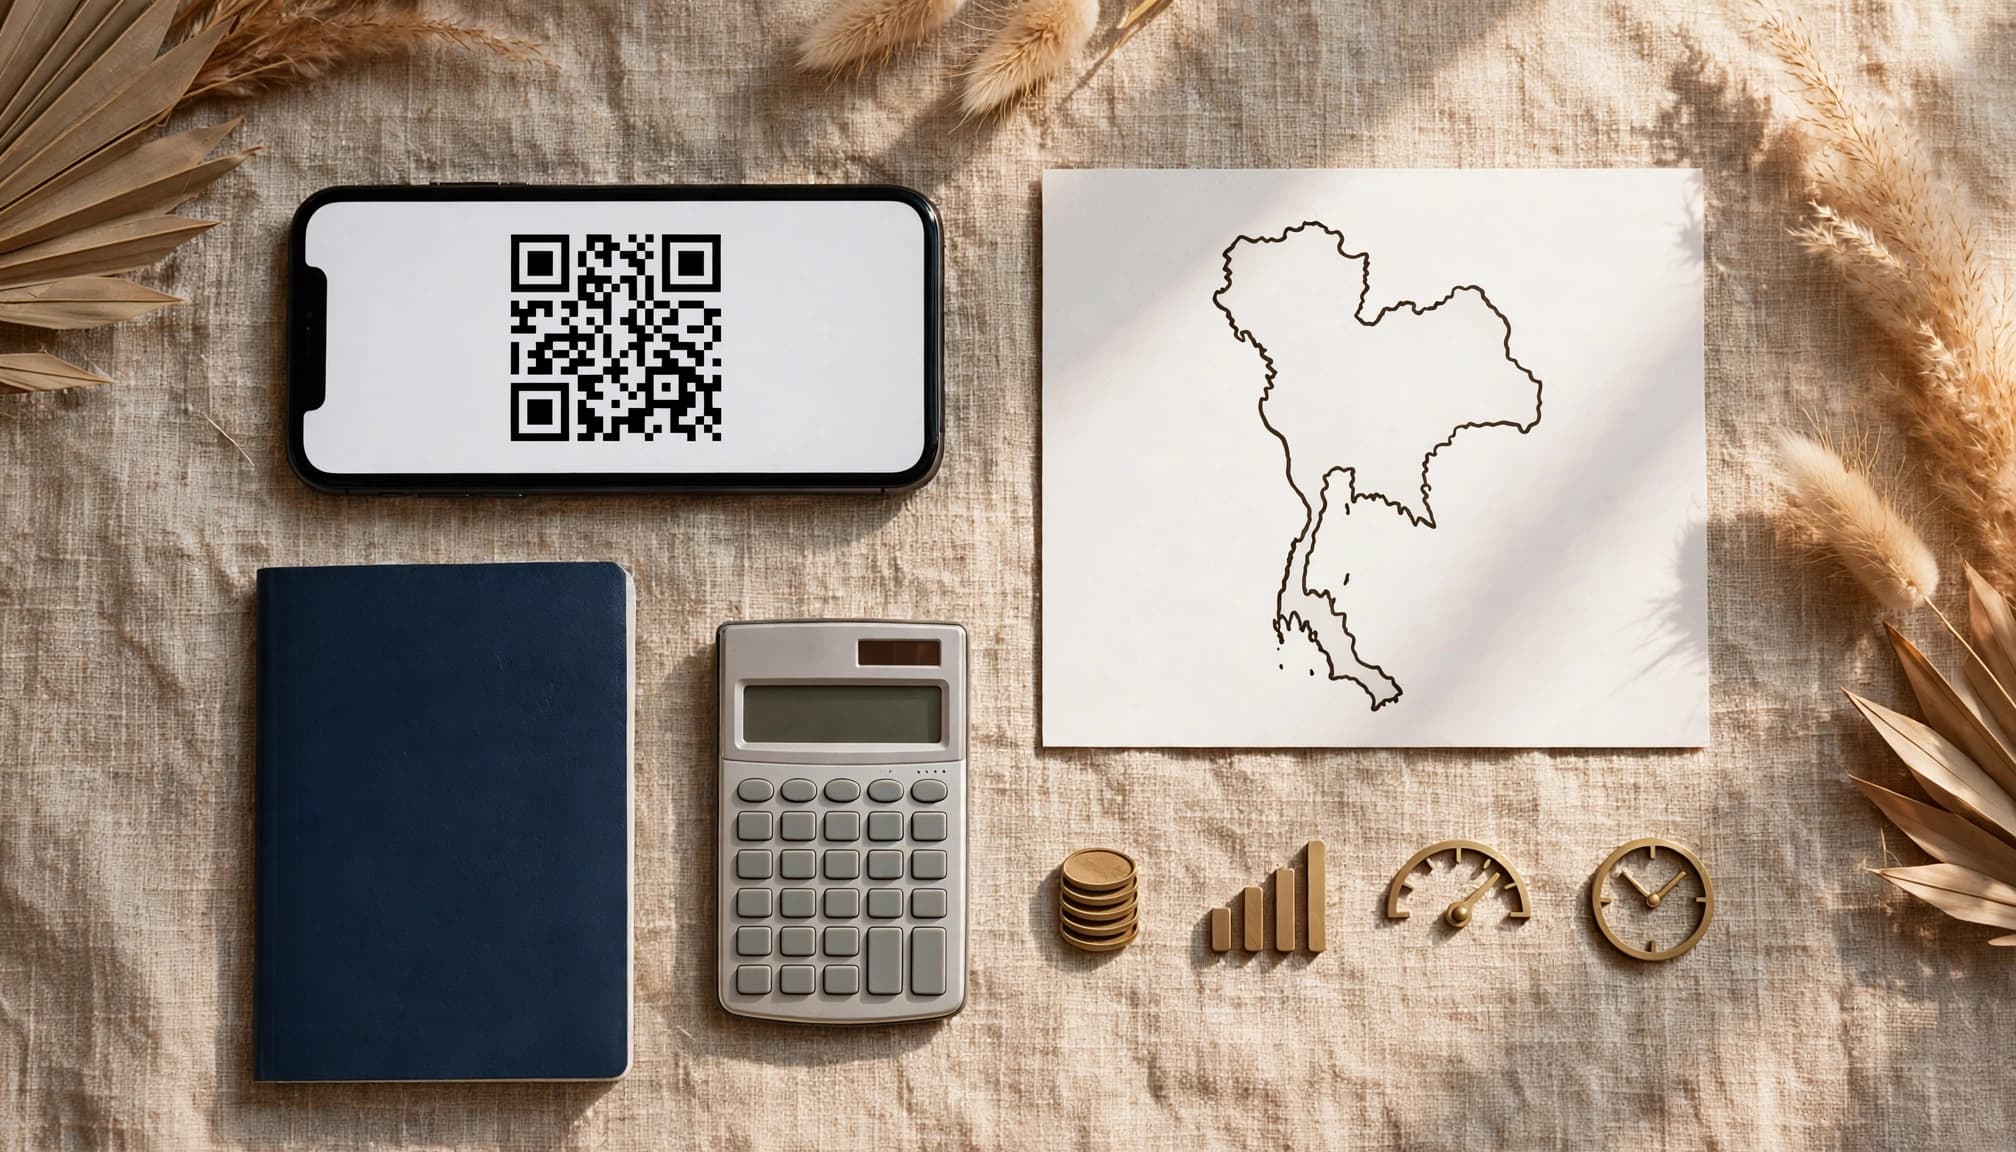
Choosing the right Thailand eSIM gets easier when you compare four things: price, network, speed rules, and setup time. Ignore the flashy headline first. The details decide whether your connection still works after Bangkok, the islands, and rural roads.
Use this four-point decision framework
| Criterion | What marketing may promise | What you should verify |
|---|---|---|
| Unit price | “Plans from $1 per day” | Keep the total cost below $2 per GB. |
| Network host | “Nationwide Thai coverage” | Confirm direct access to a reliable Thai operator network. |
| Speed rules | “Unlimited 5G data” | Look for a fixed high-speed allowance without hidden throttling. |
| Activation time | “Instant setup anywhere” | Install the eSIM in under two minutes using home Wi-Fi. |
A cheap daily rate can hide a small data allowance, extra fees, or unusable speeds after heavy use. Calculate the full package price, then divide it by the included high-speed gigabytes.
Check the network and speed fine print
5G branding doesn’t guarantee constant 5G service. Your phone may switch to 4G in crowded areas, underground stations, rural roads, or remote islands. Coverage also changes between cities, beaches, highways, and mountain areas.
Look for a plan that names its Thai network partner instead of simply promising nationwide access. Official tourist plans from NBTC mobile network information show why network technology and speed terms need careful reading.
Fixed data plans usually make the real cost easier to understand. For a broader regional option, compare Asia eSIM plans with Thailand coverage, especially if your trip includes neighboring countries.
Install your profile before leaving home. Follow this Thailand eSIM installation guide while connected to Wi-Fi, and you can land ready to use maps, rides, messages, and calls.
For the best esim thailand choice, prioritize clear high-speed limits, a dependable local network, and setup you can finish before boarding.
Three Rules That Protect Your Thailand Travel Data Budget
A cheap Thailand eSIM can still become poor value when speed, coverage, or setup rules get buried. Check these three details before you pay.
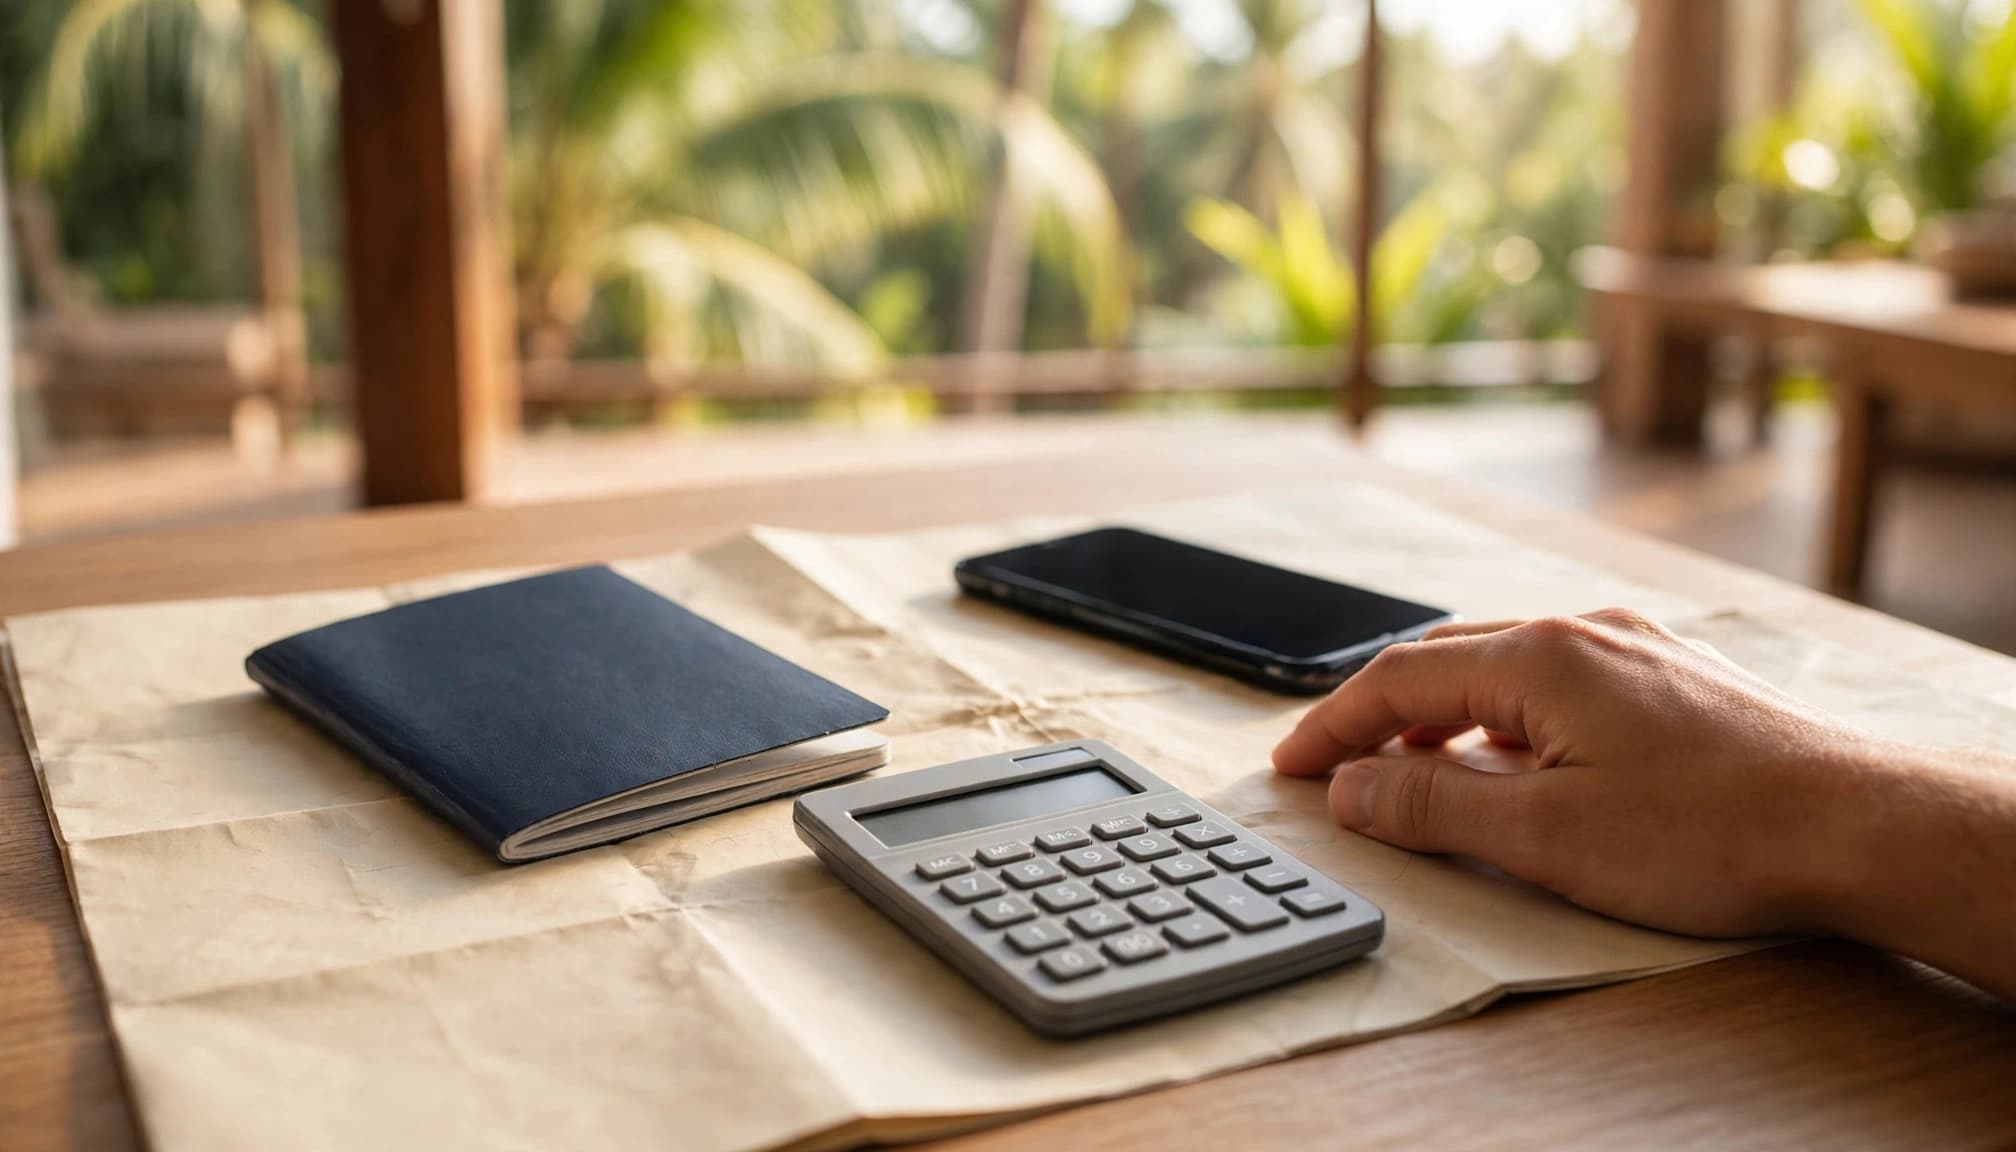
Compare the Real Price per GB, Not the Daily Rate
Daily pricing looks attractive, but it can hide a tiny high-speed allowance. A plan costing $3 per day may slow after only 500MB, leaving you with 2G-like speeds.
Calculate the real cost yourself:
Full package price ÷ high-speed data allowance = actual price per GB
A $15 plan with 10GB costs $1.50 per GB. A $20 plan with 15GB costs about $1.33 per GB, before taxes and fees.
Fixed 10GB or 15GB packages usually make this comparison much cleaner. Before buying, check the validity dates, hotspot rules, renewal terms, taxes, and fair-use policy.
“Unlimited” often means unlimited access at reduced speeds, not unlimited high-speed data.
Check Island, Ferry, and Mountain Coverage Before You Buy
Coverage claims can hide a major difference between the local host network and the reseller profile. Your phone may see a strong signal in Bangkok, then struggle on a ferry, island road, or mountain trail.
Check which Thai networks the plan actually supports. Look for AIS, True, or dtac access, especially when visiting Phuket, Krabi, Koh Samui, Koh Tao, northern Thailand, or rural hiking areas.
No eSIM guarantees service everywhere. Still, direct access to a strong 4G or LTE host network can improve consistency outside major cities. Compare a current Thailand coverage guide before choosing.
Install the eSIM Before the Airport Queue Starts
Downloading an eSIM profile isn’t the same as activating mobile data. You can install the line at home, then switch mobile data to it after landing.
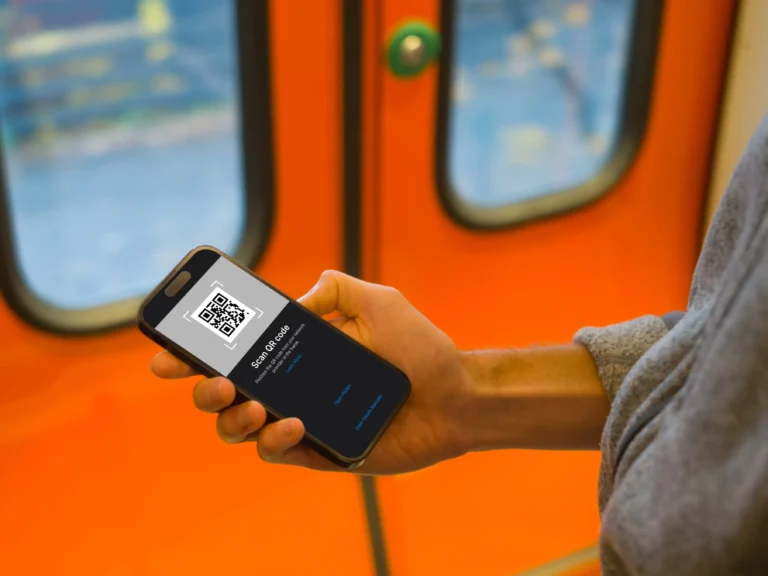
Scan the QR code over stable Wi-Fi before your flight. Label the line clearly, and save the installation details offline in case you need them later.
Early setup lets you request a ride and open maps immediately. You won’t waste your first hour at an airport kiosk.
Check the provider’s activation policy first. Some plans start their validity when you install the profile, not when you connect in Thailand. Use this QR code eSIM installation guide for the setup steps.
How Much Data Do You Need for a Thailand Trip?
Your trip length gives you a starting point, but your habits decide the real number. Maps, ride-hailing, messaging, social media, video calls, streaming, and tethering can change your usage quickly.

A Seven-Day Visit Usually Needs 5GB to 8GB
For a typical one-week Thailand trip, plan on 5GB to 8GB of high-speed data. That range covers regular map use, messaging, translation apps, ride-hailing, email, and light social media.
You can stay near 5GB by using hotel Wi-Fi whenever possible. Download Google Maps areas before leaving, save hotel details offline, and avoid automatic photo backups over mobile data.
Choose closer to 8GB if you upload photos every day, join video calls, or answer frequent work messages. Add extra data for delayed ferries, long transfers, and days without reliable Wi-Fi.
A Two-Week Vacation Often Needs 10GB to 15GB
A two-week vacation usually needs 10GB to 15GB, especially when you move between Bangkok, Chiang Mai, Phuket, Krabi, or the islands. More travel days mean more navigation, bookings, web browsing, and ride-hailing.
Regular social media posts and occasional video calls fit comfortably within this range. Streaming music or short videos can also work, provided you use hotel Wi-Fi for longer sessions.
Remote work changes the calculation. Frequent photo uploads, large attachments, video meetings, and laptop tethering can push usage beyond 15GB. In that case, a larger fixed plan makes more sense than hoping a small package lasts.
A Thirty-Day Stay May Need 20GB to 50GB
A month in Thailand often requires 20GB to 50GB. Digital nomads, long-stay travelers, and anyone streaming or working online should choose the upper end.
A renewable plan may suit you better than one large package when your daily usage changes. Before buying, check these details:
- Confirm that you can control automatic renewal.
- Check whether the app shows remaining data clearly.
- Verify that hotspot use supports your laptop or tablet.
- Find out what happens after your high-speed data runs out.
Heavy tethering can consume several gigabytes quickly. Keep hotel Wi-Fi for downloads, updates, and streaming, then use your esim thailand plan for travel days and mobile work. If your data stops working unexpectedly, keep a guide to fixing eSIM connectivity problems available offline.
eSIMs Versus Airport SIM Cards and Roaming in Thailand
The best choice depends on your phone, data needs, arrival time, and comfort with setup. An eSIM isn’t automatically cheaper or better than every airport SIM or roaming plan.
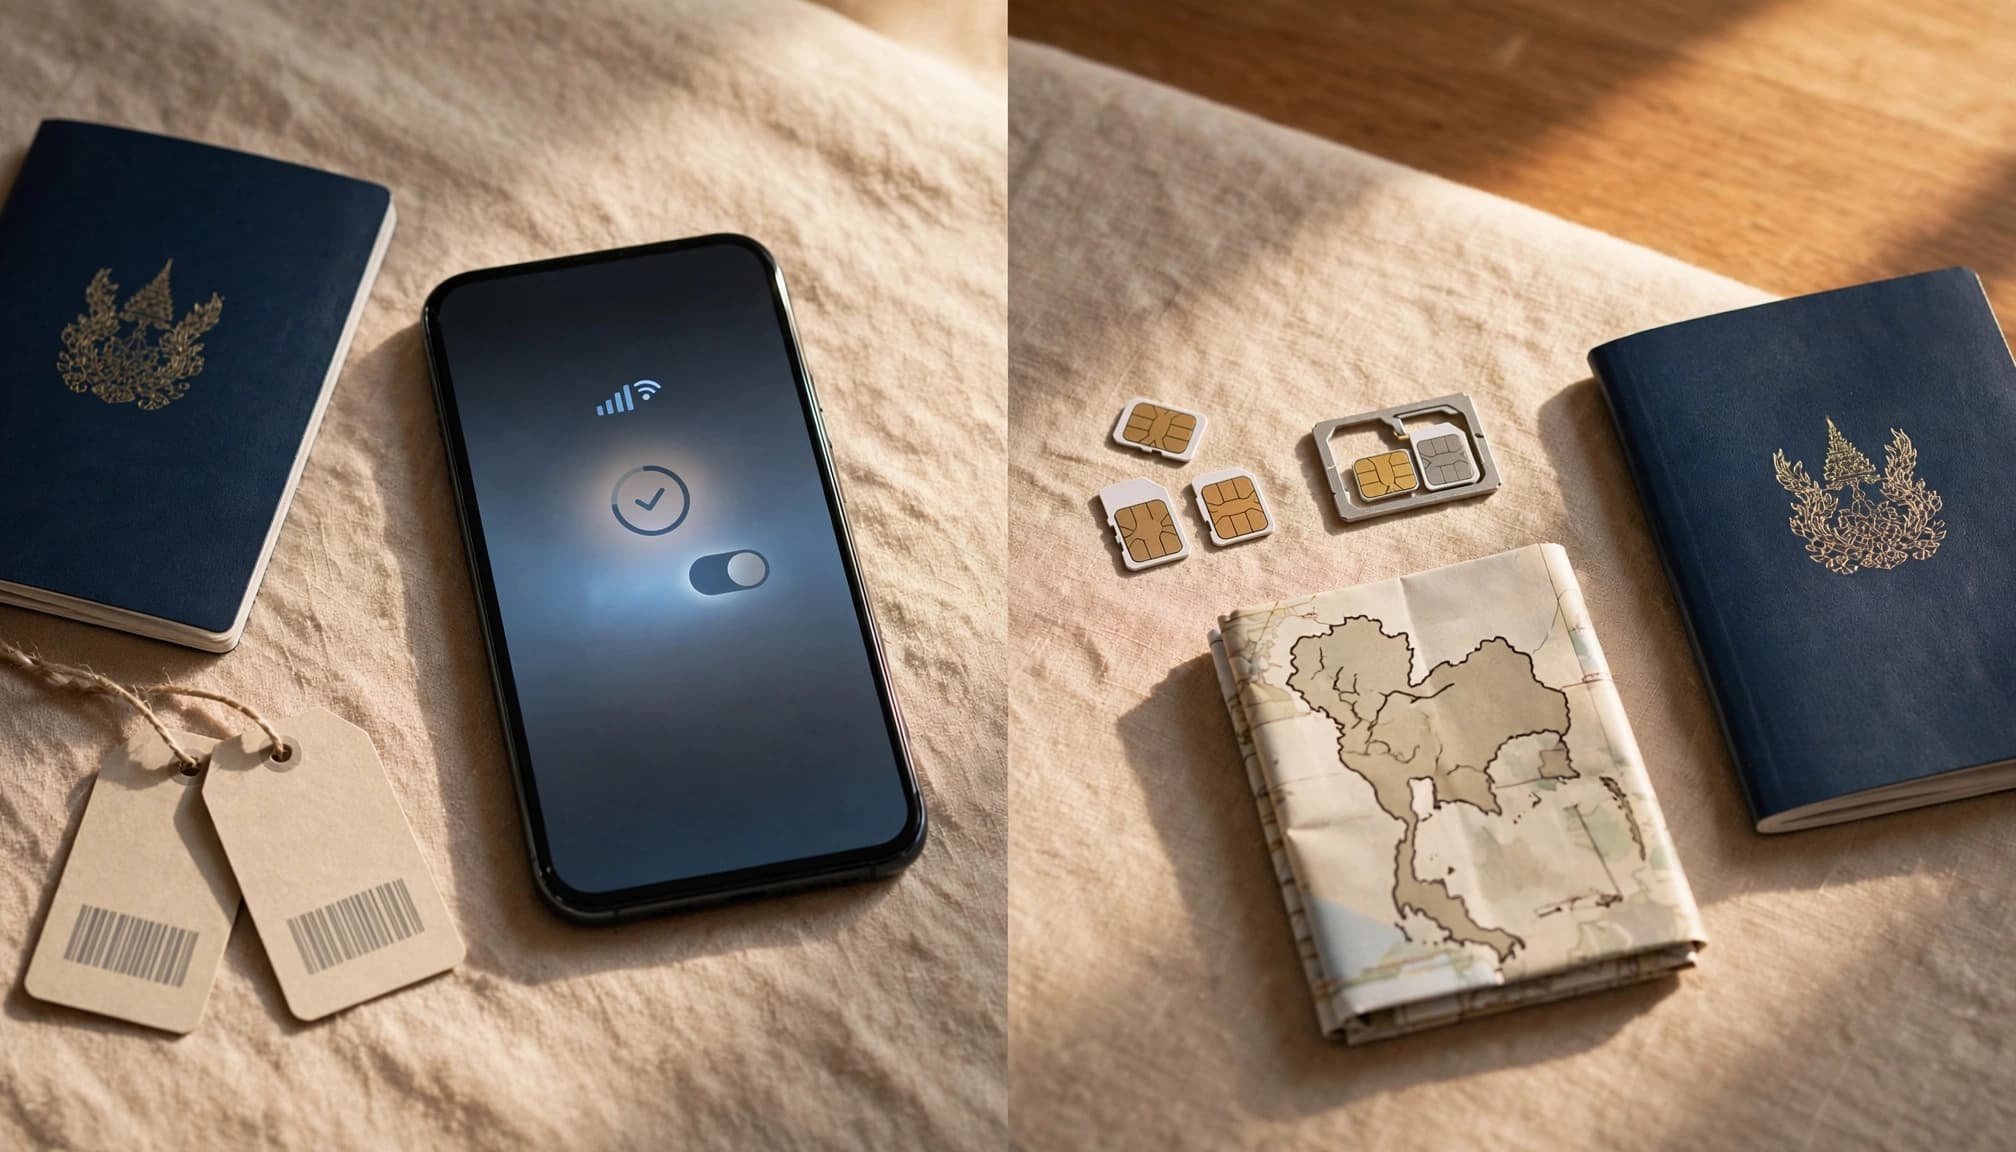
When an eSIM Makes the Most Sense
An eSIM suits travelers with an unlocked, compatible phone who want data ready before landing. You can buy the plan remotely, install it over home Wi-Fi, and avoid swapping a tiny physical card at the airport.
This setup works especially well if you:
- Arrive late, when airport counters may close or become crowded.
- Travel with children and need maps or ride-hailing immediately.
- Visit Bangkok, Chiang Mai, Phuket, and several islands.
- Want to keep your home SIM active for banking texts.
- Prefer to avoid airport queues and physical SIM storage.
Check Device Compatibility Before You Travel
Before buying, check your iPhone eSIM compatibility. Your device must support eSIM technology and remain carrier unlocked to connect to another network while traveling.
Setup still requires attention. Follow the installation instructions, select your travel eSIM as the mobile data line, and confirm the correct profile in your cellular settings. If mobile data does not work after arrival, review the Apple APN and cellular settings guide before changing network settings manually.
Some travel eSIMs provide data only. They may not include a local Thai phone number, voice calls, or SMS support, so plan to use services like WhatsApp or iMessage when needed..
When a Physical SIM or Roaming Plan May Work Better
A physical SIM may suit you if your phone is older, locked, or incompatible with eSIMs. Airport counters also offer local help, which is useful when you want someone to install and test the line.
Roaming can work well for a short business trip. A clear home-carrier pass may keep your familiar number, billing, and support. That convenience often costs more, though.
Compare the full price and high-speed allowance before choosing. Check:
- Total trip cost, including taxes and activation fees.
- High-speed data before throttling begins.
- Coverage across cities, islands, and rural areas.
- Voice, SMS, hotspot, and renewal rules.
- Activation timing and validity dates.
Your best esim thailand option depends on total cost, coverage, data needs, and convenience, not habit.
Set Up Your Thailand Data Plan Before You Fly
A few minutes at home can prevent expensive roaming, airport queues, and setup stress. Install the profile over stable Wi-Fi, save every activation detail, then test your settings before boarding.
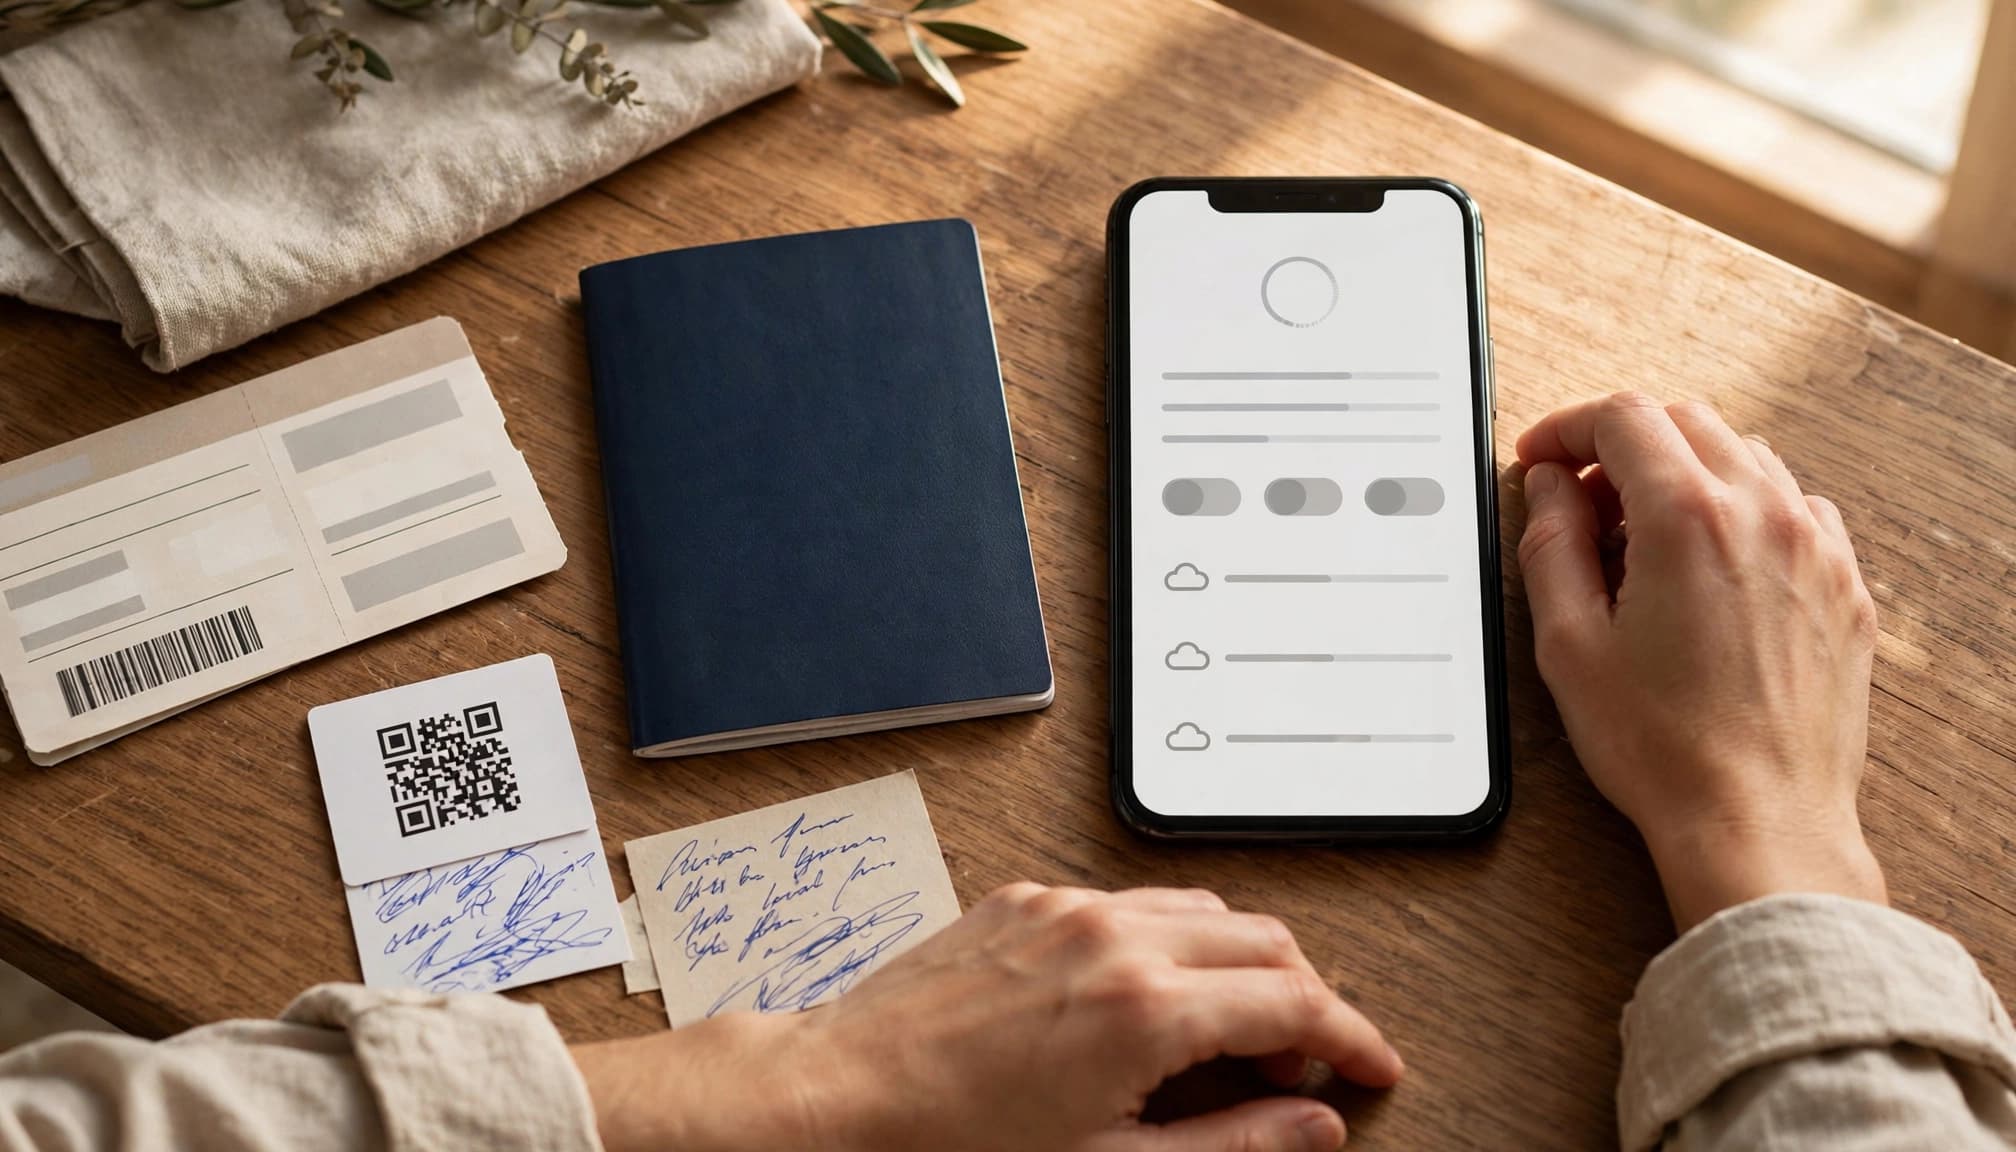
Confirm Your Phone and eSIM Compatibility
Check the exact device model, not only the phone family. Some versions support eSIM technology, while other regional versions do not.
Your phone also needs to remain carrier unlocked. Confirm that it has an available eSIM slot before buying your Thailand data plan.
Install pending system updates before leaving home. Updates can improve network support and prevent activation problems.
After installation, avoid deleting the eSIM profile. Some travel profiles allow only one installation. Contact support before removing it if the line fails.
Save the QR Code and Manual Activation Details Offline
Save the QR code in a secure photo folder or offline note. Add your order number, support contact, SM-DP+ address, and activation code.
Airport Wi-Fi can fail, slow down, or require a phone number you cannot access. Offline details give you another way to install or troubleshoot the profile.
Never post your QR code or activation details publicly. Someone else may use them, and some profiles cannot be installed twice.
Set the Correct Data Line After Landing
Your setup has separate steps. Installing the profile does not automatically make it your active data connection.
- Turn on the travel line in your phone’s cellular settings.
- Select the travel line under “Mobile Data” or “Cellular Data.”
- Enable data roaming on the travel line if the provider requires it.
- Turn off “Allow Cellular Data Switching” or its Android equivalent.
- Keep your home SIM active for banking security texts.
- Disable data roaming on your home line to avoid surprise charges.
On iPhone, look under Settings > Cellular. Android menu names vary by model, but check SIMs, Mobile Network, or Data Roaming. Apple’s dual SIM travel guidance explains the main iPhone controls.
Before leaving the airport, open a webpage or map. If it loads, your travel line is ready.
Choose the Best Thailand Data Plan With a Final Checklist
The right Thailand data plan should match your route, trip length, and daily habits. Use this final checklist before paying, because the cheapest option can create expensive delays.
Confirm These Details Before Buying
Run through each point on the provider’s plan page:
- Confirm coverage for Bangkok, Chiang Mai, Phuket, Krabi, and every island on your route.
- Calculate the total price per GB, including taxes, fees, and renewal charges.
- Check the exact high-speed data limit before throttling starts.
- Match the validity period to your arrival date and full trip length.
- Verify whether hotspot use supports your laptop, tablet, or second phone.
- Identify the supported Thai network host, such as AIS, True, or dtac.
- Check when activation begins, because installation may start the validity clock.
- Read the refund terms before installing the profile.
- Save the customer support contact details and opening hours.
Network access matters more than a flashy 5G claim. Review the NBTC mobile network information if you need an official reference for network availability and coverage in Thailand..
A plan with weak coverage or unclear throttling can cost more through missed rides, wasted time, and failed bookings.
Choose the Plan That Fits Your Actual Use
A seven-day visitor often needs 5GB to 8GB. A two-week traveler may need 10GB to 15GB. Longer stays or laptop tethering can require 20GB to 50GB.
Don’t choose unlimited data automatically. Some unlimited plans reduce speeds after a small daily allowance, which can make maps, uploads, and video calls frustrating. A fixed package often gives you a cleaner price and more predictable performance.
Compare profiles by network access, high-speed data, validity, and support. Then install your preferred esim thailand profile before departure, so you can connect as soon as you land.
Conclusion
Picking a Thailand data plan doesn’t require complicated math or high fees. Compare the real cost per GB, verify the local host network, and read the speed limits before paying.
Choose 5GB to 8GB for a typical week, 10GB to 15GB for two weeks, or 20GB to 50GB for longer stays and heavier use. Install the profile over home Wi-Fi before flying, then select it as your mobile data line after landing.
The best esim thailand plan is the one with clear limits, reliable network access, and setup you understand. Secure your plan before departure, and keep this guide to troubleshoot travel eSIM connection issues available if your connection needs attention.