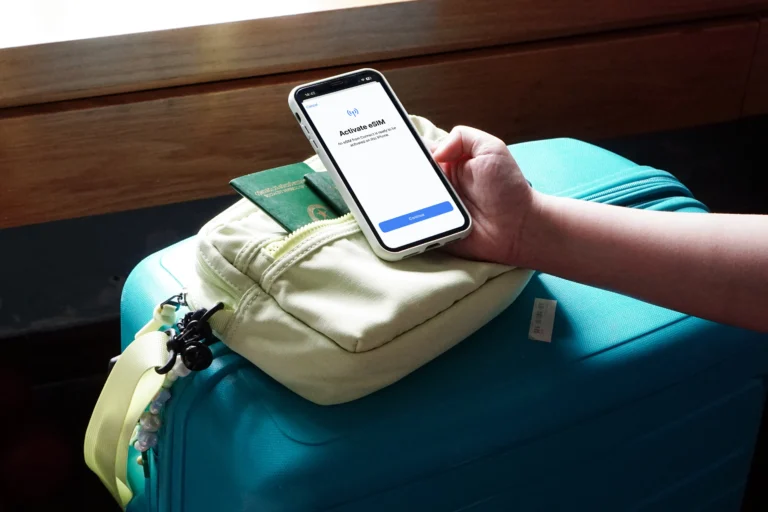

How To Set APN Settings For Travel eSIM (2026 Step-By-Step Guide)
The Access Point Name (APN) is the critical digital gateway that allows your mobile device to communicate with a network carrier. While modern eSIM technology usually handles this connection automatically, manual setup remains a vital survival skill for travelers in 2026. If you’ve ever seen full signal bars but couldn’t load a single map, an unconfigured or incorrect APN is likely the culprit.
Setting up your connection correctly ensures that data roaming, network selection, and provider-specific services function without a hitch. This is especially important for avoiding common hurdles like the PDP authentication failure on iPhone or resolving the dreaded “No Service” status when you land in a new country.
This guide provides a comprehensive walkthrough for managing your travel data, including:
- Defining APN needs and why manual entry is still necessary for most international travel.
- Step-by-step instructions for configuring settings on both iOS and Android devices.
- Common provider settings and specific codes for popular global carriers.
- Troubleshooting tactics for slow speeds, Private DNS conflicts, and non-existent data.
Whether you’re trying to fix Japan eSIM connection issues or simply want to ensure your global profile is ready before takeoff, mastering these settings is the best way to stay online. Let’s dive into how you can take control of your mobile configuration to keep your travel plans on track. What is APN and Why Do You Need It for Travel?
The Access Point Name acts as the bridge between your device and the internet. Think of it as a set of credentials that your phone presents to a carrier to get permission to use their data towers. Without the correct APN, your phone is essentially knocking on a door without the password. While modern travel eSIMs use automation to handle this, the complexity of global roaming often requires you to step in and fix things yourself.
Understanding these settings is about more than just tech specs; it is about ensuring you are never stranded without a map in a foreign city. When you land and your phone fails to pick up a signal, the APN is usually the first place you should look to restore your connection.
Common Scenarios Where Manual APN Setup is Required
Automatic configuration is the gold standard for travel tech, but it is far from perfect. One of the most common reasons you will need to perform a manual setup is when you are using an older device. Even in 2026, many legacy handsets lack the updated firmware required to automatically “grab” the configuration file from a specific travel eSIM provider. If your phone cannot download these instructions, the APN fields will remain blank, resulting in a disconnected state despite having full signal bars.
Another frequent culprit is the use of multi-IMSI technology. Many travel eSIMs today store multiple “identities” on a single digital chip to provide the best local rates across different borders. When you move between countries or remote areas, the eSIM attempts to switch its identity to match a local partner. This transition sometimes triggers a data timeout. In these moments, the “handshake” between your phone and the new tower fails because the network sees a mismatch in credentials. Manually refreshing or re-entering the APN forces the phone to re-authenticate and resolve these timing issues.
You might also encounter trouble when switching between local carriers in rural zones. If the automatic network selection chooses a secondary provider that hasn’t fully synced with your eSIM’s database, the internet will simply stall. By manually entering the provider’s specific APN, you bypass the network’s confusion and tell your phone exactly which gateway to use. It is a simple fix that solves nearly 90% of data-related travel headaches.
Essential Checks Before Modifying Your Settings
Before you start typing complex codes into your cellular settings, you must verify a few basic toggles. The most important step for any traveler is to ensure that Data Roaming is toggled ON for your specific travel eSIM. People often fear this button because of the “roaming” label, but for travel eSIMs, this is a requirement. Since these digital lines are technically roaming on a local partner network, they cannot function if this setting is disabled.
Next, you need to confirm that your phone knows which line is the priority for internet access. Modern smartphones allow you to keep your home SIM active for calls while using a travel eSIM for data. You must navigate to your cellular settings and verify that your travel eSIM is the one selected for “Cellular Data.” If your phone is still trying to pull data from your home carrier, changing the APN settings on your travel profile won’t have any effect on your actual connection.
Finally, take a moment to look at your network selection. If you are in an area with spotty coverage, your phone might be “hunting” for a signal, which blocks the eSIM from finishing its setup. Setting your network selection to “Automatic” is usually best, but if that fails, manually picking the carrier suggested by your eSIM provider can stabilize the connection. Completing these eSIM activation and troubleshooting guide steps first ensures that the problem isn’t just a simple toggle you missed.
Step-By-Step Instructions for Setting APN on iPhone
Look, when you invest in a travel eSIM, you expect that connection to just work. You want to land, scan a QR code, and immediately start streaming your favorite travel vlogs. Most of the time, international carriers have this set up so cleanly that entering the APN is a forgotten step, which is what we want. However, when that connection stalls, and trust me, it happens to everyone, you need to know where to go to yank the steering wheel back. The APN is the specific address your phone uses to talk to the local network; without the right one, you may as well be using carrier pigeons. Since this is an iPhone guide, we are focusing on iOS navigation, which is generally consistent across recent models, though minor menu label changes pop up every year or so. We’re aiming for that crisp, functional connection that lets you buy coffees with your phone.
Finding the Cellular Data Network Menu
If your travel data isn’t firing up right away, your destination screen is your first stop for manual adjustments. On iOS, the location for these modem settings isn’t immediately obvious; it’s tucked away behind a few layers of menus. You must access this specific screen through the main Settings app. First, jump into Settings, that familiar gray cog icon everyone uses. Then, slide right down until you see Cellular; tap that. This section manages everything related to your physical and digital SIMs.
You’ll see a list of your active lines, likely labeled something like “Primary” or your home carrier name, and right underneath should be your newly installed Travel eSIM. Tap directly on that travel profile you need fixed. Once inside the eSIM’s dedicated settings pane, search for the option labeled Cellular Data Network, which is where the manual entry happens.
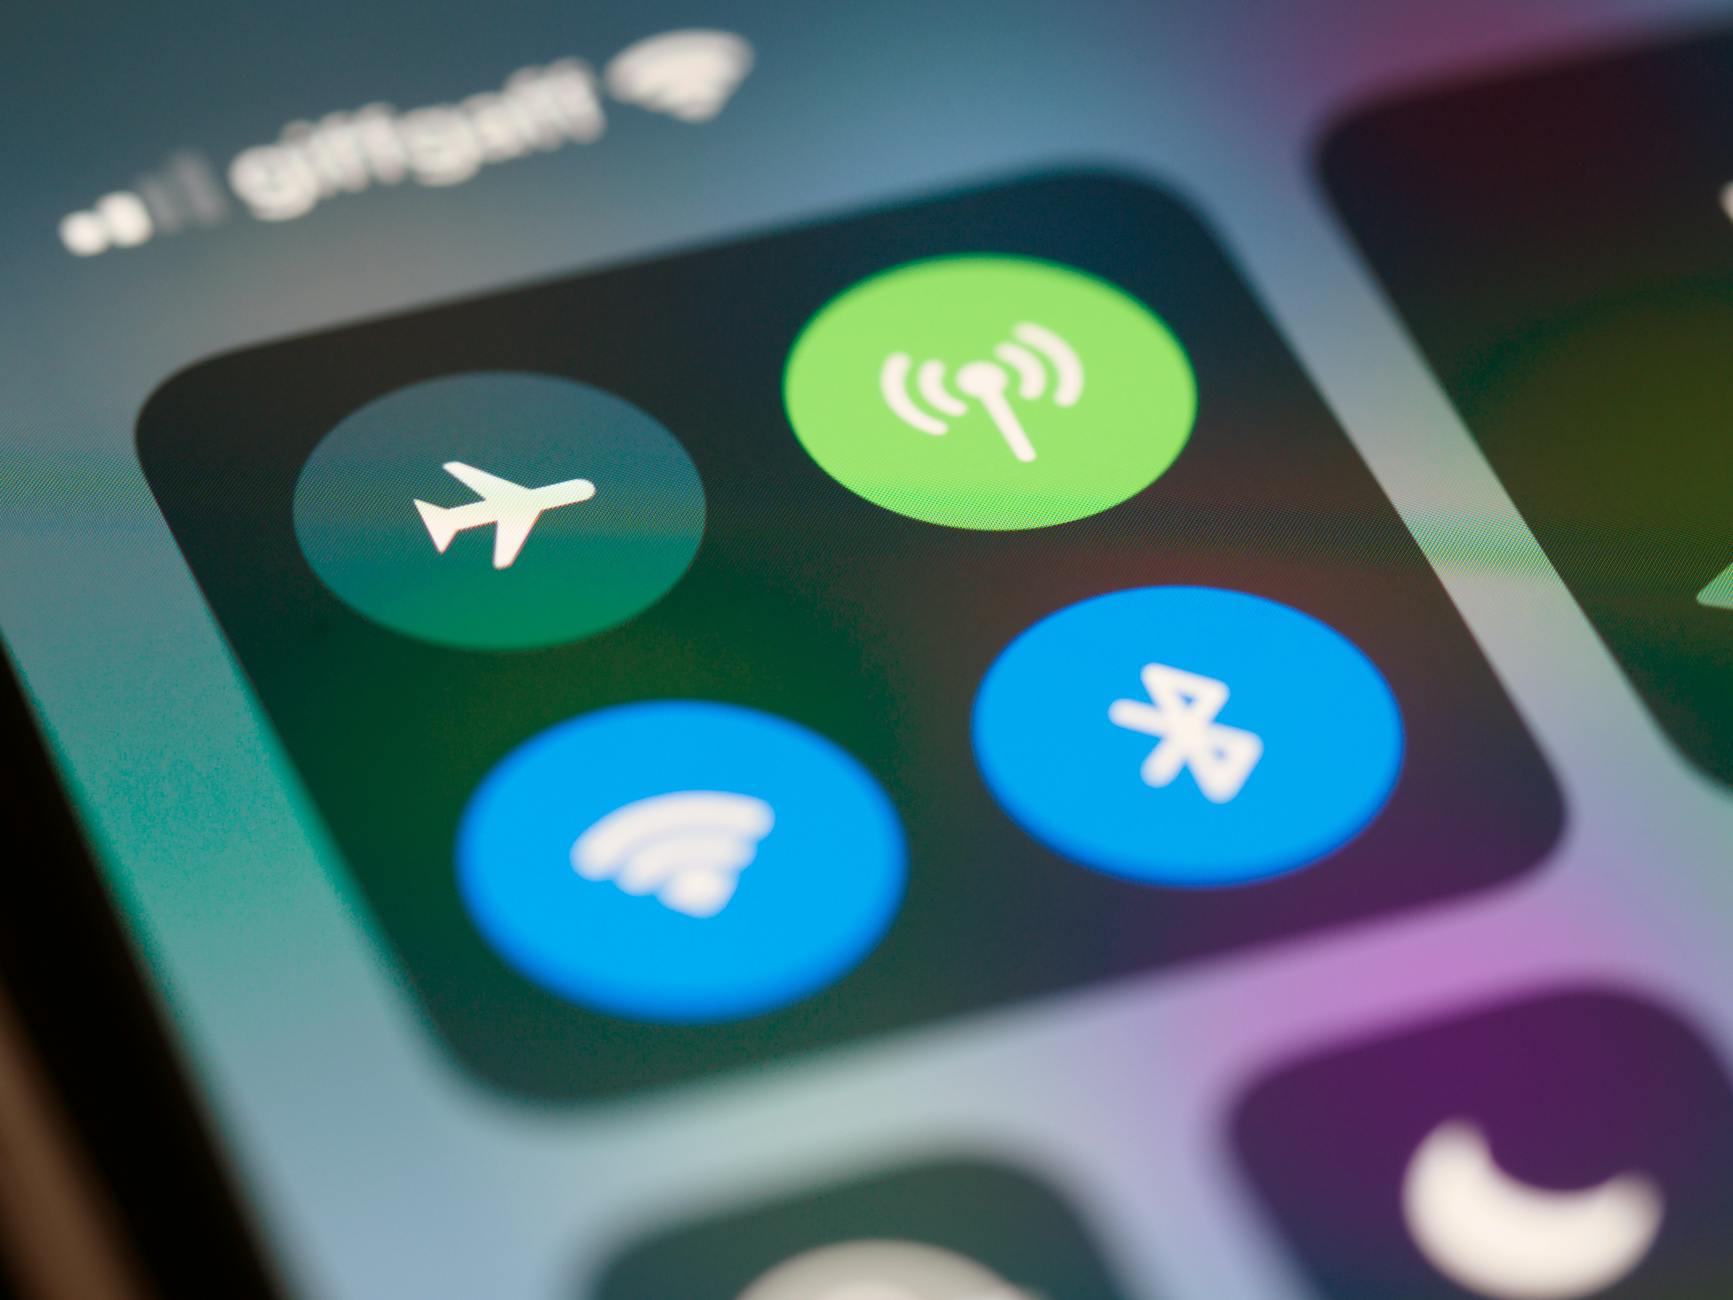 Photo by Brett Jordan
A quick heads-up: if you tap on your travel eSIM and you do not see the Cellular Data Network option, that’s a major signal. It means your carrier has locked down those settings entirely, often because they force you to rely on their automatic provisioning. In that specific case, manual entry won’t be an option, and you’ll need troubleshooting steps that involve contacting support or reinstalling the profile altogether.
What to Enter and What to Leave Blank
Once you’ve found the screen, it’s time to enter the correct data. This is where most people panic and start typing blindly, which is a rookie mistake. Keep it clean and simple. When you look at the Cellular Data Network screen, you need to pay attention only to the fields grouped under the Cellular Data header. This is the absolute core of your connection query, and you only need one piece of information from your provider: the APN itself.
Type that single string of characters into the APN field with extreme care; capitalization and spacing really matter here. For instance, if your provider says data.global, you type exactly that; don’t add a space or capitalize the first letter. For the other fields in that section, such as Username and Password, the rule is simple: leave them completely blank. Most modern travel eSIMs do not require user credentials for basic internet access. Entering bogus information here is the fastest way to block your connection outright.
Now, look down the screen. You will see separate groups for MMS and Personal Hotspot. Generally, you want to ignore those sections entirely unless your provider has specifically sent you detailed instructions saying you must also configure the Personal Hotspot APN. If you skip manual setup for those secondary options, your phone will use sensible, secure defaults, which is exactly the reliable configuration we want for standard browsing and mapping. It’s all about minimalist intervention to get maximum performance. If you’ve correctly installed your travel line, the right APN is the single piece of data that unlocks the entire experience. If you’re looking for more general help, there is a step-by-step eSIM activation guide available that breaks down the broader setup process.
How To Configure APN Settings on Android Devices
If you’ve just put a travel eSIM into your Android phone and your data is dead, don’t sweat it. We have all been there, watching that little ‘No Service’ icon mock our desperation while everyone else is posting digital updates. While iPhones often hide these settings deep within menus, Android usually gives you a more direct path to the Access Point Name configuration screen. This step is where you manually tell your handset which internet gateway to use with your new travel provider. It’s the equivalent of giving your phone the exact desk to report to at a new company headquarters; without it, you’re just wandering the lobby. Getting this right means you can ditch that frustrating error message and get back to using real-time mapping to find that top-rated street food stall everyone keeps talking about.
Navigating to Access Point Names on Android
Finding the right place to input your provider’s magic numbers on an Android device is the first hurdle you have to clear. The exact path can change a bit depending on whether you’re running Samsung’s One UI or a stock Google Android version, but the general structure remains remarkably consistent across the board. You are looking for the deep-dive network configuration area, not just the basic Wi-Fi toggle in your notifications shade.
To start this process, which is really just opening the correct digital envelope, you begin at the main Settings application. Once you’re in there, you’ll want to locate the section related to physical and digital connections. On most current devices, this is labeled Connections; tap that open. Inside the connections menu, you must locate Mobile Networks; this section handles SIM card registration, data roaming, and network selection. You’ll likely see your physical SIM and your new travel eSIM listed here. Select the profile associated with your travel data plan to manage its independent settings.
After drilling down into the specific eSIM profile settings, look for the label Access Point Names. This is the menu that holds the keys to the data kingdom. Tap it open, and you will see a list, which might currently only have one entry or perhaps none at all if the auto-configuration failed. Since you need to input new or replacement data, you must initiate the creation of a new profile. On almost all versions of Android, you look for a plus symbol (+) or a button labeled Add usually located in the upper right-hand corner of the screen. Tapping this opens the blank form where your provider’s information goes. Getting to this screen swiftly is half the battle; the other half is typing the details correctly. If you need a refresher on the broader setup, checking out a complete eSIM installation walkthrough can ensure you haven’t missed any previous steps.
Saving and Activating Your New Profile
Okay, you’ve found the blank form; now comes the part where many travelers stop breathing too deeply, fearing they might accidentally delete their connection before they even create it. This is where we input the specific APN value provided by your travel eSIM vendor. You’ll need to carefully enter the required details into the fields, most critically, the APN name itself. These entries must be absolutely precise because there’s no room for typos when dealing with network gateways.
Once you’ve entered the definitive string for the APN and left the Username and Password fields blank, as most modern travel eSIMs do not require them, you must not just back out of the screen. This is the most common stumbling block for people setting up mobile data profiles manually. If you just tap the back arrow, the phone assumes you’re abandoning the input, and it won’t save the new profile. Instead, look for the three vertical dots in the far corner, or sometimes a small button labeled More. Tap those dots to open the hidden menu.
From that menu, the single most important action you must take is selecting Save. This writes your new configuration to the phone’s memory, making it a selectable option. After saving, you will be returned to the main APN list, and you should now see the name of the profile you just created. For the connection to actually use those settings, you have to tell the phone to route traffic through it. Look at the radio button, the small circle, to the right of your newly created APN name. Tap that radio button. This checkmark or shaded circle signifies activation. Your phone is now actively attempting to reach the network using the credentials you just provided. Watch your signal indicators; often, the moment you select that radio button, the phone establishes a connection, and those little data arrows pop up, signaling your internet connection is back online.
Common APN Settings for Top Travel eSIM Providers
Getting your travel data to work often feels like a puzzle where one missing piece ruins the whole picture. That piece is usually the Access Point Name (APN), the specific digital address that tells your phone how to talk to a foreign network. While many providers try to automate this, glitches happens; maybe the network doesn’t recognize your device, or the automatic “handshake” fails. Knowing exactly what to type into those empty fields can save your trip from a data-less disaster. I have gathered the most common settings used by the heavy hitters in the travel eSIM world so you don’t have to go digging through your email inbox or support pages while standing in a busy airport.
Direct APN Codes for Major Global Providers
The codes below are the secret passwords you need to enter into your settings if your phone doesn’t connect right away. Most travel eSIMs operate as MVNOs (Mobile Virtual Network Operators), meaning they rent space on local towers. Because of this, their APN settings are often generic and designed to work across multiple countries. The most important thing is to type these exactly as written; case sensitivity and punctuation are huge here. If you see a period, keep it; if it is all lowercase, stick to that.
| Provider | APN Name | Notes |
|---|---|---|
| Gohub | vnmobile or internet | Check your specific plan email for “vnmobile” first. |
| Airalo | globaldata or wbdata | “globaldata” is common for their regional and global plans. |
| Holafly | voda or internet | Often varies by country; “voda” is common for Europe. |
| Nomad | internet or mobile | Their setup is usually very standard and relies on “internet.” |
| Ubigi | mworld | Unique to their network for global connectivity. |
Essential Rules for Manual APN Configuration
You should always focus on the Cellular Data section of your settings first. For the majority of travel eSIMs, you only ever need to fill out the “APN” field itself. You might see a “Name” field on Android; you can call that whatever you like, such as “Travel Data,” just to keep it organized. The actual data connection relies entirely on the APN code. Do not feel pressured to fill in every box you see on the screen.
Leave the Username and Password fields empty. In the current 2026 digital environment, almost no travel providers utilize these credentials for consumer data. If you start adding characters there, the network might try to authenticate them and fail, which locks you out. Similarly, ignore the MMS, MMSC, and Proxy fields. These are for old-school picture messaging and aren’t necessary for high-speed internet or using apps like WhatsApp and Maps.
How to Confirm Your Settings are Working
After you type in your APN and save the profile, your phone needs a quick “wake up” call to recognize the change. Toggling Airplane Mode on and then off is the fastest way to force a new network scan. This forces the device to search for towers using the new APN credentials you just gave it. If you still don’t see the LTE or 5G icon after 30 seconds, a full restart is the best move.
Check your signal bar behavior. If you have bars but no data icon, it’s a configuration issue. If you have no bars at all, it’s a coverage or activation issue. If the data is still being stubborn, try switching your network mode from 5G to LTE. In some regions, 5G towers have stricter authentication that can conflict with roaming profiles, while LTE is much more forgiving and stable for travelers. Most of the time, that simple switch to LTE clears the line and gets the data flowing immediately. For more detailed support, you can look into the Gohub help center to find specific troubleshooting steps for your device model.
Troubleshooting Data Issues After APN Setup
You’ve followed the steps, you’ve entered the correct Access Point Name, and yet, your phone either shows a data symbol that disappears instantly or the connection is running slower than dial-up. It’s frustrating when you nail the manual entry part, only to find yourself staring at a loading wheel instead of useful map data. While the APN is the most common point of failure, it’s not the end of the troubleshooting road. You have to act like a network detective here, checking signal quality and carrier support before assuming you need to reinstall the profile. Remember, the APN gets you on the network; other factors determine how well you perform once you are connected.
Resolving Slow or Unstable 5G Connections
Seeing that 5G indicator but struggling to load even a simple webpage is, in my book, worse than seeing no signal because it gives you false hope. This common situation, especially prevalent as networks upgrade to 5G Standalone (5G SA) technology, points directly at a compatibility mismatch between your travel eSIM profile and the current local tower configuration. In 2026, we see this often where the phone registers on the 5G band but can’t complete the data authentication handshake required by that specific high-speed configuration.
If performance is really poor, the first thing you must do is confirm that your chosen APN actually supports 5G. Sometimes, providers use one APN for basic 4G/LTE and a different one for premium 5G access. If you only entered the generic APN, you might be stuck on a throttled or less stable frequency. Check your provider’s documentation; if they list a 5G APN, you need to enter that one instead, assuming your device and local signal can handle it.
When the speed is choppy, but you see a 5G icon, try manual network selection. This is a powerful move that forces your device to ignore the first tower it connected to and search for a better option. Here is the general process to force a check:
- Navigate to Network Selection: Go to your device’s Mobile Network settings, find the specific travel eSIM profile, and look for Network Selection options.
- Disable Automatic: Turn off the Automatic setting, which forces the phone to scan available carriers nearby.
- Select a Top Carrier: The phone will list all towers it detects. If your provider documentation suggests using a major local carrier (like Deutsche Telekom in Germany or NTT Docomo in Japan), manually select that one.
Sometimes, the secondary partner tower your phone defaults to simply has poor compatibility with the roaming profile that day. Picking a stronger, primary local carrier often clears up the instability immediately. This manual swap is like changing lanes on a highway when the current lane is full of slow trucks; you’re just finding a clearer path to the destination. Don’t be afraid to try two or three different local carriers if the first manual selection doesn’t improve things within a minute or two.
When to Contact Support Instead of Tweaking Settings
You’ve checked the APN, you toggled Airplane Mode, and you even forced a switch from 5G to LTE. If you are still hitting a brick wall—where your phone shows zero signal bars, or maybe one weak bar—the problem is likely not the APN setting itself. In fact, it’s probably something happening way back on the provider’s activation server, or perhaps a signal issue unique to your exact location.
Here is the single most important warning I can give you when dealing with eSIM issues: NEVER delete the eSIM profile from your phone. You absolutely cannot easily re-download the configuration via QR code once it’s gone, especially if you are already abroad without Wi-Fi. Deleting it uninstalls the digital chip from your phone’s modem firmware. If you delete it, your only recourse is finding reliable Wi-Fi and contacting support to get a new QR code, which is a massive headache and wastes valuable time.
Instead of deleting, look closely at the signal indicator. If your signal bars are completely empty (no bars, or a persistent No Service message, even after restarting), the issue usually falls into one of two categories which require outside help:
- No Activation: The profile was not correctly provisioned by the provider when you purchased it. It’s like having a key card but the building security hasn’t logged your entry in their system yet.
- Coverage Black Spot: You might truly be in an area the provider doesn’t cover well, which is rare in capital cities but common in remote mountain regions or very deep underground locations.
If your APN entry is perfect, and you have confirmed Data Roaming is on, contact the support team for your travel eSIM provider. Tell them clearly: “My APN is set to [the specific code you entered], and I have zero signal bars. Can you confirm the profile is active on your end?” They can check the backend connection status instantly. Tweaking settings stops being helpful when the initial network registration itself has failed. They are equipped to resolve activation errors or confirm a genuine dead zone, saving you minutes of frustrating manual adjustments that won’t fix a server-side problem. How to Confirm Your eSIM Connection is Successful
Once you have meticulously entered your APN details and saved the profile, you are probably eager to start using your data. You don’t want to wait until you are lost in a subway station to realize things aren’t working. Confirming a successful connection in 2026 is a straightforward process that involves checking a few specific visual cues and running a quick digital test. If those data arrows appear and your carrier name updates, you are ready to explore.
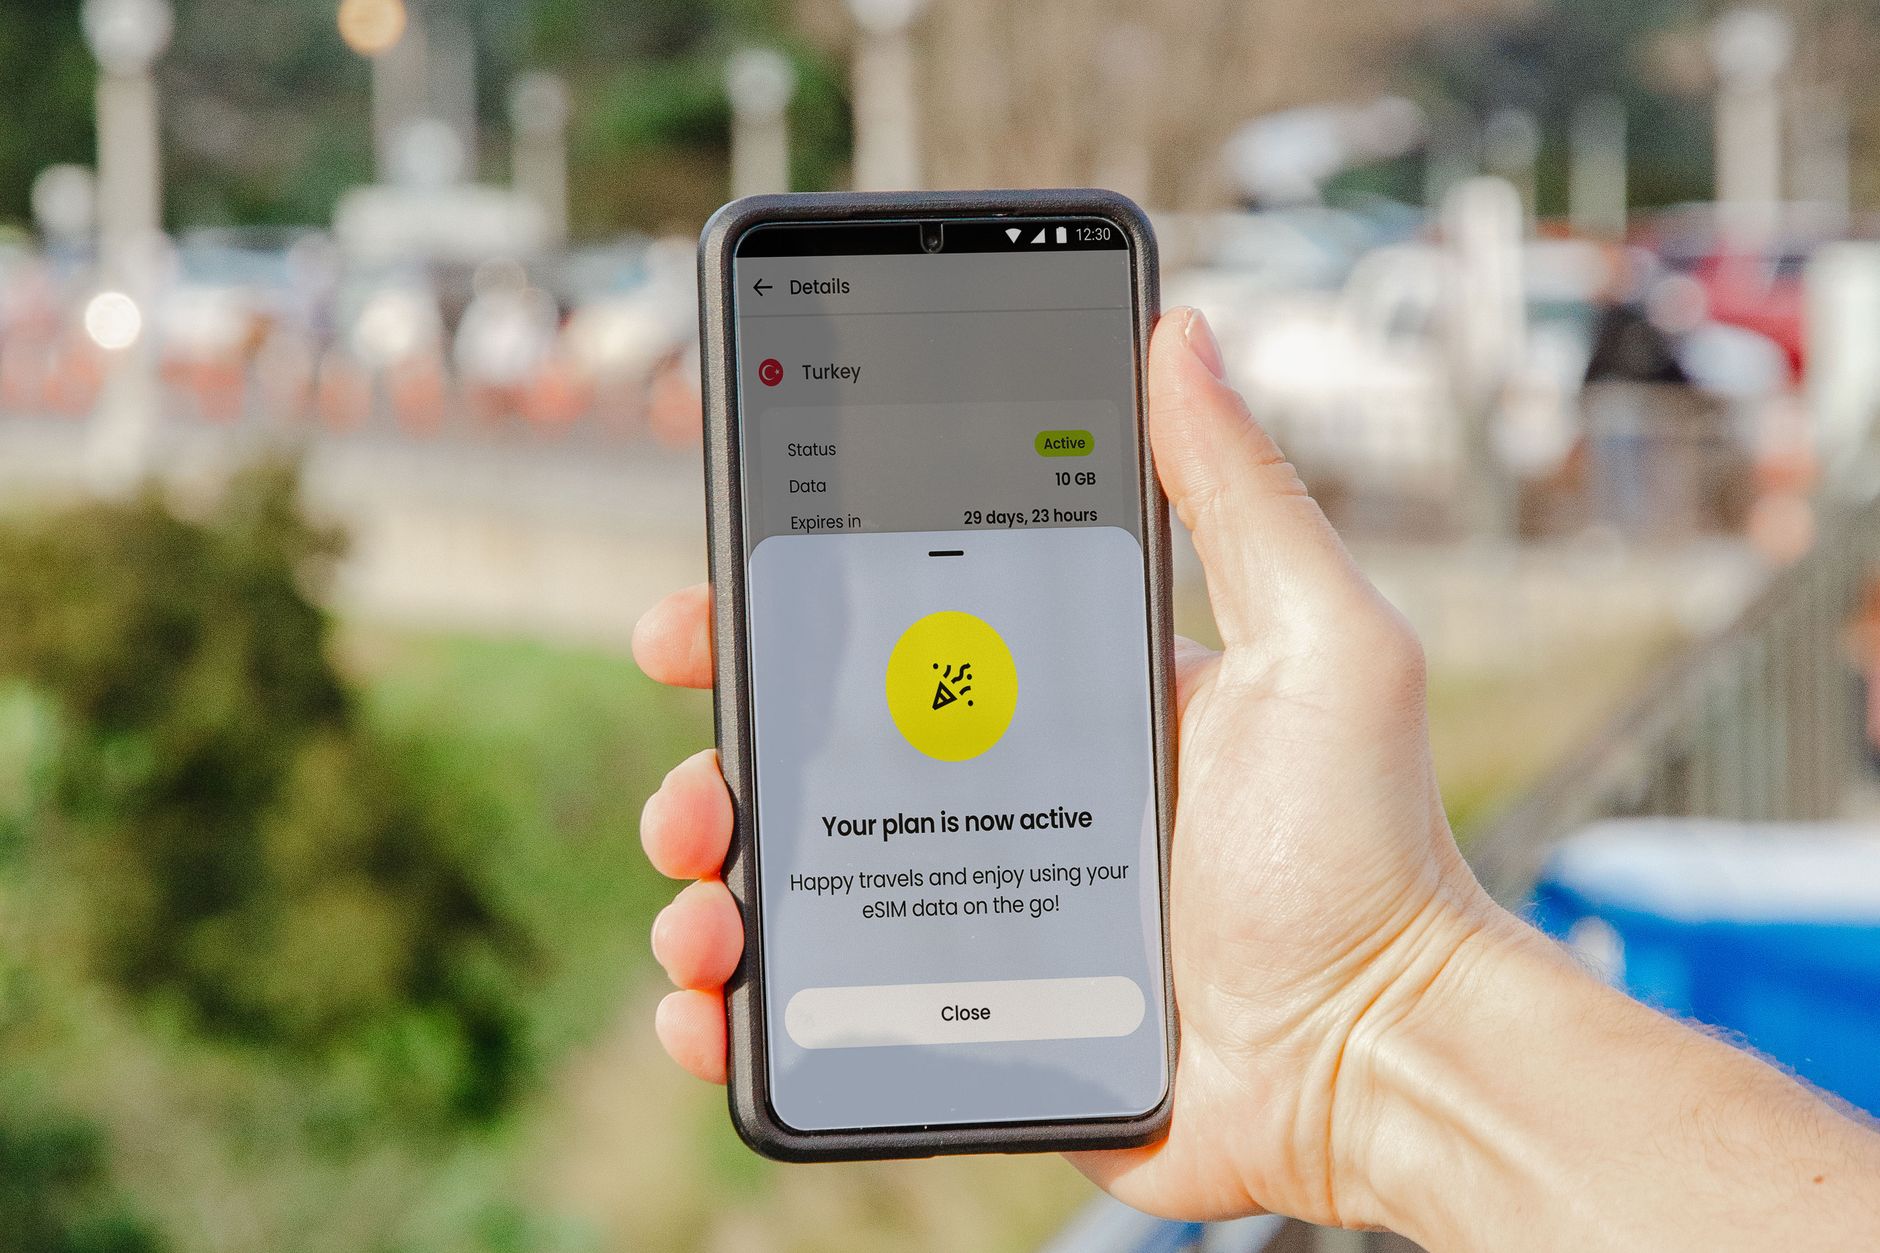 Photo by Jacob
Visual Cues in the Status Bar
The quickest way to know you are online is to look at the very top of your phone screen. Modern smartphones display dual signal bars when you have both a physical SIM and an eSIM active. You want to see signal strength next to the label you assigned to your travel eSIM, which is usually ‘Travel’ or ‘Secondary’.
If you see a 5G, 4G, or LTE icon next to those specific signal bars, your phone has successfully established a data link. Another great trick is to swipe down to open your Control Center or Notification Shade. In the top corner, your phone lists the names of the active networks. If you see a local provider name like Orange, Softbank, or Vodafone listed alongside your home carrier, the handshake is complete.
Receiving the Network Welcome Message
Almost every major network provider sends an automated “Welcome” SMS the moment your eSIM registers on their local towers. This text usually includes helpful details like your remaining data balance or customer support numbers for the local region. Receiving this message is a definitive sign that your device is communicating properly with the local infrastructure.
If the text arrives, it means your APN settings are correct and the network has authorized your device to use its services. This is often the most satisfying confirmation for a traveler because it proves the digital line is “talking” to the local towers. If you haven’t received a text within five minutes of landing, it’s a prompt to double-check that you turned on Data Roaming for that specific eSIM profile.
Verification Through Provider Apps and IP Checks
For those who want absolute certainty, the travel eSIM provider app is your best friend. Most modern services have a real-time dashboard that shows your connection status. Open the app and look for a green “Active” or “In Use” status at the top of the screen. You can also watch the data counter; if it moves from 0MB to 1MB after you load a single webpage, your setup is a success.
If you are still skeptical about whether you are using your home roaming or your new travel eSIM, you can perform a direct IP check. Open your browser and go to a site like WhatIsMyIP.com. Look at the “ISP” or “Provider” section of the results. If it shows a local carrier from the country you are visiting instead of your provider from back home, you have correctly configured your travel data to be the primary connection. This no-fail method ensures you won’t get hit with a surprise roaming bill from your home carrier later. If you are still running into hurdles, checking a general FAQ about eSIM might provide the specific fix you need for your particular device.
Conclusion
Correctly setting the Access Point Name is the final, dependable bridge to connectivity when all the slick automation of modern travel tech stalls out. To me, being prepared means having a physical or stored copy of those specific APN instructions before you land, so you aren’t relying on airport Wi-Fi for a connection fix.
If you ever end up struggling with mobile data abroad, remember the APN is the single field that unlocks everything, so always check that first. For more top-tier travel expertise and gear reviews that really matter, be sure to explore the full suite of resources at gohub.com and bestesim.blog.