Thailand SIM Card: Physical SIM or eSIM by Trip Length
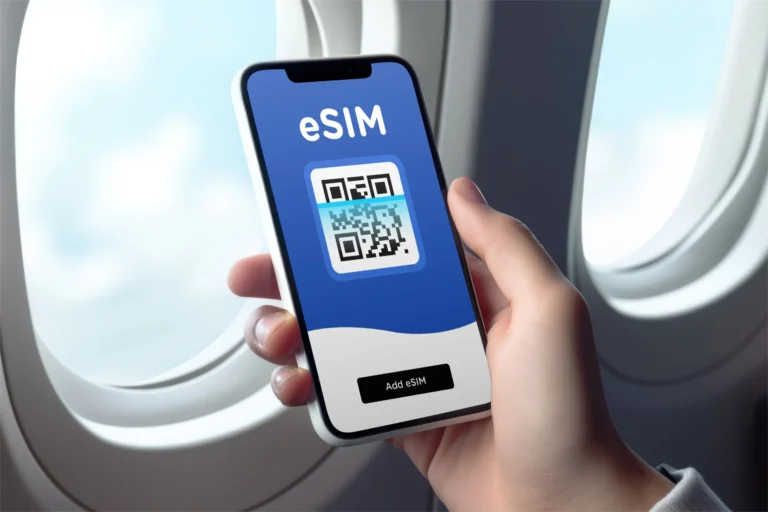
At the airport, you can buy a plastic SIM, or install a digital plan before departure. For most trips, a Thailand data plan works best as an eSIM between one and 30 days.
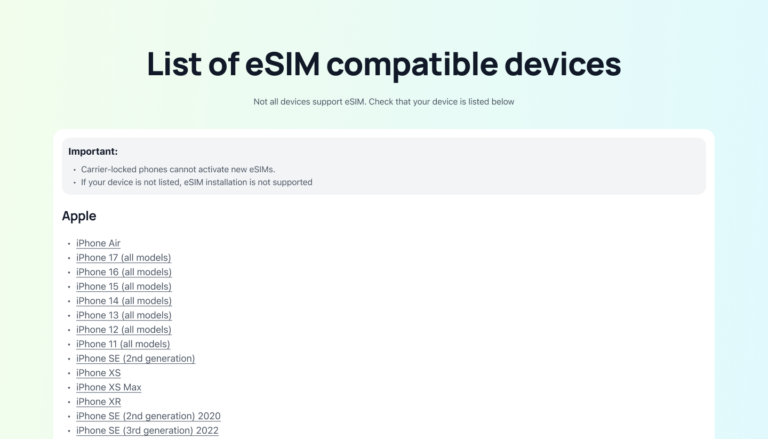
Short stays benefit from quick installation, no airport queues, and immediate data after landing. An eSIM also keeps your home SIM active for bank texts, calls, and two-factor authentication. You can set up a travel eSIM before your Thailand trip while connected to reliable home Wi-Fi. Check your phone’s compatibility and unlock status before buying either option.
Longer stays may favor a local physical SIM, especially when you need more data or extended service. Your choice also depends on setup time, expected usage, home-number access, and your phone’s eSIM support. Trip length gives you the clearest starting point, so let’s compare the best format for each itinerary.
Pick the Right Thailand Data Plan by Trip Length
Your trip length gives you the quickest answer when choosing a Thailand SIM card. Short and medium trips usually suit an eSIM, while stays beyond 30 days often make a local physical SIM more practical.
| Trip length | Best format | Main benefit | Simple data strategy |
|---|---|---|---|
| 1 to 4 days | eSIM | Install quickly before departure | Choose 3GB to 5GB |
| 5 to 14 days | eSIM | Keep your home SIM active | Choose 10GB to 15GB |
| 15 to 30 days | eSIM | Add flexible top-ups | Choose 20GB to 50GB |
| More than 30 days | Local physical SIM | Access longer-term local rates | Choose a monthly carrier plan |
Match your data allowance to your travel style
A 3GB to 5GB plan usually covers a short break with maps, messaging, ride apps, and occasional browsing. For a typical vacation, 10GB to 15GB gives you more breathing room without paying for data you won’t use.
Longer trips need a larger buffer. Choose 20GB to 50GB if you stream video, use your phone as a hotspot, work remotely, or rely on frequent navigation. Photos, video calls, and social media uploads can drain a small plan faster than expected.
An eSIM can still work well beyond 30 days if you want flexible top-ups and don’t need a local number. However, local registration and longer-term pricing can make a physical SIM easier for extended stays. AIS, for example, outlines its NBTC Tourist SIM registration requirements, including passport verification.
Before departure, check your phone’s eSIM support and unlock status. You can also install an eSIM with a QR code while connected to home Wi-Fi, then activate it after landing.
For most travelers, an eSIM is the cleanest choice for one to 30 days. If you’re staying longer, compare local physical SIM rates with flexible eSIM top-ups before you buy your travel eSIM for Thailand.
How to Choose a Thailand SIM Card for Your Travel Needs
A Thailand SIM card can be physical or digital, and both options provide mobile data. A physical SIM uses a removable plastic card, while an eSIM stores a digital SIM profile inside a compatible phone.
For most short trips, an eSIM offers quicker setup and fewer small problems. A physical SIM may suit longer stays, larger data needs, or phones without eSIM support. Your best choice depends on setup time, data usage, home-number access, and phone compatibility.
Save Time With an eSIM Before You Reach the Airport
You can install an eSIM at home with a QR code and stable Wi-Fi. Follow the provider’s instructions before departure, but keep the plan inactive until you arrive if activation starts immediately.
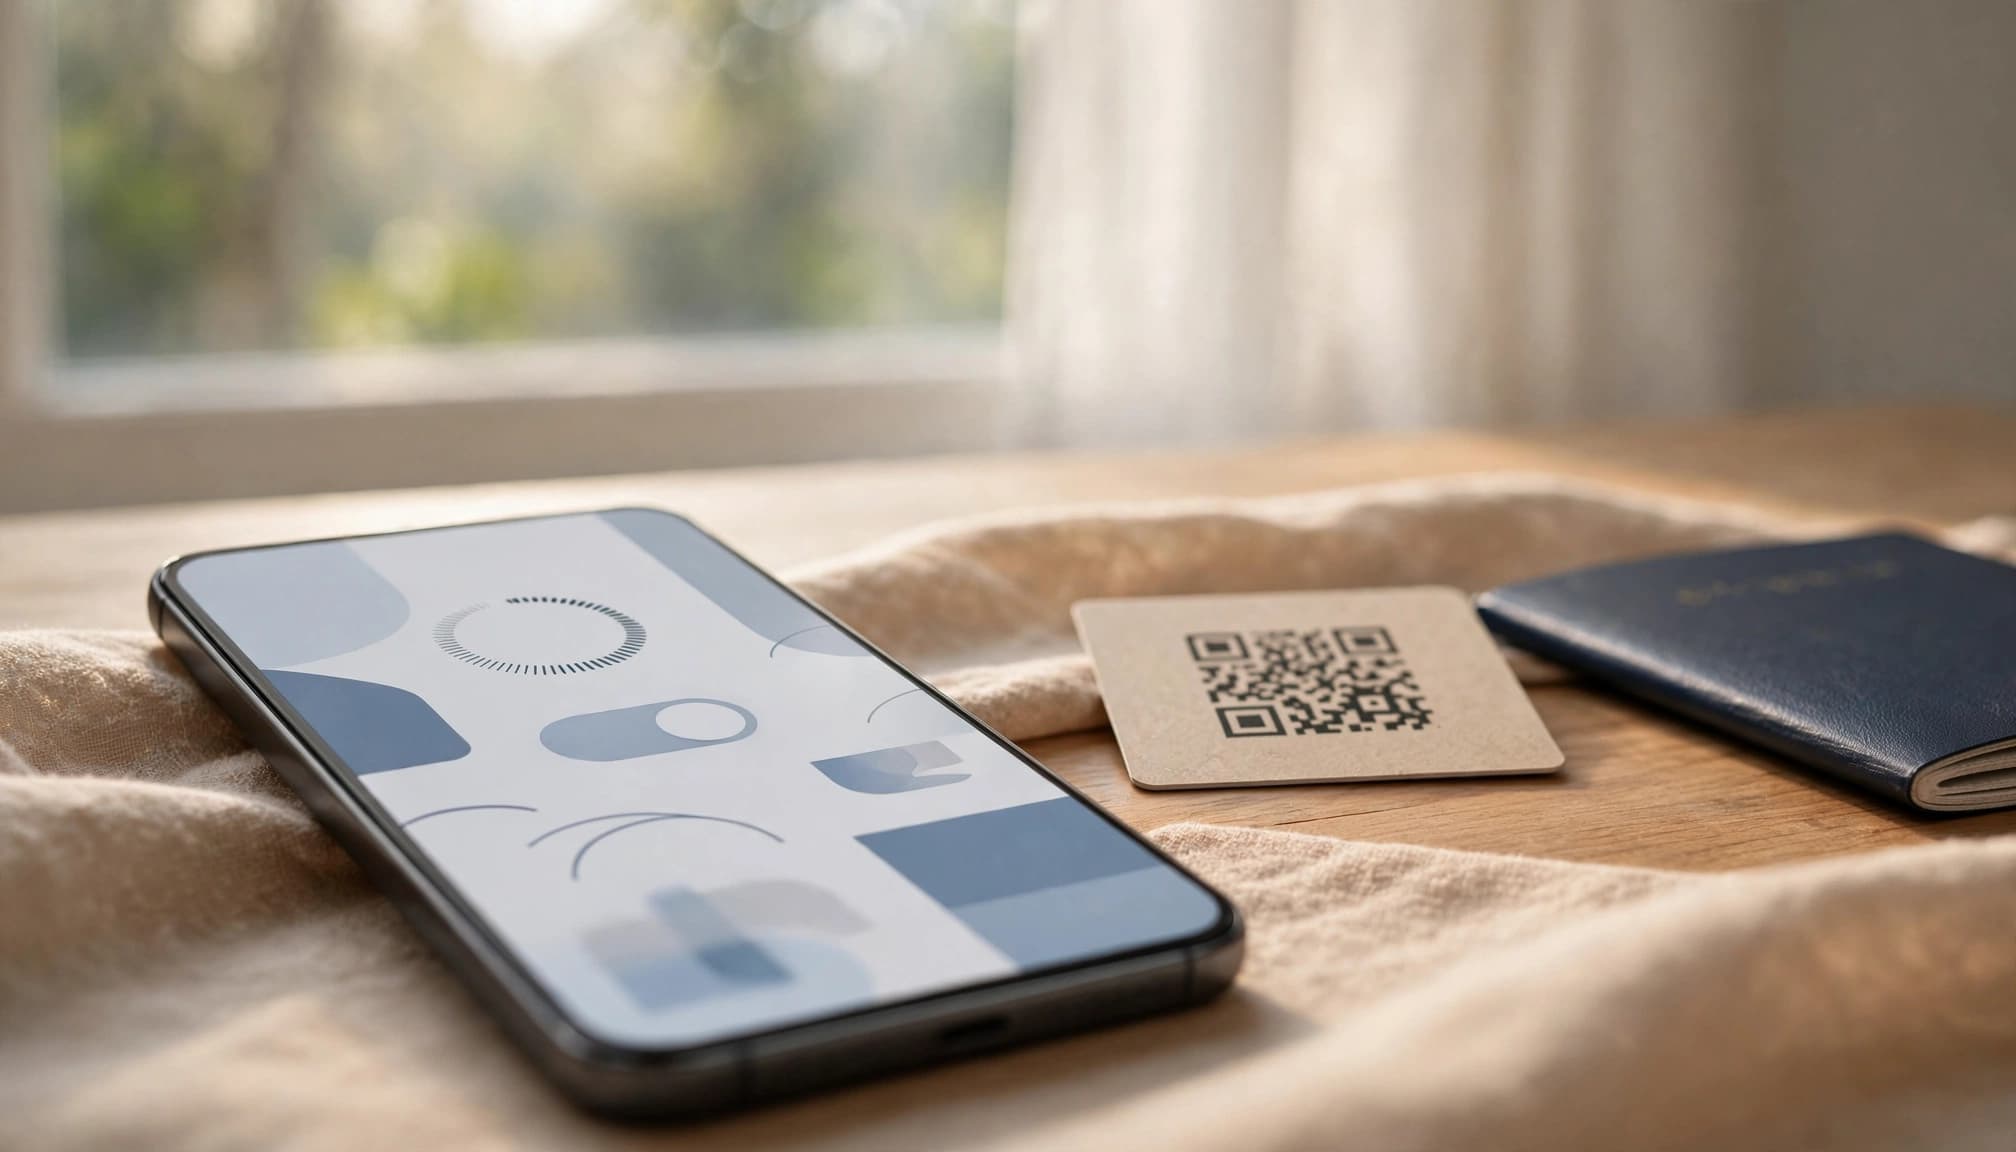
After landing, activate the plan and select it for mobile data. Some phones need a restart before the Thai network appears. Others require you to choose the new eSIM as the data line manually.
Buying a physical SIM means waiting at an airport kiosk after a long flight. You must open the SIM tray, remove your home card, and store the tiny piece of plastic safely. An eSIM skips the queue and gives you data sooner.
Keep Your Home Number Available for Banking and Messages
An eSIM can handle Thailand data while your home SIM remains active for calls, texts, and two-factor authentication. This setup helps when your bank sends a security code to your usual number.
Select the Thailand eSIM as your mobile data line, then turn off data roaming for your home line. Leaving the home line active can still create roaming charges, depending on your carrier’s rules.
Receiving SMS may also depend on your carrier. Check its roaming policy before departure, especially if you need banking messages abroad. Apple’s dual SIM guidance explains how compatible phones can use both lines.
With a physical SIM, removing your home card may block calls and messages entirely. You also lose easy access to your usual number until you reinstall it.
Compare Data Limits, Top-Ups, and Cost Per Gigabyte
Don’t compare Thailand SIM card prices by the headline number alone. Check the total data, plan length, speed limits, hotspot rules, activation terms, and top-up options.
Airport tourist packages can cost more or include daily data caps. Calculate the cost per gigabyte before buying, especially when two plans have similar prices.
Your usage usually falls into one of these groups:
- Light use covers messaging, maps, ride apps, and occasional browsing.
- Regular use needs more data for daily navigation, photos, and social media.
- Heavy use includes frequent video, video calls, large uploads, or hotspot access.
Hotel and café Wi-Fi can reduce data use, but it shouldn’t replace a reliable mobile connection. For setup problems, check your travel eSIM APN settings before assuming the plan has failed.
Protect Your Phone and Avoid Small SIM Card Mistakes
An eSIM keeps your home SIM inside the phone, so you don’t risk dropping or losing it during your trip. You also avoid opening the SIM tray in an airport, taxi, or airplane seat.
If you choose a physical SIM, store the original card and tray tool together in a secure pouch. Keep them somewhere separate from loose coins, receipts, and other items that can damage or hide them.
Before buying, check four things:
- Your phone supports eSIM or dual-SIM use.
- Your carrier has unlocked the phone.
- Your model supports more than one active line.
- You can reinstall the eSIM if something goes wrong.
Don’t delete the eSIM before your trip ends. Some providers won’t let you restore the same profile, even if unused data remains.
Match Your Data Plan to Daily Phone Use in Thailand
Trip length gives you a starting point, but your daily habits decide the right Thailand SIM card. Maps and messaging use little data, while streaming, cloud backups, and video calls can consume gigabytes quickly.
Choose a Fixed Data Pass for Short Trips
For a one to 14-day trip, a fixed plan keeps everything simple. Light users can choose 3GB to 5GB, while regular vacation use usually needs 10GB to 15GB.
That covers daily maps, translation tools, ride apps, messaging, email, and web browsing. You can also post photos, check transport times, and make occasional video calls without managing a local contract.
An eSIM makes this setup even cleaner. Install it at home, activate it after landing, and skip the airport kiosk queue. Why spend your first hour in Thailand waiting for a plastic SIM when your data can already be ready?
Plan Extra Data for Work, Streaming, and Long Stays
Trips lasting 15 to 30 days need more planning, especially when you work online. Compare 20GB to 50GB plans, unlimited options, and packages with simple top-ups.
Remote workers should check upload speeds, hotspot rules, network coverage, and the plan’s expiration date. A plan can advertise unlimited data but reduce speeds after a fair-use threshold. Check those limits before relying on it for video meetings or large uploads. Thailand eSIM plan details can help you compare hotspot access and daily limits.
Families can share one phone’s hotspot, but several connected devices can drain data quickly. Confirm tethering support before buying, and review travel hotspot data needs if you plan to connect a tablet or laptop.
Avoid using public Wi-Fi for banking or work when mobile data is available. After 30 days, a physical SIM may become more practical because local rates, registration, and in-country support matter more than instant setup.
Check Your Phone Before Buying a Thailand Data Plan
Before you buy a Thailand SIM card, check your phone at home. A quick review can prevent an expensive airport surprise.
Confirm Compatibility, Carrier Lock, and Dual-SIM Settings
An unlocked phone accepts SIM cards from different carriers. An eSIM-compatible phone supports a digital SIM profile. One requirement does not guarantee the other.
Some older phones accept physical SIM cards but lack eSIM support. Check the exact model before purchasing a digital plan. Also confirm that it supports Thailand’s required network bands and dual-SIM operation.
On an iPhone, open Settings, General, and About. Look for Carrier Lock, which should show “No SIM restrictions.” Apple’s international eSIM instructions explain this check. Android menus vary, but search Settings for “SIM status,” “Network unlock,” or “Carrier lock.” Contact your home carrier if the phone remains locked.
Review your dual-SIM settings before departure. Confirm which line handles mobile data, calls, and texts. Turn off automatic data switching, or the phone might use your home line when the Thailand line loses signal. You can also manage multiple eSIM profiles while traveling.
Install the Plan Early and Save the Original SIM
Install your eSIM at home over reliable Wi-Fi, but follow the provider’s activation rules. Some plans begin when you install them, while others start after connecting to a Thai network.
Label each line clearly, such as Home and Thailand Data. Back up important information, keep the QR code available, and don’t delete the eSIM after installation.
Physical SIM users should carry the original card in a small case. Keep the SIM tool with your passport or travel documents, not loose in a backpack.
After landing, run this quick checklist:
- Turn on the Thailand line.
- Select Thailand Data for mobile data.
- Disable roaming on your home line.
- Turn off automatic data switching.
- Test Google Maps or open a webpage.
Make these checks before takeoff, not while standing at an airport counter with luggage, tired eyes, and no Wi-Fi.
Avoid These Costly Thailand SIM Card Mistakes
A cheap Thailand SIM card can still create problems if you skip the fine print. Check the validity period, activation trigger, coverage area, speed policy, hotspot rules, and refund terms before paying.
Do Not Confuse Unlimited Data With Unlimited Full-Speed Data
Some unlimited plans slow down after a daily or total usage limit. Your connection may continue working, but video calls, uploads, and streaming can become frustratingly slow.
Read the fair-use policy before buying. Check whether the plan limits video quality, blocks hotspot use, or applies network management during busy periods. These details matter more than the word “unlimited” on the sales page. Learn more in the GSMA fair-use and eSIM terminology guide before comparing unlimited plans.
A large fixed-data plan may suit you better. For example, 30GB at consistent speeds can beat unlimited data that slows after 10GB. Choose predictable performance if you work online or share your connection.
Keep Backup Options for Navigation and Communication
Install your plan before departure. Airport Wi-Fi can become crowded, unreliable, or unavailable when you need it most.
Download offline maps, save booking details, and keep hotel addresses available offline. A backup won’t replace mobile data, but it helps during setup problems or weak coverage.
Save customer support details before leaving home. Keep your eSIM QR code secure until activation succeeds, and maintain access to the email account containing it. Another device can help if your phone needs to scan the code.
Don’t depend on one public Wi-Fi network for urgent communication. If the plan fails, use these offline resources while troubleshooting eSIM connectivity issues. Also, never delete a working eSIM during your trip, even after service starts. You may not be able to reinstall it.
Make the Right Data Choice for Your Thailand Trip
Your Thailand SIM card choice should match your trip length, daily data use, and need for your home number. For most trips lasting one to 30 days, an eSIM is the cleaner, quicker option.
Choose an eSIM for Most Short and Medium Trips
An eSIM lets you install your plan before departure, then connect soon after landing. You avoid airport queues, plastic cards, and rushed setup after a long flight.
Your home SIM can also stay active for banking texts, calls, and two-factor authentication. You can add data through Wi-Fi when your plan supports simple top-ups.
Choose an eSIM when you want:
- Early setup at home with reliable Wi-Fi.
- Fast mobile data after landing.
- Continued access to your home number.
- Flexible top-ups during a longer vacation.
- No risk of losing your original SIM card.
Heavy data users should choose by daily usage, not trip length alone. A two-week work trip may need more data than a month-long beach holiday. Check hotspot rules, speed limits, video use, and daily caps before buying.
Choose a Physical SIM for Longer Stays
A physical SIM becomes more practical beyond 30 days. Local registration, resident pricing, monthly plans, and in-person support can matter more than instant setup.
You may also prefer a physical card if your phone lacks eSIM support. Keep your original SIM in a secure case, and carry your passport for local registration.
Compare plan terms before buying, then install your travel eSIM for Thailand before departure. You will arrive connected and avoid airport queues.
Conclusion
Short and medium trips usually favor an eSIM because you can install it before departure and keep your home SIM active. Extended stays may favor a local physical SIM, especially when you need longer-term service.
Before takeoff, check phone compatibility, estimate your daily data use, and control roaming on your home line. Those small checks prevent airport delays and unexpected charges.
Choose your travel eSIM for Thailand or physical SIM based on the trip you actually plan. You’ll stay connected without paying for data you won’t use.