Thailand eSIM Data Plan: How Much Data Does a Two-Week Trip Need?
You land at Bangkok Suvarnabhumi Airport, ready for 14 days, then wonder if your data will last.
Most travelers need 10GB to 15GB for maps, ride-hailing, messaging, browsing, and social media. A Thailand eSIM makes comparison easier when you check price per gigabyte, network coverage, speed limits, and validity dates.
The right plan should keep you connected without paying for data you won’t use. Start with the numbers behind a typical two-week trip, then compare Asia travel eSIM options with Thailand coverage.
14-Day Data Math: How Much Data Do You Really Need?
A two-week Thailand trip usually needs 10GB to 15GB of high-speed data. Your exact number depends on how often you use hotel Wi-Fi, video, social media, and hotspot sharing.
Match Your Data Plan to Your Travel Style
A typical traveler uses about 800MB daily for maps, messages, browsing, and social media. Over 14 days, that equals roughly 11.2GB before updates, travel days, or video clips.
| Travel activity | Daily use | 14-day total |
|---|---|---|
| Google Maps, Grab, and Bolt | 150MB | 2.1GB |
| Social media and photo sharing | 500MB | 7GB |
| WhatsApp or LINE messages and calls | 50MB | 0.7GB |
| Browsing, bookings, and travel research | 100MB | 1.4GB |
| Typical total | 800MB | 11.2GB |
This breakdown explains why a 10GB to 15GB Thailand eSIM plan fits most regular trips. You get enough room for everyday use without buying a huge allowance you may never touch.
Your travel style still matters, though. A light user can choose around 5GB to 8GB. That profile relies on hotel Wi-Fi and mainly uses maps, messaging, and quick searches.
A regular traveler should choose 10GB to 15GB. You will probably share photos, check social media, book rides, browse daily, and use mobile data whenever Wi-Fi feels slow or unreliable.
Heavy users need 20GB or more. Video streaming, work calls, large file uploads, and hotspot sharing can burn through data much faster than basic travel apps.
Before leaving, download Google Maps areas, playlists, podcasts, and shows over Wi-Fi. That simple step gives your esim Thailand plan more breathing room.
Why Video and Hotspot Use Change the Numbers
Maps and text messages use very little data. Video calls, livestreams, cloud backups, and HD streaming use much more, especially when you stay connected for long periods.
One video-heavy travel day can consume more data than several days of navigation. Laptop hotspot use can drain a shared allowance even faster because computers often run backups, app updates, and high-resolution websites automatically.
Hotspot sharing is not just phone data multiplied by another device. A laptop can quietly consume your allowance in the background.
Keep your plan under control with a few quick settings changes:
- Disable automatic photo backups over mobile data.
- Set app updates to Wi-Fi only.
- Turn off automatic video playback in social apps.
- Check your phone’s data usage after the first few travel days.
- Download large files before departure.
If you plan to work during your trip, join regular video meetings, or connect a laptop, skip the small plans. A larger allowance costs less than running out of data halfway through your itinerary.
Picking a Thailand Data Plan: Compare the Numbers That Matter
The cheapest advertised price rarely tells the full story. Compare total high-speed data, network access, validity, activation rules, and hotspot support before choosing an esim Thailand plan for 14 days.
A strong-value plan for major Asian destinations often costs under $2 per high-speed gigabyte. Prices still vary by provider, season, network access, and included features, so treat that figure as a useful benchmark, not a guarantee.
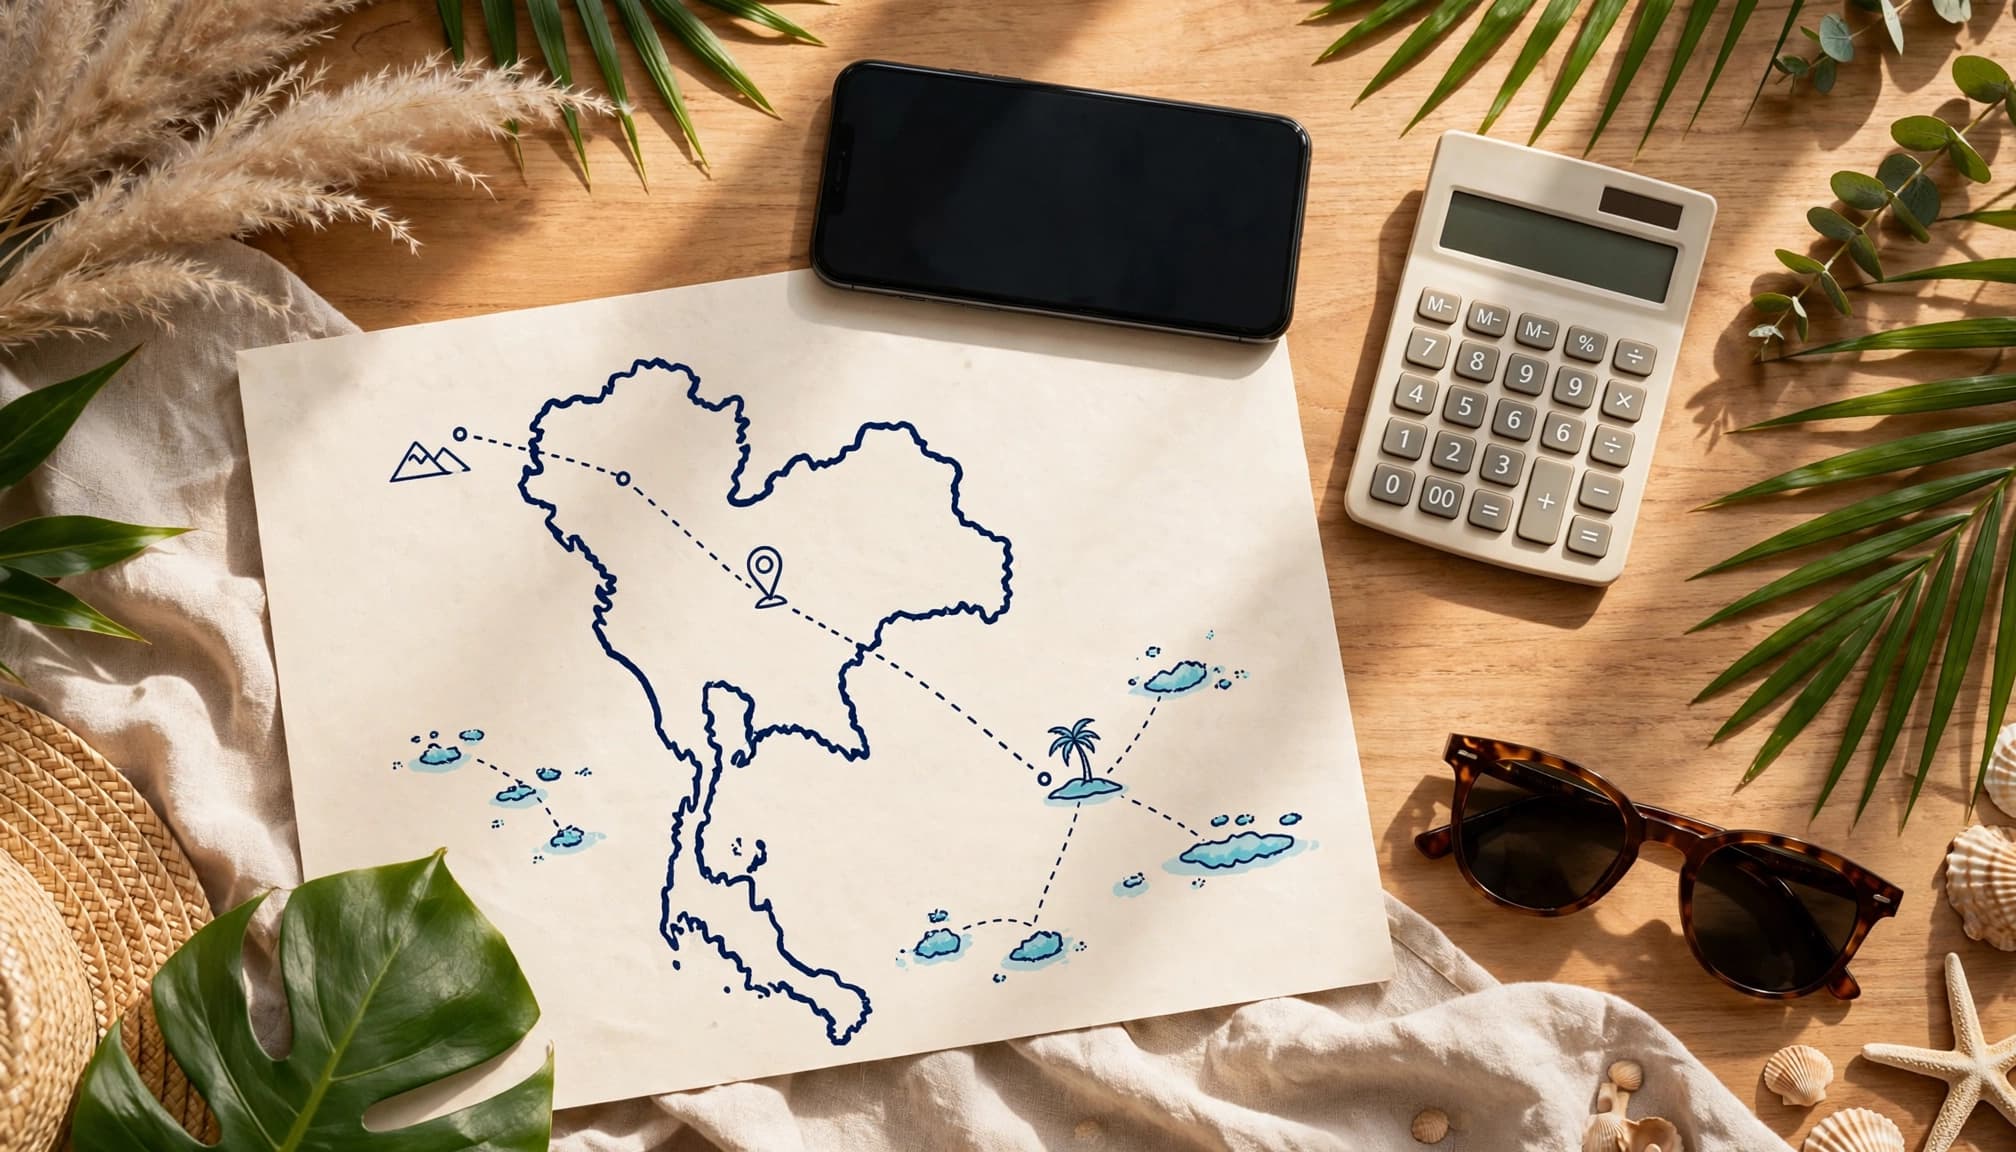
Calculate the Real Price per Gigabyte
Use one simple formula:
Total plan price ÷ total high-speed gigabytes = real price per GB
For example, a $15 plan with 10GB costs $1.50 per high-speed GB. That gives you a clear baseline for comparing similar plans.
Now consider a $5 plan that provides only 500MB per day for 14 days. You receive 7GB in total, so the price works out to about $0.71 per GB. That looks cheaper, but the daily limit may feel restrictive on a busy travel day.
Daily caps, reduced speeds, and separate data add-ons can change the real value. An “unlimited” plan may include only a small amount of high-speed data before throttling begins. A low-cost plan may also charge extra for hotspot use or faster data.
Compare like with like. Check these details before you focus on the headline price:
- Total high-speed data included in the plan.
- The total amount you pay, including activation fees.
- The speed offered after you reach a daily or overall limit.
- Any add-on costs for extra data or hotspot sharing.
- The number of valid days and when that period starts.
Check Thai Network Coverage Before You Buy
An eSIM doesn’t create coverage by itself. The local network partner determines your signal quality, speed, and reliability across Thailand.
Look for direct access to a major Thai host network with broad 4G or LTE coverage. Then check the coverage map for every stop on your route, including Bangkok, Chiang Mai, Phuket, Krabi, Koh Samui, and Koh Phangan.
Urban coverage often looks excellent, but mountain roads, coastal areas, and smaller islands can tell a different story. Review the listed network name, roaming arrangements, and service expectations outside major cities.
A cheap eSIM with weak island coverage is not a bargain. Losing access during a ferry transfer or remote excursion can cost more than the plan saved.
Choose Instant Activation Over an Airport SIM Queue
A digital plan lets you scan a QR code and prepare your connection before departure. That can save you from airport lines, limited shop hours, language barriers, and confusing setup steps after a long flight.
Your phone must support eSIM technology and remain unlocked. Check both requirements before buying, then review when the plan starts. Some plans begin validity when you install the profile, while others start when the phone first connects to a Thai network.
Don’t scan the QR code too early if installation starts the validity timer. For help with the process, follow this travel eSIM setup guide.
Before you buy, run this quick comparison:
- Confirm the total high-speed data.
- Divide the price by the included gigabytes.
- Check Thai network partners and route coverage.
- Verify the validity period and activation trigger.
- Confirm hotspot rules and post-limit speeds.
That checklist separates a genuinely useful Thailand data plan from a cheap offer that creates limits later.
How an eSIM Thailand Plan Handles the Three Biggest Travel Traps
A cheap-looking plan can fail when you need maps, ride-hailing, translations, or hotspot access. Check the rules behind the headline price before buying your eSIM Thailand plan.
Avoid Unlimited Plans That Throttle After a Small Allowance
“Unlimited” often means unlimited access at a reduced speed. The plan may give you just 1GB or 2GB of high-speed data daily. After that, the provider can reduce your connection to 2G-like speeds.
That slowdown makes simple travel tasks frustrating. Google Maps may load slowly, Grab searches can stall, and photo uploads may fail. Translation tools also become painful when you need an answer immediately.
Check three details before you buy:
- The exact high-speed allowance each day.
- The time when that allowance resets.
- The speed you receive after reaching the limit.
Some unlimited plans include a fair-use policy (FUP) that reduces data speeds after you reach a specific usage threshold. Read the plan’s terms carefully instead of relying on the word “unlimited.”
If you want predictable service, choose a plan with 10GB to 15GB of clearly stated high-speed data. That allowance fits most two-week travelers better than a vague unlimited promise.
Make Sure the Validity Timer Covers All 14 Days
A 14-day plan doesn’t always mean 14 full days after you land. Some providers start counting at purchase, installation, or first network connection.
That timing matters when you arrive late at night or leave early in the morning. Overnight flights and time zone changes can also make the final service date less obvious.
Before installing the profile, confirm exactly when the clock starts. Install it before departure only when the provider confirms that installation won’t activate the plan.
Write down your intended arrival date, local connection time, and departure date. Then confirm the final service date with the provider’s terms. You don’t want your data to expire before the airport transfer home.
Confirm Hotspot, Top-Up, and Fair-Use Rules
Will you connect a laptop, tablet, or travel companion’s phone? Check whether the plan allows tethering before you pay.
Some eSIMs block hotspots completely. Others allow tethering but provide a smaller hotspot allowance. A laptop can also consume data quickly through backups, updates, and large webpages.
Check the plan’s top-up options as well. Look for clear information about:
- Extra data prices and how quickly top-ups activate.
- Whether unused data rolls over.
- Speed caps after reaching the allowance.
- Customer support hours and contact methods.
A plan with transparent rules beats a cheaper offer built around vague unlimited claims. For more guidance, compare eSIM fair-use policies before choosing your Thailand data plan.
Prepare Your Phone Before Flying to Thailand
A few minutes of preparation can prevent a frustrating airport setup. Complete the main installation at home, then keep your primary line available for calls and security texts.
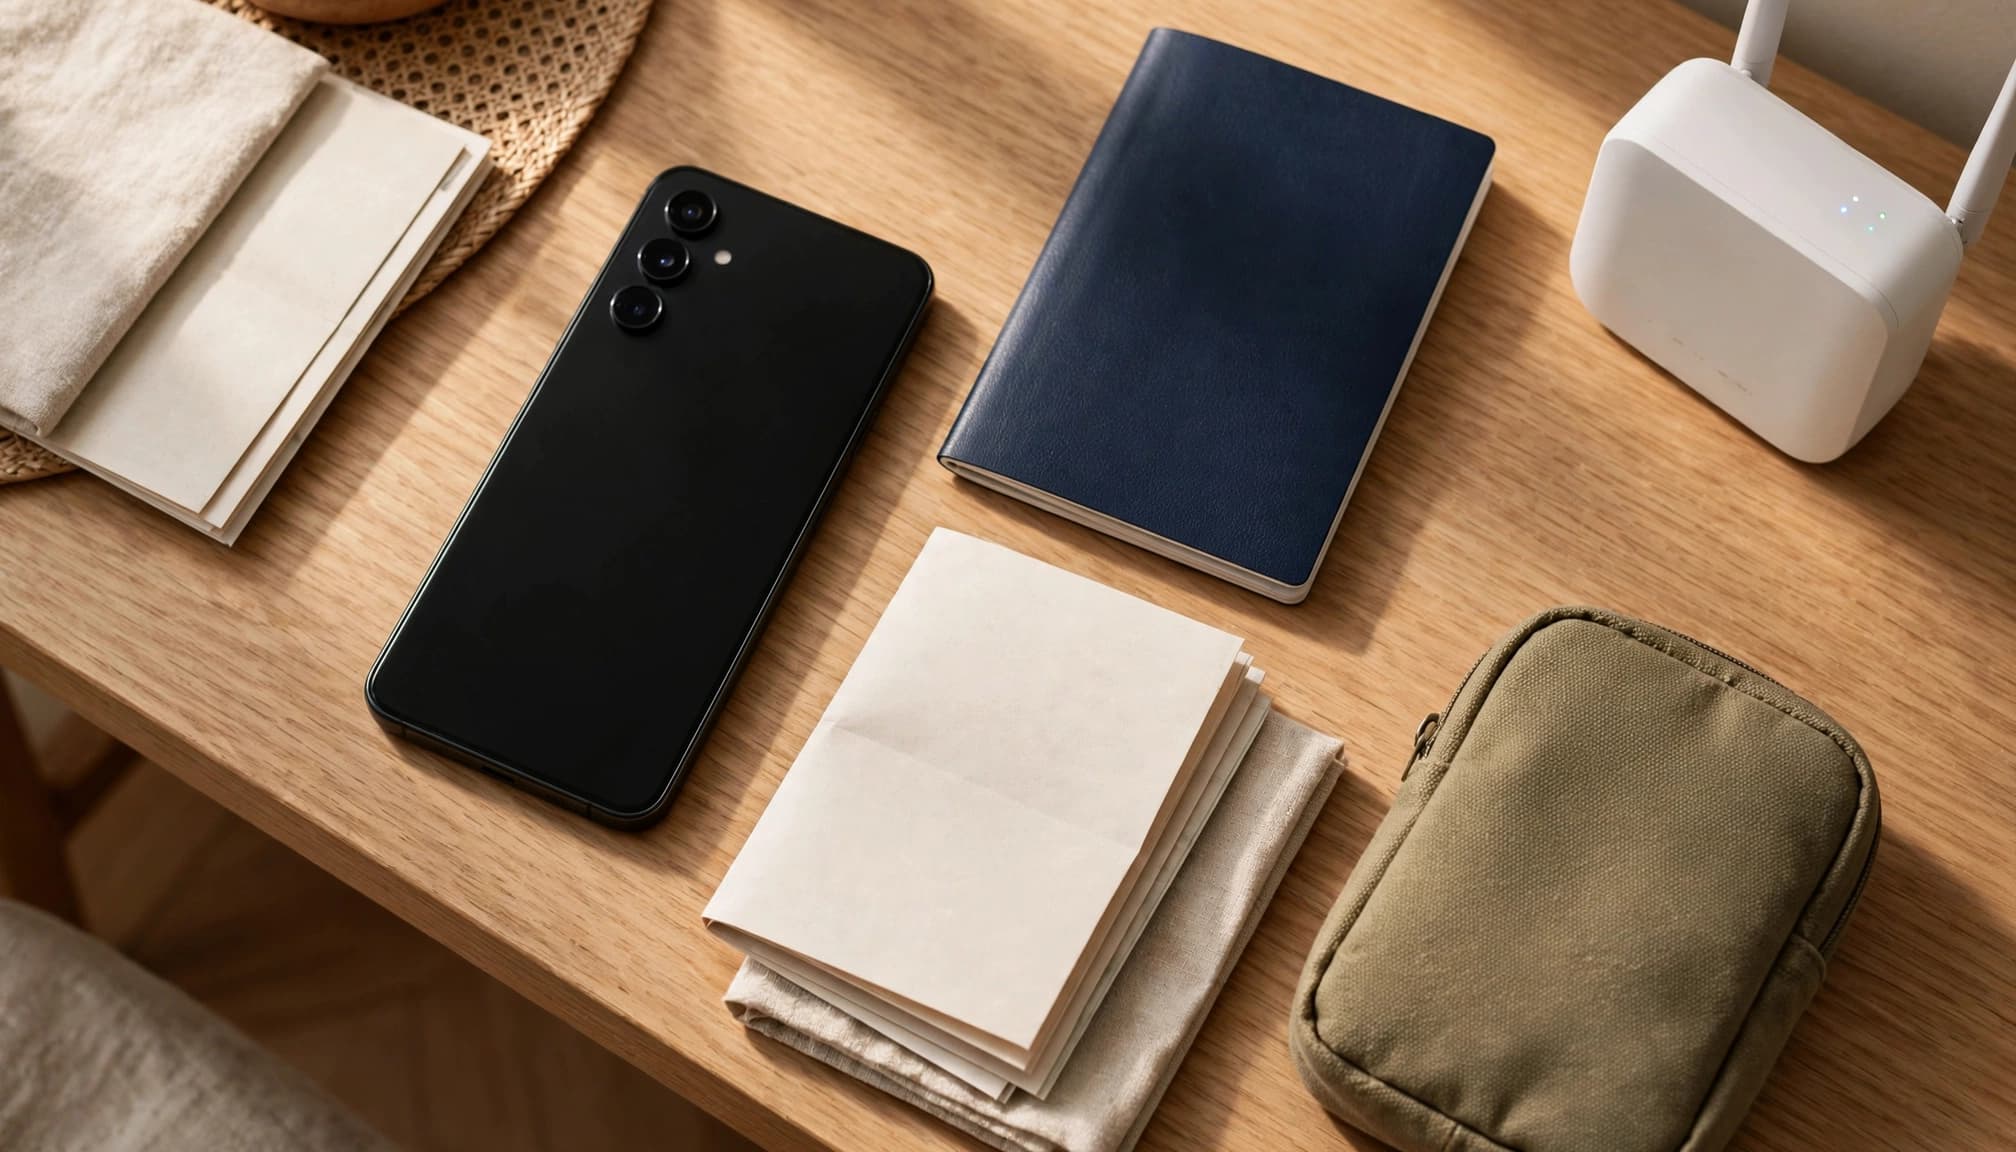
Install the eSIM on Stable Home Wi-Fi
First, confirm that your phone supports eSIM technology and has no carrier lock. On an iPhone, check the Carrier Lock field under Settings, General, and About. It should say “No SIM restrictions.” Android menus vary, but look for eSIM or Add SIM under mobile network settings.
Install the profile several hours before departure, while connected to reliable home Wi-Fi. Don’t leave this job until you reach the airport. A busy terminal, weak public Wi-Fi, or a tired traveler can turn a simple scan into a headache.
Use your provider’s QR code or manual activation details. After installation, label the lines clearly:
- Home for your primary number.
- Thailand Data for your travel eSIM.
A clear label prevents the classic two-week-trip mistake of selecting the wrong line. For detailed device checks and scanning steps, follow this QR code eSIM setup guide.
Save the QR code, SM-DP+ address, activation code, and purchase receipt offline. Store them in a secure notes app, downloaded email, or photo folder. You may need those details without Wi-Fi if the profile fails or you reset your phone.
Set the Correct Data Line After Landing
Wait until you arrive before switching mobile data to the Thailand line. Open your cellular settings, select Thailand Data as the mobile data line, and enable data roaming only if your plan requires it.
Turn off mobile data switching. Otherwise, your phone may silently use the home line when the Thai connection weakens. Apple explains how dual-SIM data selection works in its official Dual SIM guidance.
If the Thai network doesn’t appear, restart your phone or toggle airplane mode for 30 seconds. Then open Google Maps or a browser before leaving the airport. Search for your hotel, load a route, or open a webpage. That quick test confirms your eSIM Thailand plan works before you order a ride.
Keep Your Primary SIM Ready for Security Texts
Your home number still matters in Thailand. Banks may send fraud alerts, login codes, and payment confirmations through text messages. You may also need it for emergency calls or account recovery.
Keep the primary line active when possible, but turn off its mobile data roaming. Let the Thailand eSIM handle everyday data, while your home line stays available for essential calls and texts.
Check your carrier’s international rules before departure. Some carriers charge for incoming calls, outgoing calls, or even incoming texts abroad. Knowing those fees helps you keep the line available without accidentally creating a roaming bill.
Build the Best-Value Plan for Your Thailand Route
Your route should decide your Thailand eSIM size, not a tempting headline price. Estimate your daily use, add a safety buffer, then check coverage before choosing the cheapest option.

Choose 10GB, 15GB, or More Based on Your Itinerary
A city-focused trip through Bangkok usually works well with 10GB. Hotel Wi-Fi handles downloads, while mobile data covers Grab, Google Maps, messages, bookings, and quick searches.
Choose 15GB for Bangkok plus northern Thailand. You may post more photos, use rides often, and spend longer days away from reliable Wi-Fi in Chiang Mai or Chiang Rai. The extra allowance gives you room for busy travel days.
Beach and island trips do not automatically require more data. Phuket, Koh Samui, Koh Phangan, and Koh Lanta generally have mobile service in their main tourist areas, but coverage can vary by location and network. Before you travel, check the NBTC mobile service information for the networks available at your destination.
Still, weaker hotel Wi-Fi can push you onto mobile data more often. Pick 15GB for regular island use, or 20GB or more if you stream video, work remotely, or share a hotspot.
Coverage matters more than saving a few dollars. A slightly pricier plan with a stronger Thai network can keep maps and ride apps working when Wi-Fi fails.
Use a Simple Pre-Purchase Checklist
Before buying, follow this order:
- Confirm your phone is unlocked and eSIM-compatible.
- Check the total high-speed data, not just the advertised label.
- Calculate the price per gigabyte.
- Review the Thai network partner and 4G or LTE coverage.
- Confirm when validity starts and when it ends.
- Check whether hotspot access is included.
- Review top-up prices and activation methods.
- Save the support contact and refund terms.
A clear plan description usually points to a better buying experience. Vague speed limits, hidden hotspot rules, and unclear validity dates deserve caution.
Save the plan details offline before flying. Keep the QR code, activation instructions, support contact, and refund terms in your phone. If you want more route options, compare a travel eSIM for Thailand by coverage, high-speed data, and total cost.
Conclusion
You landed in Bangkok wondering how much data two weeks would consume. For most regular travelers, 10GB to 15GB covers maps, messaging, browsing, and social media.
Adjust upward if you stream video, share a hotspot, or face weak hotel Wi-Fi. Compare price per GB, high-speed limits, network coverage, activation timing, and the full 14-day validity period. If your connection fails after setup, use this guide to fix eSIM data connection problems.
Review each plan against your actual route before buying. Evaluate a travel eSIM for Thailand by price per GB, then choose the option that supports your full journey from Bangkok to the islands.