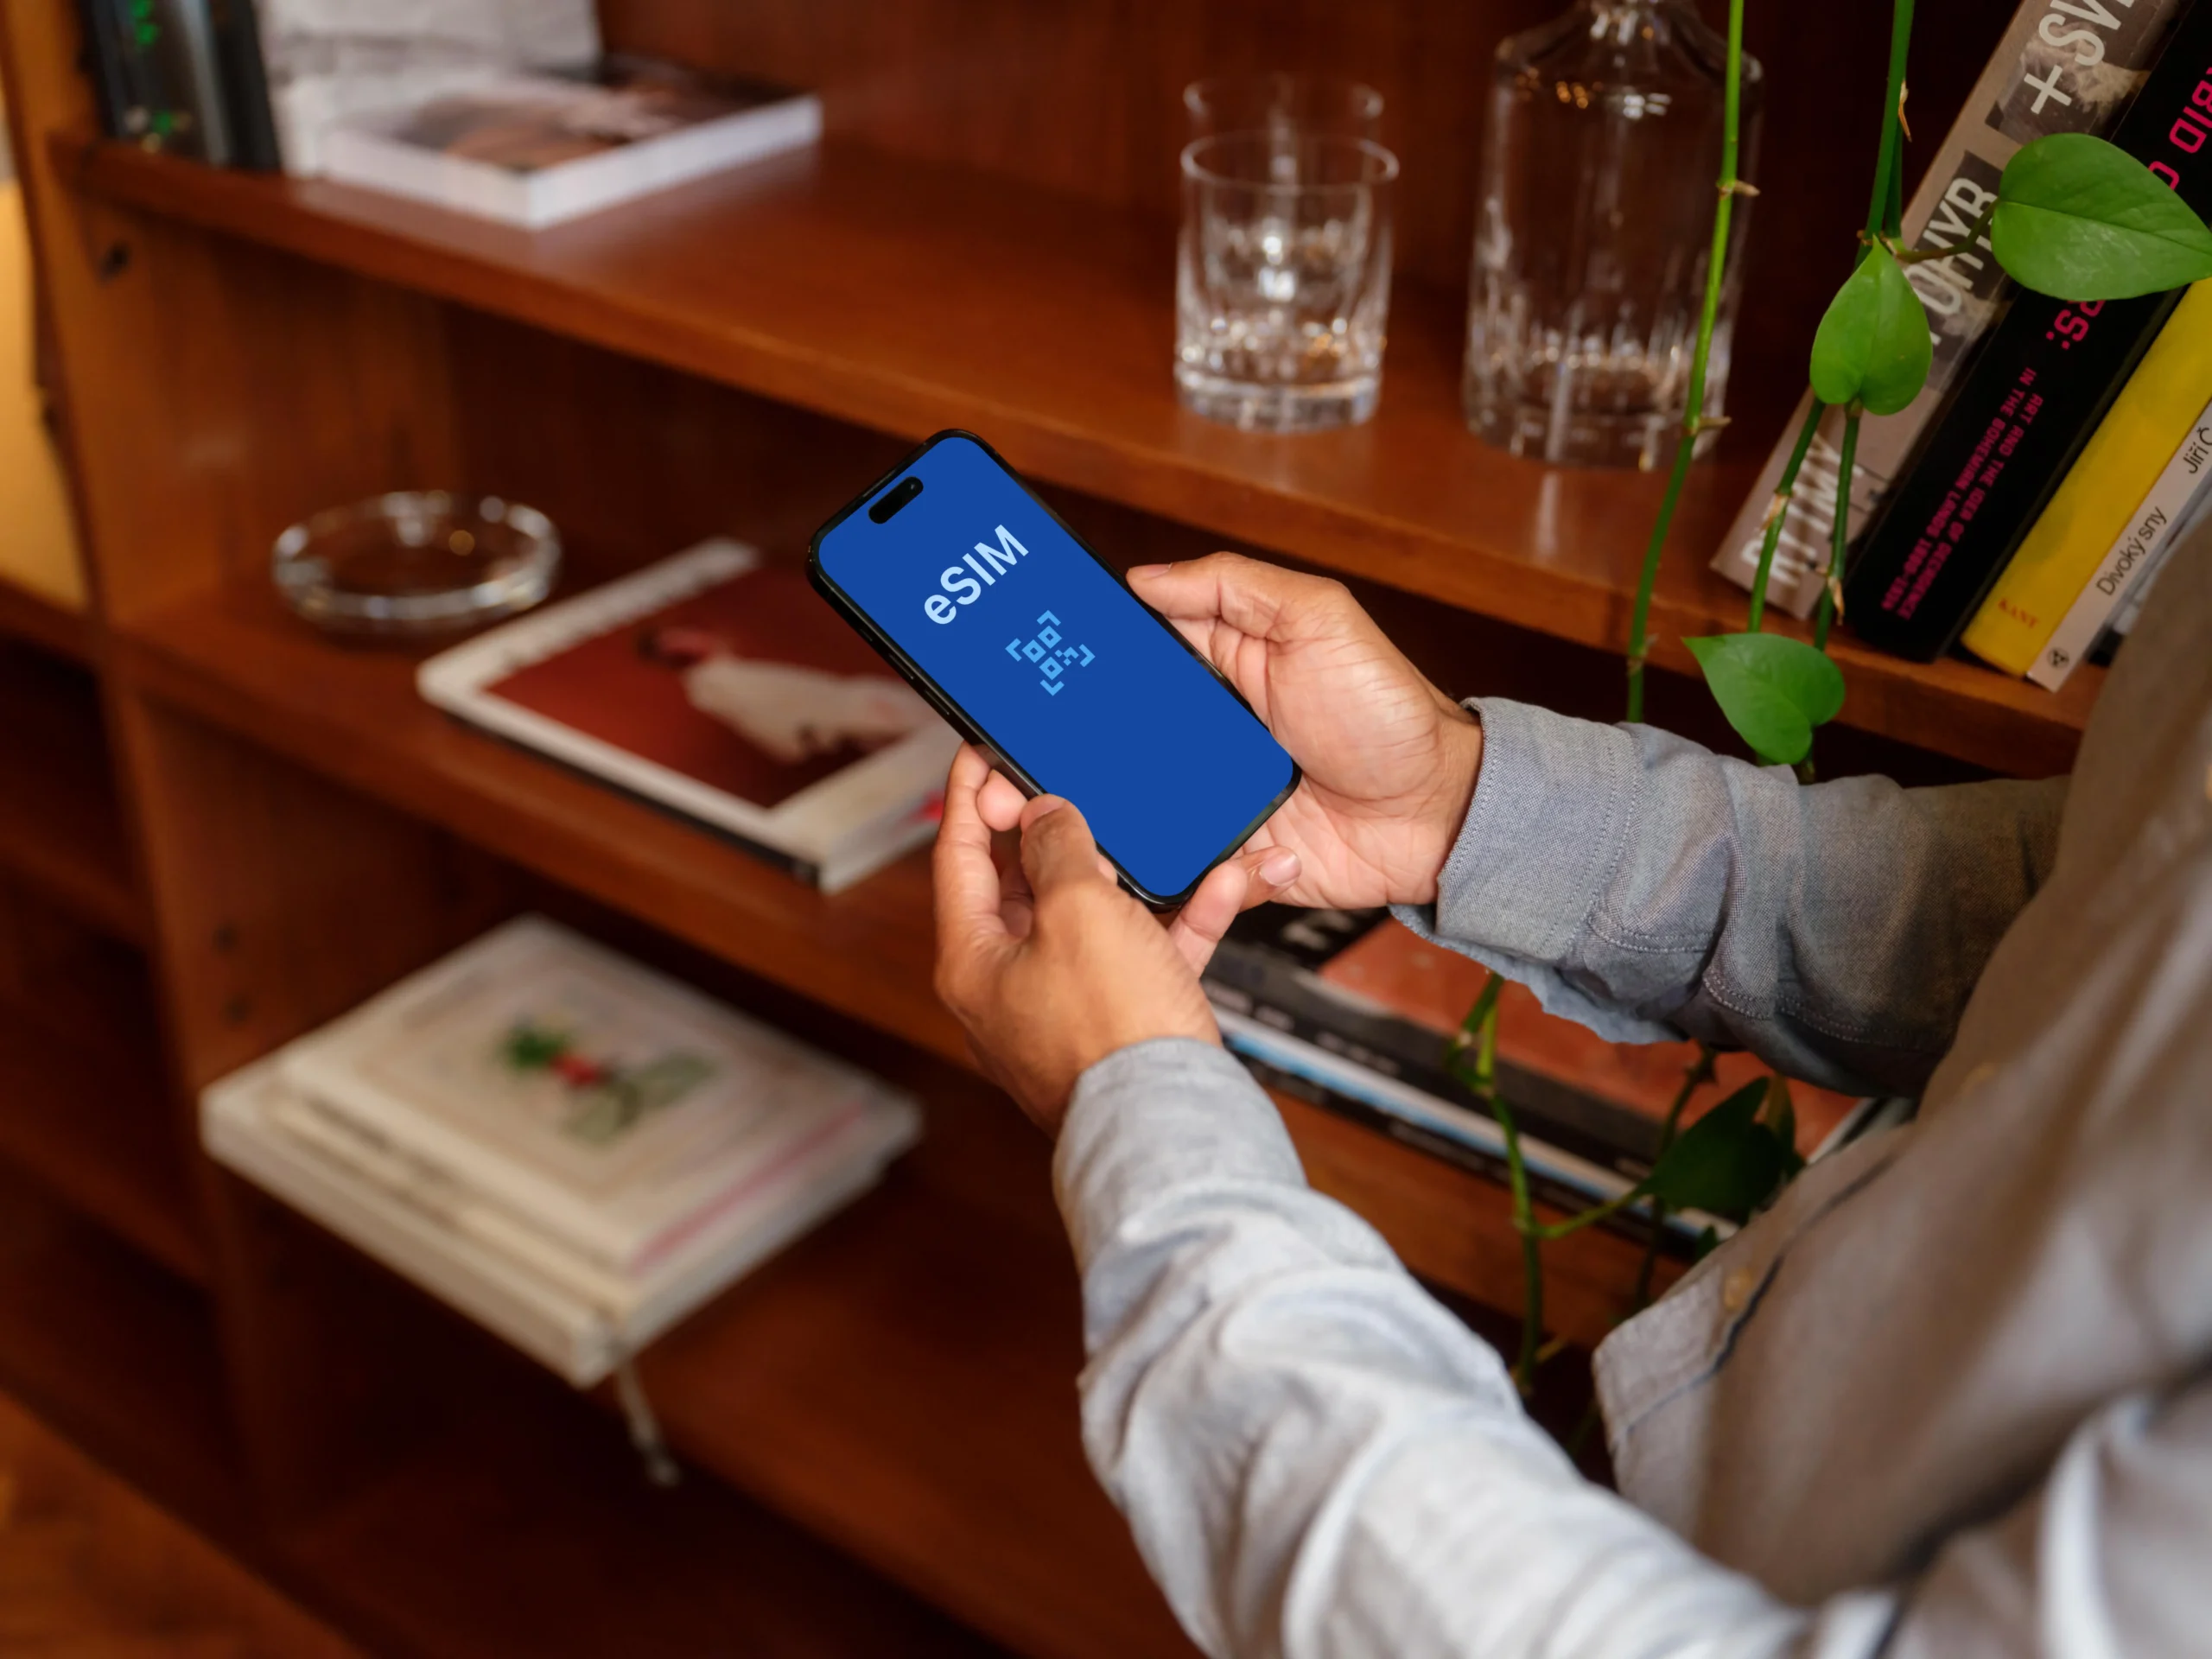
How To Switch Between eSIM Profiles While Traveling
eSIM profiles are digital versions of traditional SIM cards that store cellular data plans directly on your device’s internal hardware. Unlike the little plastic chips we used to juggle, these digital profiles allow you to move between different networks with just a few taps on your screen. This article explains the technical requirements, offers a step-by-step guide for iPhone and Android users, and shows you how to manage multiple plans to avoid those terrifying roaming bills. My goal is to give you a complete roadmap for stress-free data management so you can focus on the sights rather than your settings.
Why Switching eSIMs Matters On The Road
Switching between eSIM profiles is the ultimate travel hack for staying connected without going broke. The biggest win is avoiding those expensive roaming charges from home carriers that can easily double the cost of your flight if you aren’t careful. By toggling to a local plan, you pay local prices. It gives you incredible flexibility to use specialized regional data plans to save money and enjoy much better speeds than a throttled roaming connection might offer.
If you are hopping across several countries on a single trip, you can have every necessary profile pre-loaded. You could have one for Japan, one for Vietnam, and another for Singapore all sitting quietly in your settings. As soon as you cross the border, you simply switch active lines and you are back on Instagram before you even leave the train station. This step-by-step guide to switching eSIMs makes the process even easier for frequent flyers. It’s all about maintaining control over your connectivity and your budget simultaneously.
What You Need Before Switching eSIM Profiles
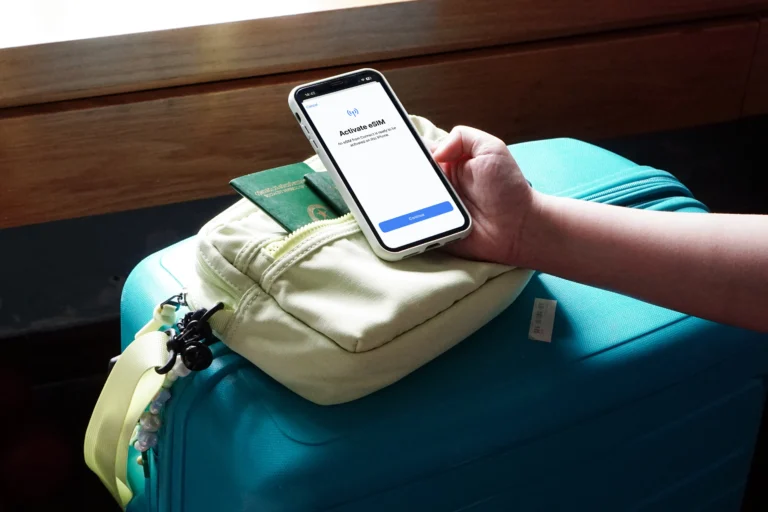
Before you start clicking around, you need to ensure your hardware is actually up to the task. Not every smartphone supports multiple active eSIMs, and some older models can only handle one profile at a time. It’s important to understand the difference between an installed profile (which lives on your phone) and an active profile (the one actually providing your 5G). You generally need a stable Wi-Fi connection to download or activate a brand-new profile, so I always recommend doing the heavy lifting at the airport or your hotel before you start switching lines in the wild.
Phone Models That Support Multiple eSIMs
Modern flagship devices have really changed the game for digital nomads. The iPhone 13 and all later models, the Samsung S-series starting from the S20, and Google Pixel 4 through the latest versions allow you to store between 5 and 10 different profiles. Older eSIM-compatible phones might be limited to holding just one profile at a time, which means you would have to delete one to add another. If you have a newer device, you can check out this iPhone 16 digital SIM travel guide to see how the latest tech handles multiple lines.
How To Switch eSIM Profiles On iPhone
Managing your data on iOS is incredibly intuitive, provided you know which menu to dive into. Most travelers get tripped up because they think they need to delete a plan to stop using it, but that is a major mistake. You simply need to toggle the line off. Labeling your plans is the real secret to success here, as having three lines named “Secondary” is a recipe for a data disaster.
Following this logic will help you navigate the process efficiently:
- Open your Settings app and select Cellular or Mobile Service.
- Look under the SIMs or Cellular Plans section to find your list of installed profiles.
- Tap on the specific plan you want to use (for example, “Italy Data”).
- Toggle the switch for Turn On This Line to the green position.
- Go back to the main Cellular menu and tap Cellular Data to ensure the phone is actually using the new plan for internet access.
I always suggest naming your lines with something obvious like “Work,” “Italy,” or “Home.” This prevents you from accidentally leaving your home line on and racking up charges. If you need help picking a plan to install first, look at the top eSIM providers for global travel to find a reliable partner for your next destination.
How To Switch eSIM Profiles On Android
Android users have a slightly different path, and while the menus can look a bit different on a Samsung versus a Google Pixel, the logic remains the same. You are essentially visiting a digital “SIM Manager” to tell the phone which antenna to use. Android is generally very transparent about which network is active, often showing you distinct signal bars or labels in the swipe-down notification shade.
You can switch your profiles by following these steps:
- Go to Settings and tap on Network & Internet.
- Select SIMs or SIM Manager depending on your specific device.
- You will see a list of your physical SIM and any downloaded eSIMs.
- Tap the eSIM you want to activate and toggle the Use SIM switch to on.
- If prompted, confirm that you want to use this SIM for Mobile Data.
Once you’ve done this, look at the top of your screen. You should see the signal bars refresh as the phone connects to the local tower. If it doesn’t happen instantly, don’t panic. Sometimes the handshake between the phone and a new foreign network takes a minute or two. For more general help, you can check these frequently asked questions about eSIM technology to troubleshoot common setup hurdles.
Using eSIM Switching With Dual SIM Setups
A dual SIM setup is the gold standard for travelers who need to stay reachable on their original number. You can keep your physical home SIM active for receiving important calls or those annoying bank 2FA texts while using a travel eSIM exclusively for data. This hybrid approach gives you the best of both worlds: you are reachable for emergencies, but your Google Maps and TikTok usage aren’t costing you ten dollars a megabyte.
The vital step here is disabling Cellular Data Switching on iPhone or the equivalent Data Switching on Android. If you leave this on, your phone might “helpfully” switch back to your expensive home line if the travel eSIM signal gets weak for a second. By turning this off, you force the phone to stay on the cheap data plan no matter what. It’s a small setting that saves a lot of money. To find a plan that fits this setup perfectly, you might want to look into the cheapest eSIM for USA travel if you are heading stateside.
When To Switch eSIM Profiles While Traveling
Timing is everything when it comes to switching profiles. The most obvious time to switch is the moment your plane touches the tarmac in a new country. I usually toggle my travel profile on while we are taxiing to the gate so I can order a car or message my host immediately. Another common scenario is crossing a land border, such as traveling by train from France to Italy; you simply swap the active profile once you see the network name change on your screen.
You might also need to switch if you run out of data on a specific plan and have a backup ready to go. Many travelers buy a small “just in case” regional plan as a safety net. If your primary local network has a “dead zone” in a rural area, switching to a different eSIM that uses a different local carrier can often get you back online. It is all about having a backup plan in your pocket.
Common Problems When Switching eSIMs
Even with the best tech, things sometimes go sideways. If your data doesn’t connect immediately after you switch profiles, the first thing to check is your Roaming setting. For almost all travel eSIMs, you must have “Data Roaming” turned on for the specific travel line. Don’t worry, as long as your home line’s roaming is off, you won’t get charged by your home carrier.
If you are still offline, try this fast-fix checklist:
- Toggle Airplane Mode: This forces the phone to look for towers again.
- Restart the Phone: The classic “turn it off and on again” works wonders for network resets.
- Check APN Settings: Occasionally, you might need to manually enter the Access Point Name provided by the eSIM company.
- Manual Network Selection: If “Automatic” selection fails, go into settings and manually pick the carrier the eSIM provider suggested.
Conclusion
Switching between eSIM profiles is a simple yet powerful way to stay connected and save a fortune while exploring the world. By taking a few minutes to pre-load your plans and understanding the settings on your specific device, you turn your phone into a global communication powerhouse. Remember to label your lines clearly and verify your data settings before you leave the airport Wi-Fi. With a little bit of planning, you can enjoy the freedom of high-speed data anywhere your travels take you. Safe travels and happy browsing!