Best eSIM Samsung Guide for Galaxy Users (Setup + Common Errors, 2026)
Family trips and camping days are supposed to feel easy, until someone misses a turn-off with no signal, you can’t check park updates, and the photos you promised the grandparents won’t send. If you’re on a Samsung Galaxy, an eSIM can take a lot of that stress out of travel.
An eSIM is a digital SIM that’s built into your phone. Instead of hunting for a kiosk and swapping a tiny plastic card, you download a data plan, install it in minutes (often by scanning a QR code), and switch plans when your route changes. On many Galaxy models, it also lets you keep your main number active while using the eSIM for travel data.
In this guide, you’ll learn how to choose the best esim samsung option for your trip style (weekend campground, multi-country road trip, or a longer stay), then set it up cleanly in Samsung’s SIM Manager. It also covers the usual headaches, QR codes that won’t scan, “profile download failed,” no signal after landing, and the one setting that trips people up most, data roaming.
https://freeesim.info/free-esim-trials-for-travelers/
Why eSIM matters for Samsung Galaxy family travel, especially when you camp
Camping trips have a way of turning small problems into big ones. A missed turn can mean an extra hour on a dirt road. A “sold out” notice at the park gate can ruin the day. And when kids get restless in the tent, even a simple weather update feels important. With the best esim samsung setup, your Galaxy can add travel data fast without swapping plastic SIM cards, which helps you stay prepared without turning the trip into a tech chore.

Save money fast by skipping roaming fees on a value budget
Roaming charges hit families harder because you rarely have just one phone online. You have two parents needing maps, park updates, and messages, plus a teen who “only watched one video” and somehow used a gigabyte. With many carrier roaming add-ons, costs can stack by the day, per line, and per trip.
Real-world example: major US carriers often sell a daily roaming pass at $12 per day (AT&T International Day Pass and Verizon TravelPass are both listed at $12/day). On a 10-day trip, that can land at $120 per line. Multiply that by two parents, and you are already at $240 just to keep your normal lines usable abroad.
Prepaid travel eSIMs flip that risk. You pay upfront for a set amount of data (and sometimes a set number of days), so you can control spending instead of hoping the bill looks okay later. Some providers also offer Europe plans in the $15 to $30 range for about 10 days (varies by data amount and provider). That’s why prepaid eSIMs are popular for family travel: your budget is predictable.
A quick way to compare before you buy:
| Option | How it charges | Budget risk for families | Best for |
|---|---|---|---|
| Carrier roaming day pass | Per day, per line | High if multiple phones roam daily | Short trips where you must keep your main line active abroad |
| Prepaid travel eSIM | Upfront plan (data and validity) | Lower, cost is known at checkout | Families watching spend and using dual SIM (main line + data eSIM) |
Make navigation and photo sharing easier when everyone needs data
When you camp, “data” is not a luxury. It’s the glue that keeps plans from falling apart.
With a working eSIM on your Galaxy, it’s easier to:
- Use maps reliably for trailheads, grocery runs, and backroads detours.
- Book timed entries and reservations (many parks and attractions push online reservations).
- Call a rideshare in gateway towns when parking is chaos.
- Translate on the fly for menus, signs, and quick chats in small towns abroad.
- Share photos immediately so family back home gets the moment while it’s still happening.
Hotspot can be a lifesaver too. If one parent’s Galaxy has the best signal at the campsite, you can tether a kid’s tablet for a downloaded movie, or get a second phone online long enough to check directions. Just remember: tethering rules vary. Some eSIM plans allow hotspot freely, some cap it, and some block it. If you expect to tether multiple devices, check the plan terms before you leave the driveway.
Stay connected in remote campgrounds, with a realistic expectation
An eSIM does not magically create coverage in the middle of nowhere. It uses the same major networks your phone would normally connect to (often T-Mobile, AT&T, or Verizon in the US, depending on the eSIM provider and plan). That means national parks, deep forests, and canyon roads can still have dead zones.
Plan for “good enough” connectivity, not perfection:
- Check coverage maps before booking a remote campground, especially in valleys and mountain areas.
- Download offline maps (Google Maps offline areas, AllTrails offline routes, and saved pins).
- Save key info offline: reservation PDFs, campground coordinates, and emergency contacts.
- Have an emergency backup: know where the nearest ranger station is, carry a power bank, and consider a satellite messenger if you camp far from main roads.
The best setup is simple: use eSIM for day-to-day data, but treat it like a headlamp, not a floodlight. It works great, until the terrain says otherwise.
Best eSIM options for Samsung Galaxy in 2026, and who each one fits
Picking an eSIM for a Galaxy phone is a lot like picking fuel for a road trip. You can get there on the cheapest option, but the smoothest trip usually comes from matching the plan to how you actually travel: how much data you burn, where you’re going, and whether you’ll tether kids’ devices at the campground.

Quick pick guide: match your trip style to the right provider
Use these quick matches as your shortcut. Each one is based on what matters in real travel, not just what looks good at checkout (and yes, this is where most people find their best esim samsung option).
- Heavy-data family road trip (hotspot, video, lots of maps): Holafly if you want an unlimited-style plan for peace of mind (expect fair-use slowdowns after heavy use). If you prefer capped data with more control, Airalo or Nomad plus a bigger data bucket often feels more predictable.
- Budget weekend getaway (basic maps, messages, light browsing): Jetpac for low starting prices and frequent promos. Airalo also works well when you just need a small plan and quick install.
- Multi-country itinerary (crossing borders every few days): Airalo is a strong pick because it’s widely used and supports a lot of countries and regions. If you like trying before paying, this Free multi‑country eSIM trial guide for travelers can help you compare trial-style options.
- Repeat US trips (you visit the US and Canada often): Ubigi if you like subscription options and topping up without re-learning a new app each trip. It’s also a nice fit when you want a “set it and forget it” travel line.
- First-time eSIM user who wants the simplest setup: Saily for a clean app flow and fewer moving parts. The extra privacy tools (like built-in VPN and ad blocking) are a plus when you’re bouncing between campground Wi-Fi and coffee shop networks.
What to look for before you buy: coverage, speed, hotspot rules, refunds
Most “travel eSIM” brands are resellers, so the real question is: which local network does it use where you’re going? In the US, that often means access to one or more major carriers (commonly T-Mobile, Verizon, or AT&T through partners, depending on the provider and plan). When you’re comparing providers like Saily, Holafly, Airalo, Jetpac, Ubigi, and Nomad, look for these specifics:
- Network it rides on (the most important line in the fine print):
If you care about a specific carrier’s coverage in the places you camp, pick a provider that clearly states the network partner. For example, Saily is commonly associated with T-Mobile in the US (good reach in many metro areas and highways, weaker in some deep-rural pockets). - 4G vs 5G expectations:
Many plans advertise 5G, but your real speed depends on the tower near you, congestion, and your exact Galaxy model. In cities you can see fast 5G, in small towns it may drop to LTE, and in remote areas you may have no service at all. - Hotspot and family sharing limits:
“Hotspot allowed” can mean different things. Some plans allow tethering freely, others cap it, and some limit high-speed hotspot even if phone data stays fast. If one parent will power the whole family’s devices, prioritize a plan with clear hotspot rules (Airalo and Nomad are commonly used for tethering, Ubigi hotspot availability can vary by plan). - Plan length and top-ups:
Check two numbers: data amount and validity days. A 10 GB plan for 30 days is very different from 10 GB for 7 days. For longer trips, pick a provider that makes top-ups simple in-app so you don’t have to reinstall a new eSIM at a bad moment. - Customer support you can actually use:
If you’re arriving late with kids in tow, you want responsive chat support and clear setup steps. This is one reason Saily is popular for first-timers. Also, scan reviews for “activation failed” stories and how the company handled them. - Refunds if activation fails:
eSIM problems happen, wrong device model, QR code issues, region mismatch, or a plan that won’t activate on arrival. Look for a published refund policy and what counts as “unused” or “not activated.” If the policy is vague, that’s a risk. If you want another option with broad destination coverage, you can also compare plans here: Buy a travel eSIM for Samsung Galaxy – 100+ countries.
A simple decision rule: if you’re new, favor clear setup + support (Saily). If you’re price-driven, favor low entry cost (Jetpac). If you’re crossing borders, favor wide regional coverage (Airalo). If you’ll burn data like crazy, favor unlimited-style (Holafly).
National parks and scenic areas: how to plan for spotty signal
Here’s the hard truth: an eSIM can’t create coverage where towers don’t exist. It can help you choose a better network partner, but it can’t fix deep canyons, remote forests, and long highway stretches with nothing but views.

Use this planning approach so your family isn’t surprised:
- Check the provider’s coverage map for your exact park area, not just the state. If your eSIM provider doesn’t show a map, look up the underlying carrier’s map.
- Cross-check with recent campground reviews. Reviews often mention “one bar near the ranger station” or “no service in the valley,” which is more useful than any marketing claim.
- Plan drive segments around known signal spots. Treat signal like water stops. Identify where you usually regain service (visitor centers, gateway towns, higher ridgelines), then plan quick tasks for those windows (download maps, send check-ins, confirm reservations).
- Set family check-in times when signal returns. A simple rule like “text when we hit the main highway” keeps everyone calm, especially when cars split up or a teen hikes ahead.
If you plan for gaps, your eSIM becomes a reliable tool instead of a promise it can’t keep.
Check if your Samsung Galaxy supports eSIM before your trip
Before you buy a plan or pack a SIM ejector tool, confirm your Galaxy can actually install an eSIM. Samsung eSIM support depends on your exact model and sometimes the region it was made for, so two phones with the same name can behave differently. The good news is you can usually verify this in under a minute, right on the phone, then move on to choosing the best esim samsung option with confidence.

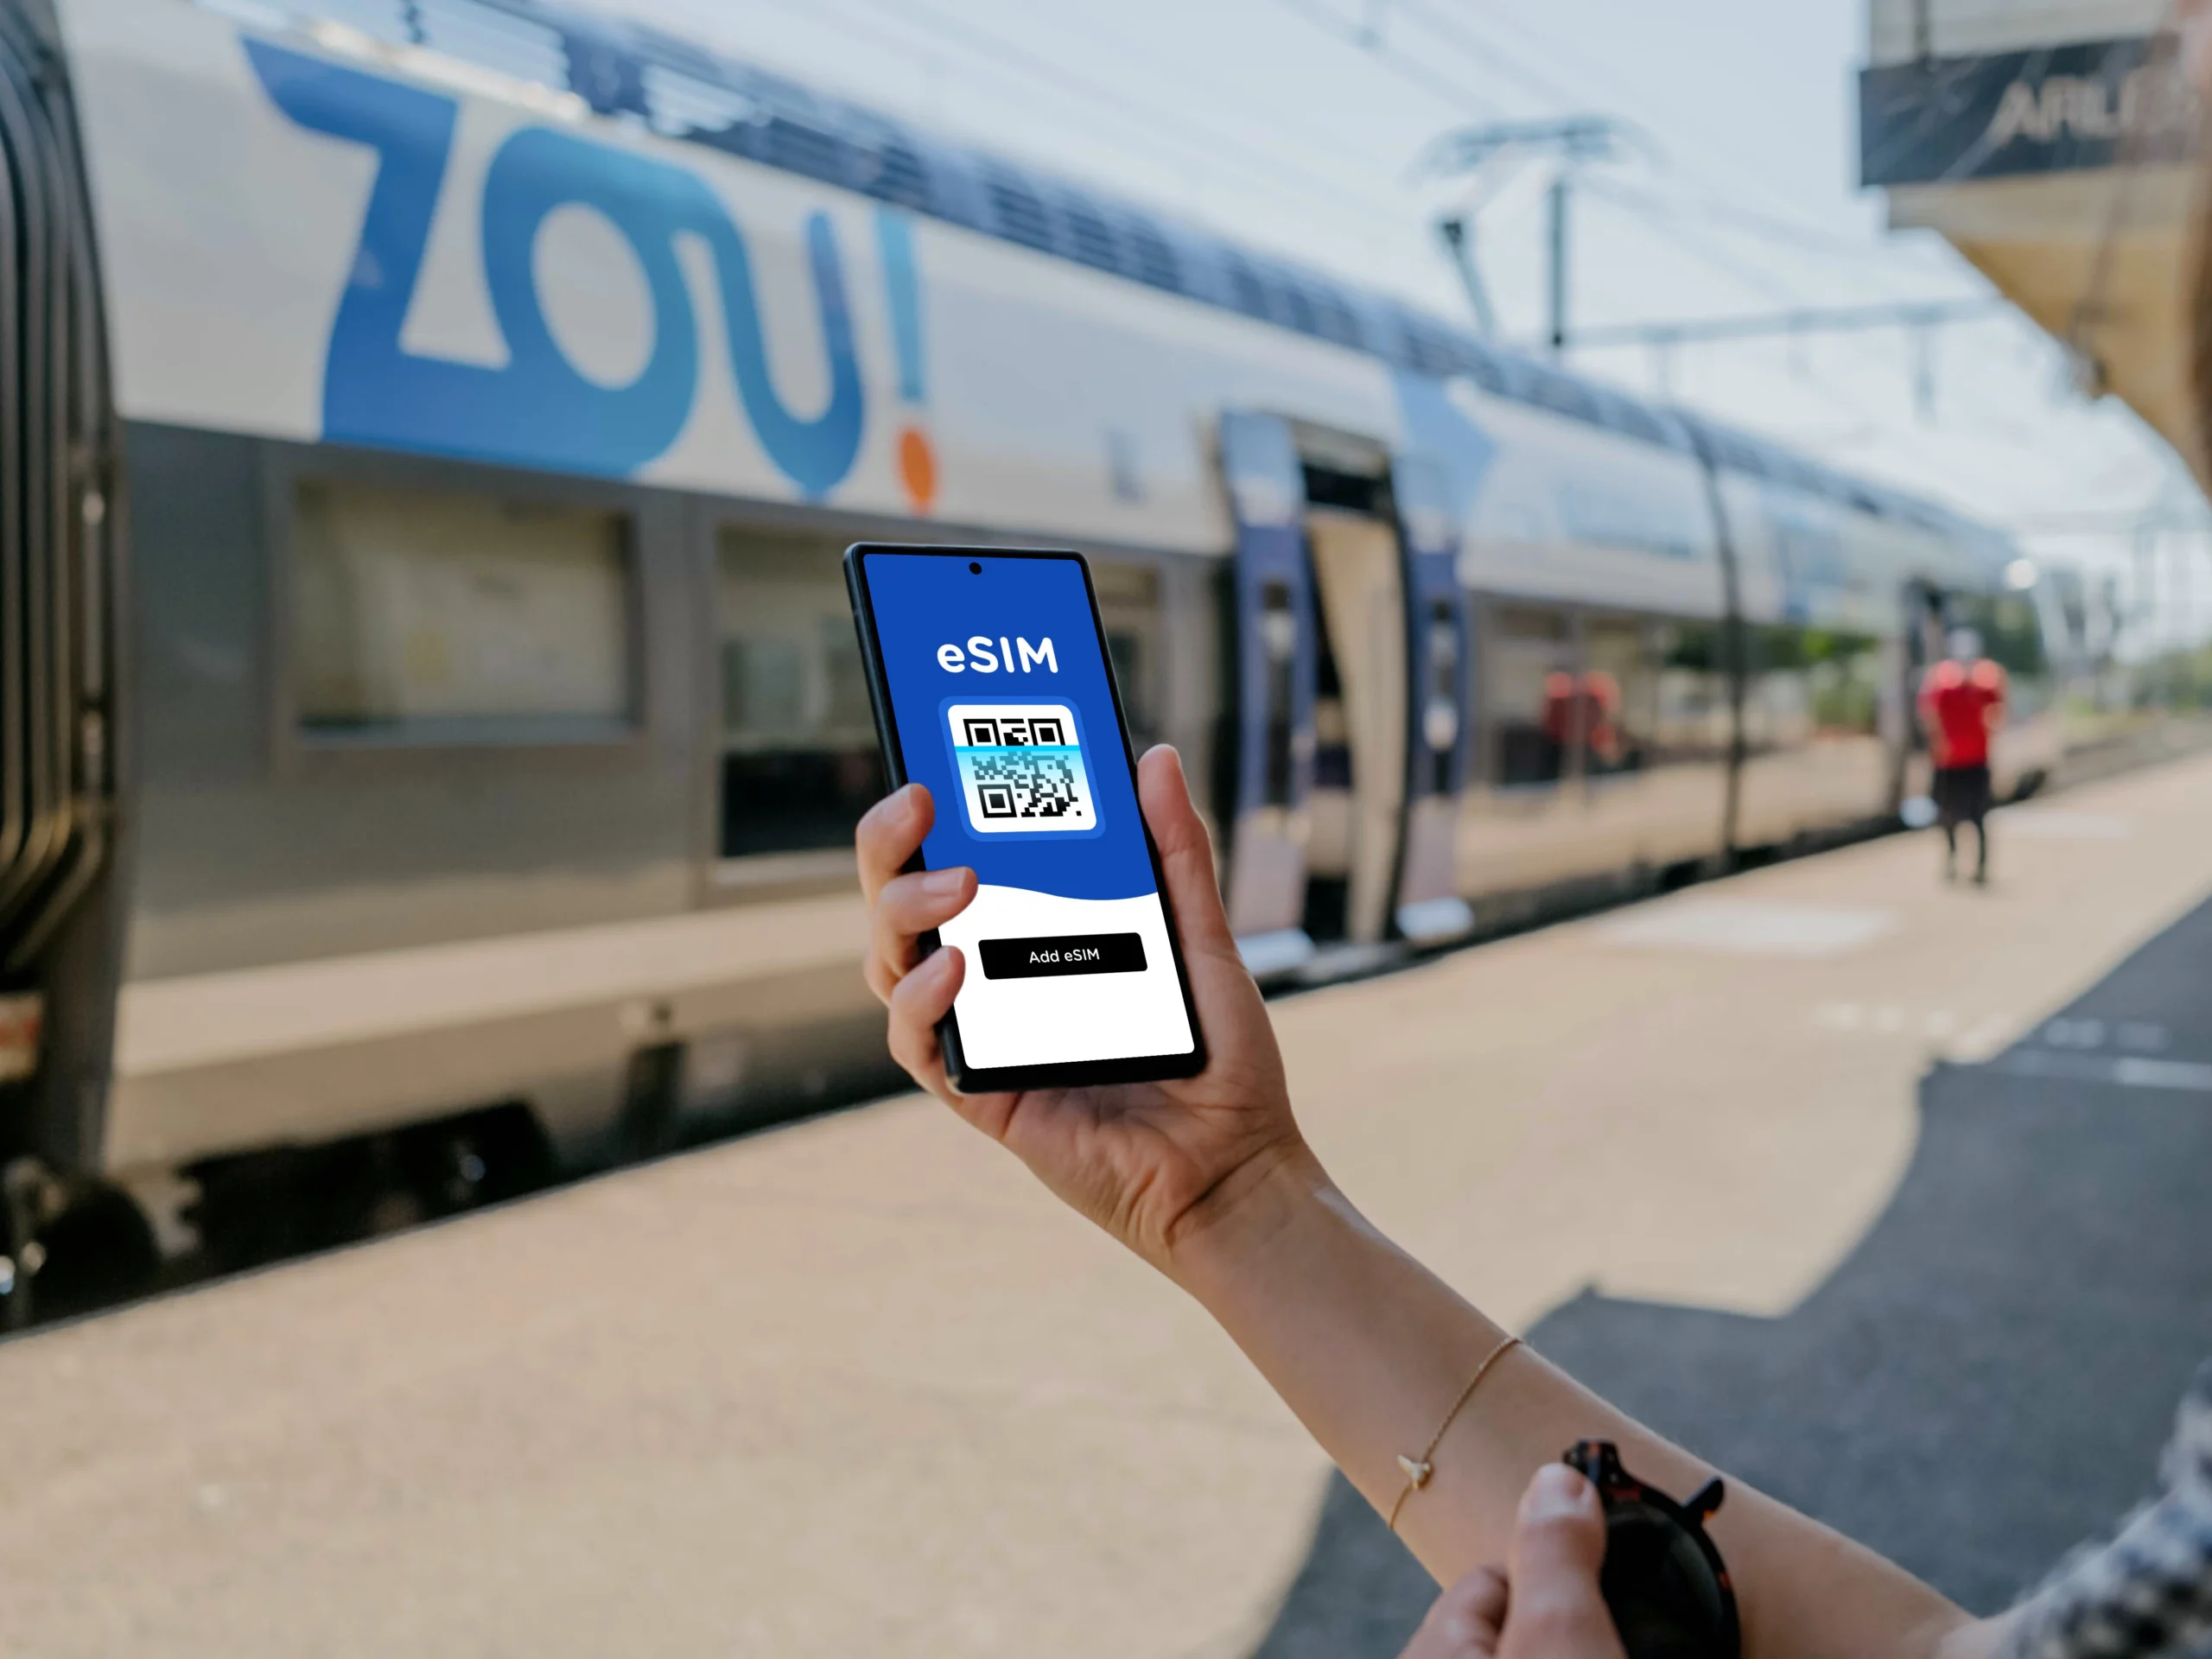
Fastest device check: find “Add eSIM” in SIM card manager
This is the quickest, most practical check because it looks for the feature where you will actually use it.
- Open Settings
- Tap Connections
- Tap SIM card manager
- Look for Add eSIM (sometimes shown as “Add mobile plan” depending on software)
If you see Add eSIM, your phone supports eSIM and you can proceed to purchase and install a travel plan.
If you do not see the option, it usually means one of these is true:
- The model or regional variant doesn’t support eSIM (common with certain country versions).
- Your software is outdated, and the menu is not showing correctly yet.
- Your carrier firmware or lock status is limiting features (less common, but it happens).
Before you conclude it’s unsupported, do this quick sanity check:
- Go to Settings , Software update , Download and install, then restart your phone.
- After the restart, repeat Settings , Connections , SIM card manager.
If the option still isn’t there, confirm using official specs for your exact model code (or compare against a known device list like this Samsung Galaxy eSIM compatibility list 2025). This avoids buying an eSIM that can’t be installed.
Common Samsung model families that usually support eSIM (and the regional catch)
As a rule of thumb, newer flagship Galaxy phones tend to support eSIM, but there are regional exceptions.
- Galaxy S series (recent generations): Many S-series models from the S20 era onward commonly include eSIM support, especially in US and EU versions.
- Galaxy Z Fold and Z Flip: Samsung’s foldables are generally eSIM-friendly, and they’re some of the most consistent models for travel eSIM use.
- Galaxy A series: This is where it gets tricky. Some newer A models support eSIM, but availability often depends on the market (for example, certain A variants may only support eSIM in Europe, North America, Korea, or Japan).
The “regional catch” matters because the same phone name can hide different hardware. Some versions sold in specific countries may ship without eSIM, even if the model supports it elsewhere. That’s why the SIM card manager check is the best first step.
If your phone does not support eSIM, here are realistic workarounds
No eSIM support doesn’t ruin the trip. It just changes the plan.
- Use a physical travel SIM: Often the simplest fallback, if your phone is unlocked. Buy ahead of time or at the airport, then swap SIMs and keep your eSIM shopping for your next phone.
- Rely on campground Wi-Fi plus offline downloads: Use Wi-Fi for messages and trip updates, then download offline maps, reservations, and trail guides before you drive into dead zones.
- Bring a separate hotspot device: A travel Wi-Fi hotspot can connect multiple devices, which is helpful for families. It’s one bill, one device to charge, and fewer “whose phone has signal?” moments.
- Upgrade before a big international trip: If you travel often, moving to an eSIM-ready Galaxy can pay off quickly in time saved and fewer roaming surprises.
The goal is simple: keep your family connected when it counts, without turning connectivity into a daily chore.
Samsung Galaxy eSIM setup, plus the most common errors and fixes
Getting eSIM working on a Galaxy phone is usually quick, but the small details matter. Most failures come down to three things: unstable internet during download, a QR code that was reused or saved as a screenshot, or the phone choosing the wrong SIM for data after install. Use the steps and fixes below, and you will get the best esim samsung setup without turning your trip into a tech project.
Step by step: install and activate your eSIM on a Galaxy phone
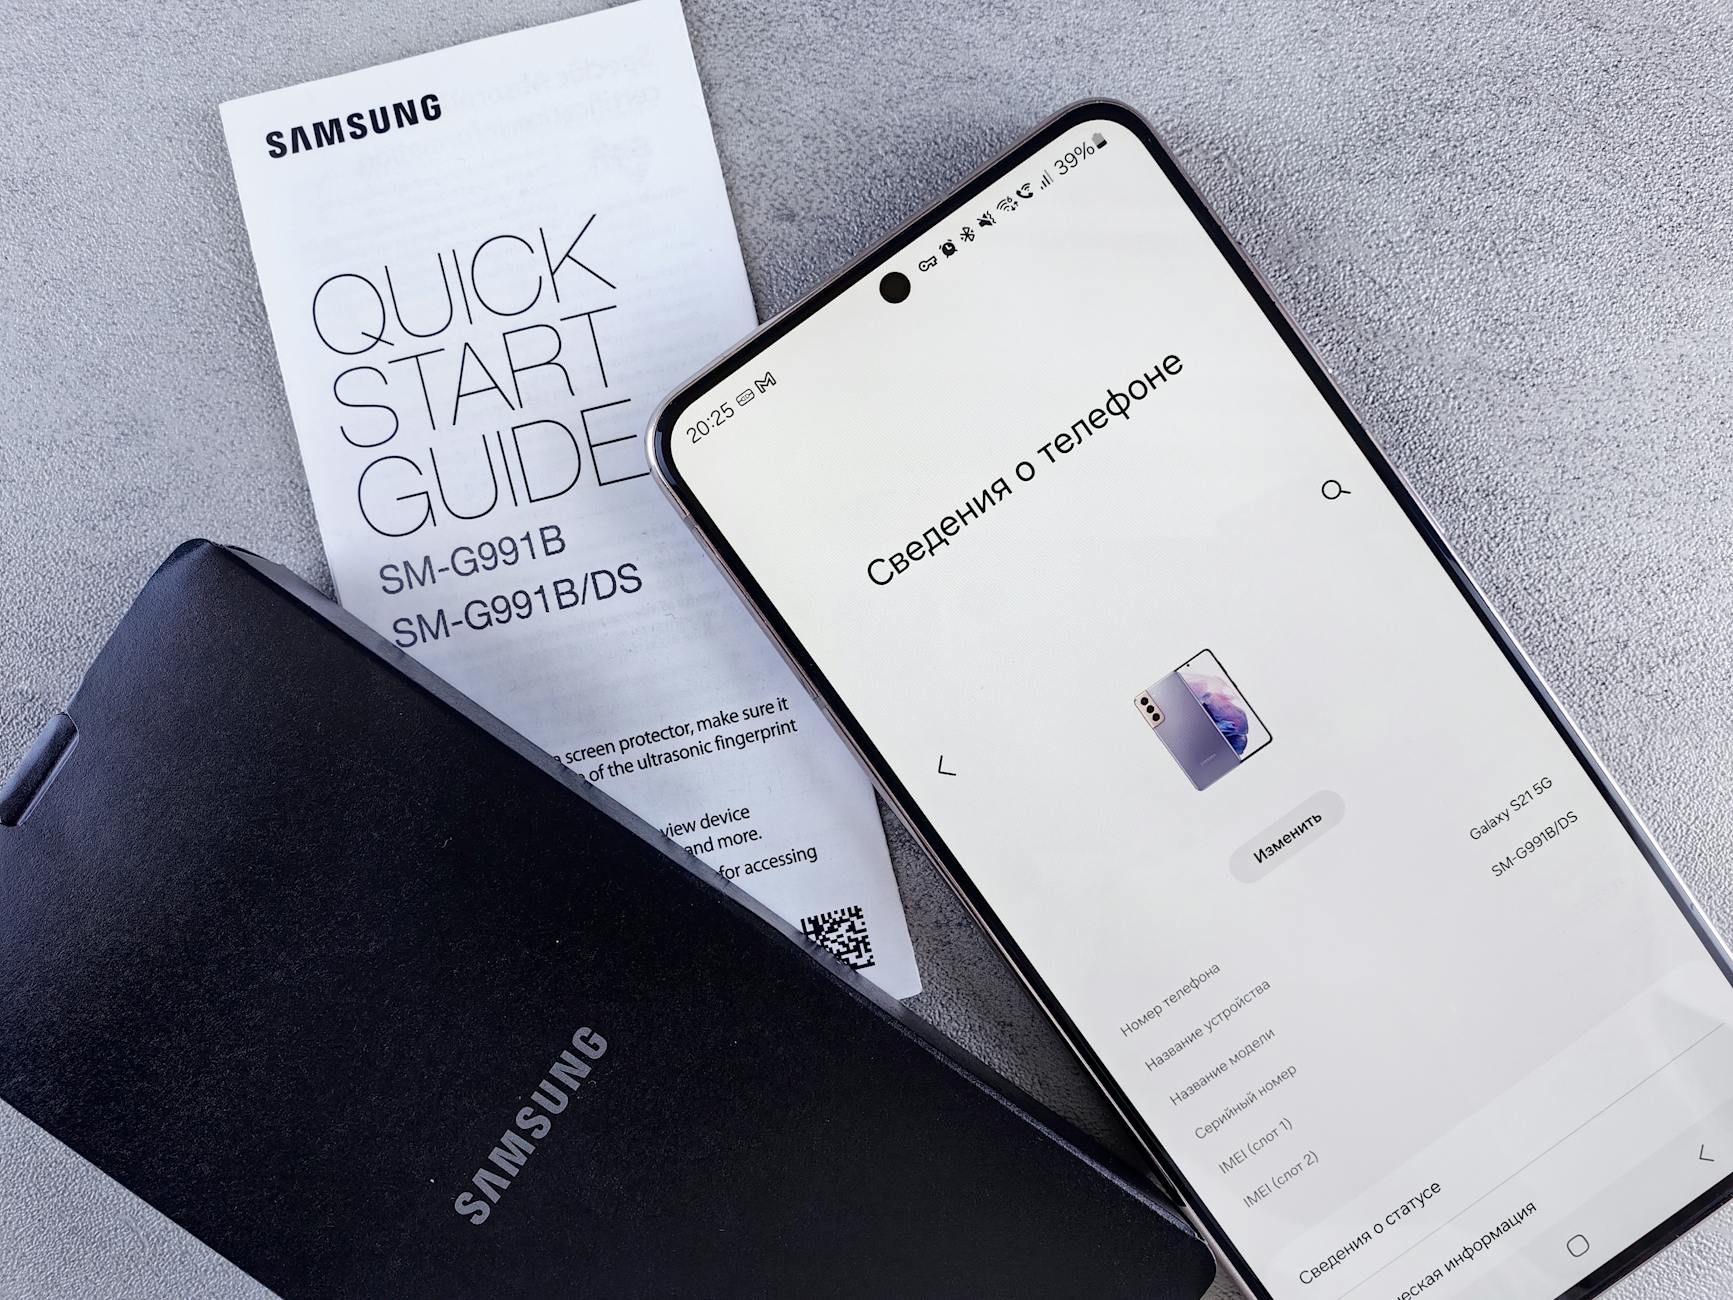
Photo by Andrey Matveev
Before you tap anything, take 60 seconds to set yourself up for success. eSIM downloads are picky, and a bad connection can cause “profile download failed” loops.
Prerequisites (do these first):
- Stable Wi-Fi (preferred). If you must use mobile data, make sure it is strong and consistent.
- Battery at 30% or more, or keep the phone on a charger.
- Turn VPN off during setup (VPNs can block the download handshake).
- Turn Data saver off (it can pause background provisioning).
- Update Android if needed: Settings , Software update , Download and install, then restart.
Now install the eSIM:
- Open Settings
- Tap Connections
- Tap SIM card manager
- Tap Add eSIM (or Add mobile plan on some models)
- Choose one method:
- Scan QR code (recommended): point the camera at the provider QR code.
- Enter activation code (manual entry): paste or type the full code exactly as provided (often includes an
LPA:part). This is your best backup if the camera will not scan.
A few practical tips while adding the plan:
- Avoid screenshots of QR codes when possible. Providers commonly warn that screenshots get cropped, compressed, or reused by mistake, and that can break scans.
- If the QR code is on the same phone, open it on another screen (laptop, tablet, a friend’s phone) and scan from there.
- When prompted, label the eSIM clearly. Use names you will recognize later, like Home SIM (Verizon) and Travel eSIM (Japan). This prevents dual SIM mix-ups.
After it installs, set it up the right way:
- Go back to SIM card manager
- Confirm the new eSIM shows in the list and is turned on
- Under Preferred SIMs, set:
- Mobile data: choose your travel eSIM (most common goal)
- Calls and texts: keep your primary number, unless your travel plan includes voice and you want to use it
Finally, do a quick 60-second test so you do not discover problems at a trailhead:
- Turn Wi-Fi off, so you are testing cellular data.
- Open a web page you have not visited today (to avoid cached results).
- Run a speed test app if you have one (optional, but useful).
- Send a message in your usual app (SMS, WhatsApp, iMessage equivalent) and confirm it delivers.
If you want a broader refresher on how eSIM provisioning works behind the scenes, this guide is a helpful reference: Samsung Galaxy eSIM basics and setup guide.

Fix QR code scan failures in minutes
When the QR scan fails, don’t keep trying the same scan angle for 20 minutes. Use a quick checklist that fixes the common causes first (camera, QR quality, network, and software).
Fast QR scan checklist (top to bottom):
- Clean the lens: fingerprints are enough to blur the QR edges.
- Fix lighting: bright, even light works best. Avoid glare from a glossy screen.
- Adjust distance: hold the phone about 6 to 12 inches away, then move slowly until it locks on.
- Use the original QR: re-download the QR from the provider email or app. Avoid scanning a cropped image or screenshot.
- Disable VPN and retry (VPNs can block activation endpoints).
- Update your phone: install pending Android or One UI updates, then restart.
- Reset network settings (this is the “it shouldn’t work, but it does” fix):
- Settings , General management , Reset , Reset network settings
- This resets Wi-Fi, mobile, and Bluetooth connections, but does not delete photos or apps.
When you should request a new QR code from the provider:
- The phone says invalid code or code already used
- You previously installed the same plan on another device
- You scanned a screenshot and now the same QR fails on every attempt
- The QR was emailed long ago and the provider confirms it expired or was regenerated
Many providers issue one-time codes, so if the QR was consumed during a failed attempt, the cleanest fix is a fresh QR from support.
Fix activation stuck, profile missing, or “no service” after install
Think of this like a decision tree. You start with the lightest fixes, then move to the heavier ones only if needed.
1) You just installed it, but it is “activating” forever
- Wait 2 to 5 minutes on stable Wi-Fi. Some activations have a short delay.
- Toggle Airplane mode on for 10 seconds, then off.
- Restart the phone.
2) The eSIM does not show up, or looks half-installed
- Go to SIM card manager and look for any new entry that is disabled.
- If you see a broken or partial profile, remove it, then add again:
- SIM card manager , tap the eSIM , Remove
- Re-add using the original QR or manual code (whichever is more reliable)
3) The eSIM is installed, but you have “no service” or data does not work
- Make sure the travel eSIM is enabled in SIM card manager.
- Set it as the preferred SIM for mobile data.
- Check Data roaming settings. Many travel eSIMs require data roaming turned on for the eSIM line (this is not the same as roaming on your home carrier line).
- If you are using dual SIM, confirm your home SIM is not accidentally selected for data. Labeling helps a lot here.
4) Still no data, fix APN and rule out app conflicts
- Try APN reset:
- Settings , Connections , Mobile networks , Access Point Names
- If your provider gave an APN, enter it exactly. If not, reset to default and reboot.
- Boot into Safe mode to rule out a firewall, VPN, or carrier tool causing trouble. If it works in Safe mode, one of your apps is interfering.
5) Last resort resets (use carefully)
- Reset all settings if the phone has been heavily tweaked over time. This is stronger than a network reset, but still not a full wipe.
When to contact support If the profile appears locked, the code is marked as used, or the eSIM is installed but never gets carrier activation, it is usually carrier-side provisioning. Support can check the code status, re-issue a QR, or confirm if your EID needs to be registered.
If you are converting an existing physical SIM line to eSIM with a carrier process (not a travel eSIM), this walkthrough can help you compare the flow and common hiccups: Fix common Samsung Galaxy eSIM errors when switching from physical SIM.
Keep data working on the road: switching SIMs, hotspot use, and low signal tricks
Once you are moving, the biggest risk is simple: your phone quietly uses the wrong SIM for data, and you do not notice until the bill arrives or the travel eSIM runs out.
Switch SIMs safely (calls vs data):
- Open Settings , Connections , SIM card manager
- Under Preferred SIMs:
- Keep Calls on your home line (so your number stays reachable)
- Put Mobile data on your travel eSIM (so you avoid roaming charges)
- Turn Mobile data switching on only if you understand it. It can automatically jump data to the other SIM if one drops, which is handy, but it can also trigger roaming on the wrong line.
Hotspot tips (so the family stays online):
- Test hotspot once at home. Some plans allow it, some block it, some cap it.
- If hotspot connects but has no internet, double-check that the travel eSIM is the active mobile data SIM.
- Keep a power bank handy. Hotspot drains battery fast.
Low signal tricks that actually help when camping:
- Walk 30 to 100 feet and re-test. A small change in elevation can matter.
- Move to higher ground or closer to open sky, away from dense trees and rock walls.
- If 5G is unstable, set the phone to LTE only (temporary). LTE often holds a weak connection better.
- Turn on Wi-Fi calling when you have campground Wi-Fi, so calls and texts go through even with poor cell signal.
- Keep offline maps downloaded before you lose service, so you can still find trailheads and exits.
Conclusion
The best esim samsung choice comes down to match the plan to your data habits (unlimited-style for heavy use, capped data for tighter control), confirm your Galaxy supports eSIM, and install on solid Wi-Fi before you leave. Most setup problems are fixable in minutes once you know the usual culprits: weak internet during download, a reused QR, the wrong line selected for mobile data, or data roaming left off for the eSIM.
Use this quick checklist to keep things simple:
- Pre-departure: Confirm “Add eSIM” shows in SIM Card Manager.
- Pre-departure: Install on strong Wi-Fi, with VPN and Data saver off.
- Pre-departure: Label lines clearly (Home SIM vs Travel eSIM).
- Pre-departure: Set Mobile data to the travel eSIM, test with Wi-Fi off.
- In-trip habit: Watch data use, top up before you hit remote areas.
- In-trip habit: Download offline maps and key reservations.
- Post-trip: Turn off or remove the travel eSIM you won’t reuse.
If you plan to hop between profiles, bookmark this guide on switching eSIM plans on Samsung Galaxy phones. Thanks for reading, set it up once at home, then focus on the trip, not the signal.