
Best eSIM For Australia And New Zealand Travelers (2026 Guide)
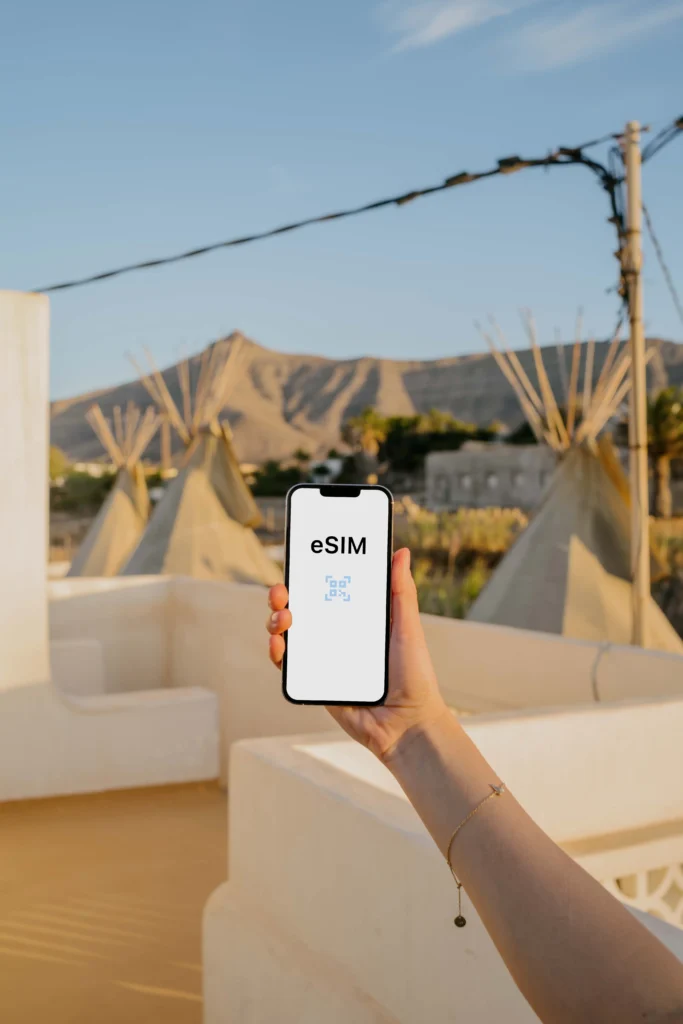
So, you’re planning that big trip to Australia and New Zealand? Forget fiddling with tiny plastic cards that always seem to disappear the second you need them; we’re talking about the best eSIM for Australia & New Zealand travelers, the absolute no-brainer solution for staying online. An eSIM is a digital SIM that allows travelers to access mobile data without a physical card, and if you’re traveling between these two spots in 2026, a single regional plan is the smartest way to go. You can usually snag a solid solution for both countries offering 10GB to 20GB of speedy 5G data for somewhere between $15 and $30 USD.
This article covers why regional plans are superior to buying separate local SIMs and analyzes top networks like Telstra and One NZ to ensure you have the best coverage. We’ll also discuss how much data you actually need for navigation or social media and provide a simple setup guide for international visitors. From high-speed performance to the ease of instant activation, we’ll dive into the essential attributes that make these digital plans the best choice for your journey down under.
Why Australia and New Zealand Need a Regional eSIM
Planning a trip down under involves organizing travel across two massive, yet incredibly distinct, nations. You are not hopping between two small European cities; you are traversing continents where you cross a single stretch of water only to land in another country with its own rules and infrastructure. This is exactly why the traditional, plastic card approach to mobile data fails the modern traveler. For those hitting both the massive sprawl of Australia and the rugged beauty of New Zealand, a regional eSIM is a foundational requirement for a smooth experience. Choosing anything else is actively choosing friction.
Managing Large Distances and Coverage Gaps
Both countries are expansive, and their geography presents real challenges for mobile connectivity. Australia is effectively a continent masquerading as a country; driving between Sydney and Perth involves days of travel across arid, sparsely populated land. A local Australian SIM bought in Sydney might offer fantastic coverage in the city, but once you head into the outback, you are entirely dependent on which local provider has built towers. This coverage varies wildly between providers like Telstra and Optus once you leave the coast.
New Zealand trades vast emptiness for extreme terrain. When driving through the Southern Alps, you deal with deep valleys, fjords, and massive mountain ranges. Your cell signal can vanish the second you duck behind a peak or drive into a remote valley. When you move between these distinct environments, a regional eSIM serves as a critical lifeline. It allows your device to switch from roaming on one local New Zealand carrier to another without you ever lifting a finger or noticing a drop in service.
This automatic handover across infrastructure ensures you keep one connection active across thousands of kilometers. Whether you are exploring the Great Barrier Reef or navigating the mountain passes near Queenstown, the eSIM manages the technical transitions. This avoids the frustration of losing GPS directions because your single country SIM is in a coverage dead zone it was not partnered with. It makes the whole journey feel unified rather than fragmented. If you are planning to cover these vast areas, viewing best road trips in Australia helps illustrate the scale you are dealing with and why constant connectivity matters.
Why Country-Specific SIMs Complicate Multi-Stop Trips
Planning a two week itinerary hitting major spots in Australia before heading to New Zealand makes buying two separate, physical SIM cards feel like a massive administrative chore. First, you must find a physical store upon arrival in each new country. Then comes the paperwork. Many local providers in Australia require a formal identity check, often needing your passport presented in person or uploaded to a specific portal before they activate service. That is valuable vacation time spent in a digital or physical queue.
Consider the cost-benefit of this approach. If you spend five days in Australia and seven days in New Zealand, committing to two separate monthly contracts is inefficient. You end up paying for a full 30 days of data in both places, which is money wasted. A regional eSIM is typically pre-paid for a set amount of data that works across both destinations instantly upon activation.
By using one plan, you avoid:
- Identity check friction: Bypassing the repetitive passport verification required by local Australian carriers.
- Physical waste: Eliminating the need to swap and store tiny plastic cards that are easily lost while traveling.
- Overpayment: Saving money by not paying for two separate monthly plans for a short two week trip.
For shorter trips, the friction of local SIM activations is a significant drag on your experience. If you are looking for ease of connection across the ditch, avoiding these separate local activations is a major win for your travel flow. It is about keeping things crisp and user friendly for international visitors. If you are organizing a multi stop tour, you should look at New Zealand road trip itineraries to see how much ground you will cover and why a single data solution is the only way to go.
What Makes the Best eSIM for Australia and New Zealand
Choosing the right digital data plan is the difference between effortlessly posting a sunset photo from Bondi Beach and standing on a street corner in Auckland hunting for a public Wi-Fi signal. To find the best eSIM for Australia & New Zealand travelers, you have to look past the flashy price tags and focus on the technical backbone of the service. Quality comes down to who actually owns the towers your phone is talking to and how much friction you have to deal with before your first day of sightseeing begins.
The top-tier plans distinguish themselves by offering high-speed 5G access and priority data lanes, ensuring your connection doesn’t crawl during peak hours in busy city centers. When you are comparing options, you are looking for a provider that treats you like a local customer rather than a low-priority roamer.
Access to Reliable Major Local Networks
The most important factor in your connectivity is the specific local carrier your eSIM partners with. In Australia, the gold standard is Telstra, followed closely by Optus. Telstra is legendary because it owns the most expansive network, reaching deep into the outback where other providers simply stop working. If your eSIM has a roaming agreement with Telstra, you are much more likely to have bars when visiting places like Uluru or driving the Great Ocean Road.
In New Zealand, you want a plan that taps into Spark or One NZ (formerly Vodafone). These two giants provide the muscle for the country’s mobile infrastructure, offering reliable 4G and 5G in the mountainous terrain of the South Island. Some budget eSIMs save money by using smaller providers or “tier 2” networks, which might work fine in downtown Melbourne but will leave you stranded when you head into the mountains or rural coastal towns.
A high-quality regional eSIM will often include:
- Multi-network switching: The ability to hop between Spark and One NZ in New Zealand depending on which tower is stronger in your specific valley.
- Tier 1 priority: Ensuring your data isn’t “throttled” behind local contract customers during busy events or in crowded hubs.
- 5G capability: Access to the newest high-speed bands in major cities like Sydney, Brisbane, and Auckland.
Simple Setup for International Travelers
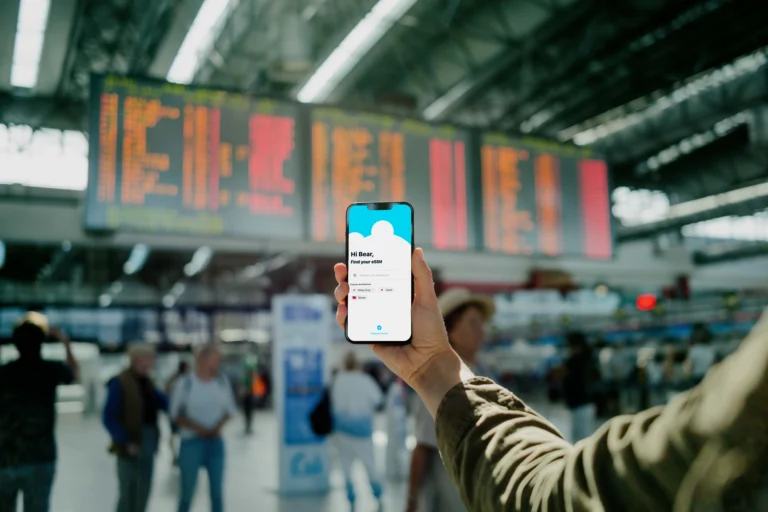
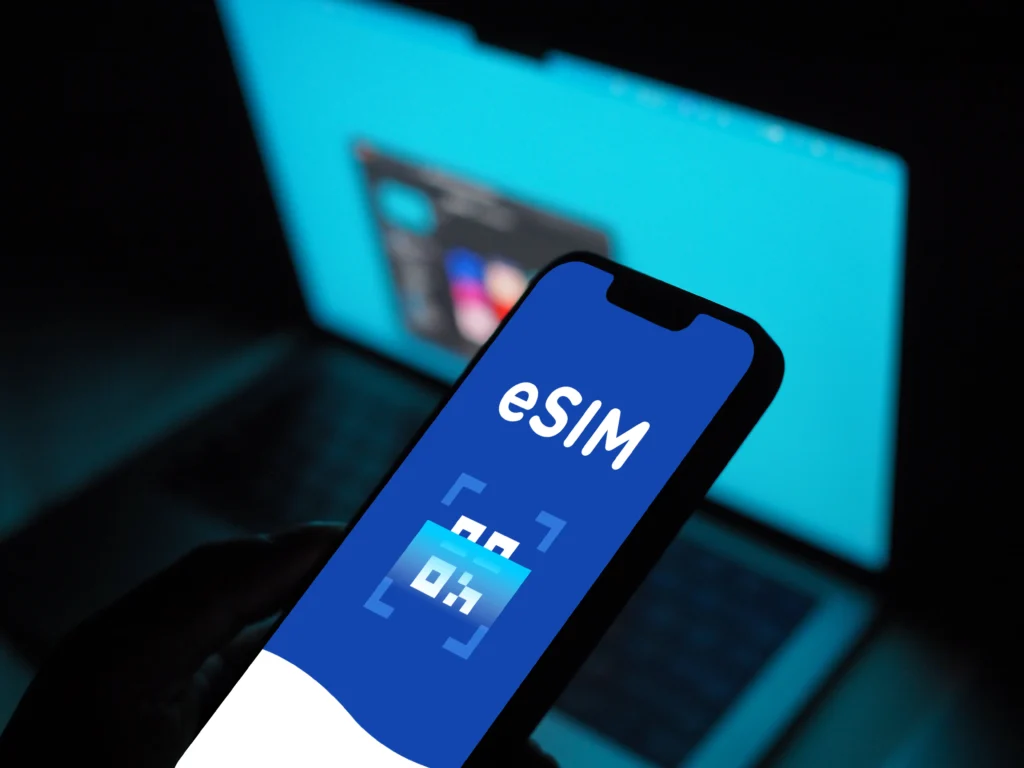
The hallmark of a great travel tool is that it stays out of your way. The best eSIMs offer a “pre-departure installation” feature that is a total lifesaver for long-haul flights. You don’t want to be standing in a crowded arrivals hall at 6:00 AM, exhausted and trying to navigate a complex activation portal. Instead, you should be able to buy your plan at home, scan a QR code, and have the profile sitting ready on your phone before you even board the plane.
This “set it and forget it” approach means your phone will automatically find the local signal the moment the wheels hit the tarmac and you toggle off airplane mode. This instant connectivity allows you to call a ride-share, check your hotel’s location, or message your family without missing a beat. If you are a first-time user, following a step-by-step iPhone eSIM installation guide can help you get everything staged perfectly before your trip.
To ensure a smooth start to your journey, look for these setup features:
- Automatic Activation: The plan should trigger its first day of use only when it first connects to an Australian or New Zealand tower.
- User-Friendly Apps: Top providers have apps that let you track your data usage in real-time and top up with a single tap if you run low.
- No Identity Checks: Since these are prepaid data-only plans, the best ones bypass the tedious passport registration required for local physical SIMs.
For a stress-free experience, checking out tips for using eSIM while traveling ensures you know exactly how to manage your settings once you land. This preparation allows you to focus on the scenery rather than your settings menu.
Best eSIM Use Cases In Australia And New Zealand
Using an eSIM across Australia and New Zealand isn’t just about saving money; it’s about matching your connectivity solution to the type of adventure you are having. These two countries present dramatically different connectivity challenges, moving from hyper-modern urban centers to huge, empty tracts of wilderness. To make your trip really work, you have to pick a plan that handles these extremes gracefully. Forget the one-size-fits-all approach; we need strategies for the city slicker, the outback explorer, and the remote worker. Matching the right digital plan to your itinerary makes all the difference between staying connected and feeling totally cut off.
City Travel And Short Visits
When you are hitting the major metropolitan areas like Melbourne, which is huge and sprawled out, or just spending a few days in Wellington checking out the cool cafes, your connectivity needs are straightforward: speed and reliability for immediate lookups. If you’re in a city, you rely on your phone for almost everything: calling an Uber or Ola, checking the immediate reviews for that must-try restaurant, or posting that stunning photo to your feed. You aren’t focused on network longevity across states; you are focused on data bursts.
For these short city visits, almost any quality regional eSIM will function perfectly well. The primary networks, Telstra and Spark or One NZ, have 4G and 5G connectivity locked down in these areas. To me, the best feature for a city traveler is minimal setup friction. You want to land, activate the eSIM profile you bought before you flew, and immediately start navigating. You don’t want to spend your first hour hunting for a store. Think of it like installing an app; it should be quick, clean, and non-intrusive to your vacation timeline. This is where the data performance matters most, because in densely populated areas, network capacity can sometimes dip if the provider favors local contract users over roaming visitors. You need a provider that gives you priority access.
Here’s what matters when you are sticking to the main urban zones:
- Speed for Streaming and Searching: You need fast uploads and downloads; 5G capability in Sydney or Auckland is a nice bonus for performance.
- Navigation Integrity: Google Maps or Waze needs to be rock solid. Losing GPS walking instructions because your connection dropped for thirty seconds while crossing a busy intersection? That’s a terrible user experience.
- Transaction Security: Paying via mobile wallet or checking bank balances requires a secure and stable connection from a trusted network tower.
If your trip is just a few days between Sydney and Auckland, prioritize an eSIM that offers at least 5GB of high-speed data. That’s usually more than enough for constant checking, light social posting, and map usage without constantly worrying about topping up. Don’t overbuy capacity if you aren’t doing heavy video calls; keep the plan light and focused on immediate needs.
Road Trips And National Park Exploration
The moment you leave the city lights behind on a road trip, the game changes entirely. This is where your choice of an underlying network partner absolutely dictates whether you have connectivity or absolute silence. When touring the Australian Outback or driving through New Zealand’s South Island mountains, you aren’t just looking for data; you are looking for network footprint. A budget eSIM that only roams on Optus in Australia or only offers limited Spark coverage in New Zealand will leave you stranded in inconvenient, sometimes dangerous, dead zones.
For Australia, the recommendation is non-negotiable: you absolutely must choose an eSIM that utilizes the Telstra network for extended travel. Telstra has the vast majority of regional towers, especially across the Nullarbor Plain or when heading toward places like Kakadu National Park. Being on Optus or Vodafone when trying to navigate the remote parts of the continent is asking for trouble. As of 2026, while new satellite features help with basic texting in deep voids, for reliable data access to check road conditions or call ahead to remote accommodation, Telstra’s terrestrial presence is still king.
In New Zealand, if your South Island exploration involves driving between Te Anau and Milford Sound, you are dealing with dramatic topography. Deep fjords and high mountain passes shred existing cell signals. Here, you want an eSIM that permits roaming across both One NZ and Spark. These two networks have the most comprehensive tower placement in areas like Fiordland and the high country. If your eSIM locks you onto a weaker signal provider in a valley, you might lose your GPS data right when visibility drops. Keep in mind, real-time data suggests that older phones without VoLTE support face added risk of failing emergency calls when 3G is gone; reliable 4G/5G coverage from the major players is your primary safety net when driving remotely. A quality regional eSIM acts like a flexible traveler, automatically switching to the strongest local signal available, be it Telstra in the dusty red center or One NZ nestled in a Kiwi valley.
Business Travel And Working Holidays
For those of us who treat our travels as a chance to work remotely, perhaps utilizing the gap year culture common in both nations, connectivity must support true productivity. This means your data needs go far beyond social media checks; you need the ability to run video conferencing, upload large work files to the cloud, and handle steady VPN traffic. The requirement here pivots heavily onto one term: hotspot capability.
If your eSIM plan is configured strictly for tethering (using your phone as a personal Wi-Fi router for your laptop), then it’s a work tool; if it blocks tethering, it becomes a massive roadblock. Many budget or tourist-centric eSIMs specifically disable or severely limit the ability for your phone to share its connection. You must verify that the specific plan you purchase explicitly allows you to tether your laptop or tablet. This is the core difference between staying connected and actually getting work done.
When assessing suitability for working holidays, look at two primary attributes for the eSIM plan:
- Hotspot Allowance: Is tethering permitted? If yes, are there any data caps applied specifically to tethered usage? Sometimes a plan is “unlimited” for the phone but caps tethering at a lower amount, like 5GB.
- Data Volume: Uploading presentations or participating in multi-hour Zoom calls chews through data rapidly. For business travelers, moving from a 10GB plan to a 20GB or truly unlimited (but speed-checked) plan is often worthwhile insurance. You don’t want a crucial client meeting to drop because you hit a mid-day cap.
Think of your phone as your office gateway. If that gateway is slow, restricted, or shuts down when you try to plug in your laptop, you’ve chosen the wrong connectivity product. While you are looking at network quality during the day, your evening setup might involve popping into a cafe or public library for a better charging spot, but during transit, your eSIM needs to keep that laptop running smoothly via the mobile hotspot. Prioritizing plans that explicitly support tethering and offer higher data allowances takes the stress out of mixing the beautiful scenery with important deadlines.
Data Needs for Australia and New Zealand Travel
Estimating your data usage is the most practical step you can take after choosing a provider. While it is tempting to go for the biggest plan available, most travelers end up paying for gigabytes they never actually touch. In Australia and New Zealand, your data consumption usually shifts away from social media and toward logistics. You are constantly checking opening times for a cafe in Melbourne, looking up hiking trail conditions in Mount Cook, or verifying ferry schedules across the Cook Strait.
To me, the goal is to find a balance between having enough data for emergencies and avoiding the “vacation tax” of overbuying. For a standard two week trip across both countries, 20GB of data represents the ideal volume for the average traveler. This allows for daily navigation, frequent photo uploads, and heavy messaging without the constant anxiety of a “Low Data” notification popping up.
Navigation and Offline Backup
Maps are the single biggest data drain for travelers, yet they are a non-negotiable requirement for safety. When you are driving through the vast stretches of the Australian Outback or navigating the winding, coastal roads of New Zealand’s South Island, your GPS is your primary lifeline. Real-time mapping apps constantly download high-resolution map tiles and traffic data, which can chew through several hundred megabytes in just a few hours of driving.
In remote regions, the situation becomes even more intense. If you lose signal in a valley and your app hasn’t cached the route, you are essentially flying blind. To keep your data usage lean and your safety high, I always recommend a “hybrid” navigation strategy. Download your regional maps for offline use on Google Maps before you leave your hotel’s Wi-Fi. This simple trick ensures that if you hit a coverage gap or your eSIM data reaches its limit, you still have functional GPS coordinates and road names.
Safety should always come first when exploring rural zones. Having a digital map is great, but relying on a live stream of data while deep in a national park is risky. By prioritizing offline maps, you save your eSIM data for the things that actually require a live connection, like checking the weather or searching for a nearby petrol station. If you are planning to hit the trails, checking out a guide to camping in nature can help you prepare for these off-grid moments.
Avoiding the Hidden Costs of Overbuying Data
It’s a classic travel mistake: buying 50GB of data “just in case” and returning home with 42GB left over. The sweet spot for a typical 14-day trip through Australia and New Zealand is almost always 20GB. This amount provides enough cushion for a couple to share a hotspot or for a solo traveler to stream a few hours of video during a long layover. If you find yourself in New Zealand during the ideal destinations for spring travel in March, you’ll likely want that extra data to share the incredible scenery.
To keep your costs down, use the “Wi-Fi for Heavy Lifting” rule. Every hotel and most cafes in cities like Sydney or Auckland offer decent Wi-Fi. Reserve your eSIM data for on-the-go tasks and wait until you are back at your accommodation to perform internal phone updates, cloud backups for your photos, or large app downloads. These background tasks are the “silent killers” of prepaid data plans.
Consider these quick tips for data management:
- Check Background App Refresh: Turn this off for apps you don’t need while walking around.
- Set Data Alerts: Most modern phones let you set a warning at the 15GB mark so you can slow down before you run out.
- Avoid Auto-Play Video: Social media apps often default to auto-playing videos in high definition; switching this to “Wi-Fi Only” saves massive amounts of data.
By staying disciplined with your settings and sticking to a 20GB plan, you ensure you have a high-performance experience without the unnecessary expense of an “unlimited” plan that comes with hidden speed caps. It is about being a smart traveler who values both connectivity and their budget.
Australia and New Zealand eSIM vs Airport SIMs
Choosing between a regional eSIM and a traditional airport SIM card is the first major decision you make upon landing, and frankly, it sets the tone for your entire trip. While the convenience of a physical booth at Sydney or Auckland airport feels familiar, the technical and financial benefits of a digital-first approach are overwhelming. A regional eSIM provides a unified data solution that spans both sides of the Tasman Sea, whereas airport SIMs often trap you in single-country contracts with hidden activation hurdles. For most travelers in 2026, the physical SIM is becoming a relic of a more complicated travel era.
The True Cost Of Convenience At The Airport
Buying a SIM card at a dedicated airport kiosk is often a high-priced trap designed for exhausted travelers who just want to get to their hotel. These vendors frequently offer “tourist specials” that look like a bargain but carry significant markups compared to digital alternatives. You are paying for the physical retail space and the staff member helping you pop the tray open. In Australia, these plans often start around $30 to $40 AUD for limited data, while a comparable eSIM might cost half that for more flexibility across both countries.
Beyond the price, the administrative friction is a real mood killer. In Australia, strict telecommunications laws require every tourist to provide a passport and local address for a mandatory identity check before a physical SIM can be activated. This process can take anywhere from ten minutes to an hour depending on the queue at the arrivals hall. With an eSIM, you bypass the line and the paperwork entirely, as the digital verification is handled during your online purchase before you even leave home. This allows you to walk straight from the plane to your ride-share without stopping to talk to a salesperson.
Technical Performance and Network Priority
When you buy a physical “tourist SIM” at the airport, you are often limited to a single network’s infrastructure. If that specific carrier has a dead zone in the Blue Mountains or the West Coast of New Zealand, your phone becomes a very expensive paperweight. Modern regional eSIMs are built with roaming logic that allows them to hop between various top-tier providers. This means your device can switch from Telstra to Optus in Australia, or Spark to One NZ in New Zealand, ensuring you always have the strongest possible signal for navigation and communication.
Performance metrics for 2026 show a clear divide in network priority. Airport SIMs are typically prepaid products that sit lower on the network’s priority list during times of high congestion. In contrast, premium regional eSIMs often utilize professional-grade roaming agreements that maintain high-speed 5G throughput even in crowded city centers like Melbourne or Christchurch. If your goal is to maintain a crisp, high-performance connection for video calls or file uploads, the technical backbone of a regional eSIM is a far superior choice to a basic airport-counter card.
Comparison Of eSIM vs Airport SIM Features
The choice between these two methods comes down to how much you value your time and how much ground you plan to cover. If you are only visiting one city, a local SIM might suffice, but for the modern multi-stop itinerary, the digital option is a no-brainer.
| Feature | Regional Travel eSIM | Airport Physical SIM |
|---|---|---|
| Activation Time | Instant upon landing | 15–45 minutes (including queue) |
| Multi-Country Use | Works in Australia & NZ | Usually restricted to one country |
| Identity Verification | Handled online via app/web | Passport check required in person |
| Physical Risk | None (digital profile) | High (tiny card is easily lost) |
| Price per GB | Generally lower ($1–$3 USD) | Higher due to “tourist” markups |
| Setup location | Done at home before flight | Done while tired in arrivals hall |
For those looking for more general advice on staying connected while exploring new regions, checking out a top places to visit in February guide provides excellent context for timing your trip to catch the best weather and most reliable network performance. Transitioning to an eSIM ensures that your digital life stays as mobile as you are, regardless of which side of the ocean you’re on.
Common Problems Travelers Face With eSIMs Here
Switching to a digital data plan is a major upgrade from the old days of hunting for physical SIM cards, but it is not always a perfectly smooth process. Even in 2026, many travelers run into technical speed bumps that can delay their first social media update or, more importantly, their ability to call a ride from the airport. These issues usually stem from hardware restrictions, installation timing, or simple configuration errors in the phone settings. Understanding these common hurdles allows you to troubleshoot them in seconds rather than spending your first afternoon in Australia or New Zealand stuck on a support chat. To me, the key to a stress-free experience is knowing exactly what can go wrong before you ever leave home.
Device Compatibility and Carrier Locks
The absolute most frequent problem travelers face is a carrier-locked device. If you purchased your phone through a monthly payment plan with a provider like AT&T, Verizon, or Spark, there is a high probability that your device is legally restricted to only work on their network. You can download a high-quality regional eSIM profile, but without the hardware being “unlocked,” the phone will refuse to recognize the new digital credentials. This is a hardware-level gatekeeper that stops your phone from talking to any tower that does not belong to your home carrier.
You must ensure your phone is fully unlocked by your home provider before you depart. Most carriers require the device to be paid off in full before they will grant an unlock request. Once you confirm the lock is removed, you also need to verify that your specific model is eSIM capable. While most modern flagship phones produced after 2018 include this feature, some budget models or older devices lack the internal chip required to house a digital SIM profile.
To ensure your device is ready for the trip, follow these steps:
- Verify Unlock Status: Go to your phone settings (Settings > General > About on iPhone) and look for “Carrier Lock.” It should say “No SIM restrictions.” If it says anything else, you must call your provider immediately.
- Check EID Compatibility: Ensure your device possesses an EID (Embedded Identity Document) number. This is the unique identifier Australian and New Zealand networks use to register your digital connection.
- Perform a Test Installation: Buying your plan a few days early is a smart move. You can often download the profile and have it sitting dormant on your device. This allows you to confirm the installation was successful before you are reliant on it for navigation.
Setting everything up while you still have access to your home cellular service and stable Wi-Fi is a no-brainer. If you wait until you land in Melbourne or Auckland to attempt the installation on spotty airport Wi-Fi, you might experience a “hanging” download that corrupts the profile. If you are planning to visit during the summer peak, knowing the best January destinations for Australia and New Zealand helps you time your activation to match the busiest travel windows when network stability at airports is most likely to be stressed.
 Photo by Ron Lach
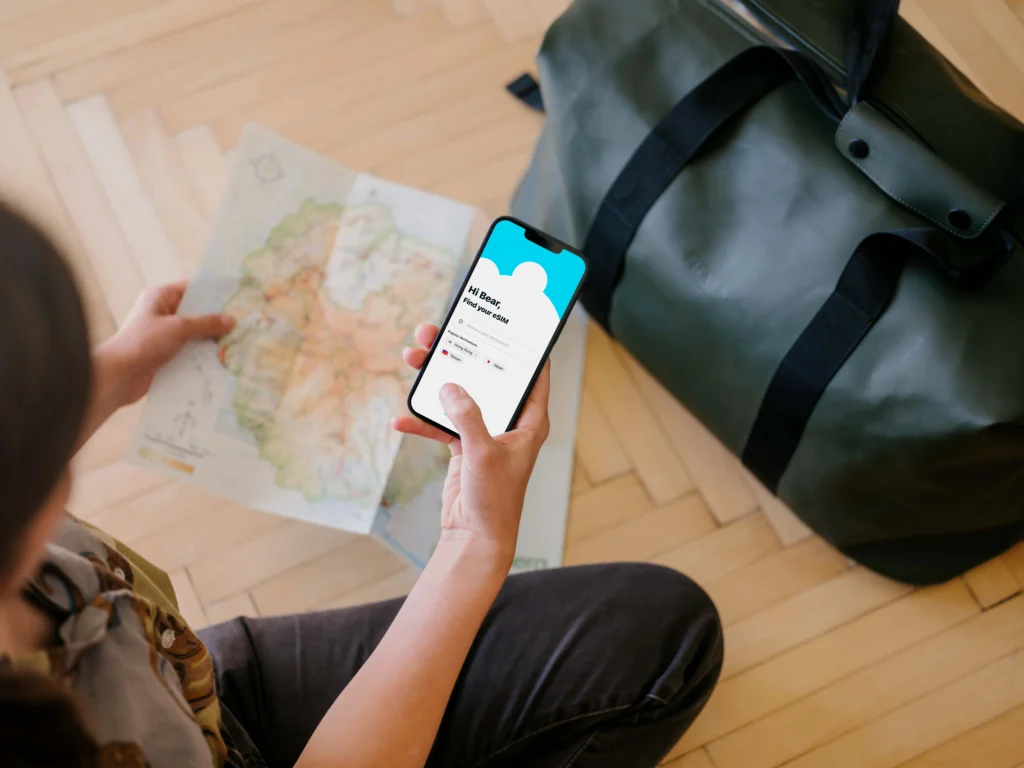
How to Set Up Your eSIM Before You Go
Getting your digital data plan ready before you even pack your bags is a serious pro move. I have seen too many travelers land in Sydney or Auckland only to realize they are stuck on sluggish airport Wi-Fi trying to download a profile. To me, the whole point of a data plan is to have a “ready-to-use” connection the moment the plane doors open. You want to handle the technical heavy lifting at home where you have a stable fiber connection and a comfortable chair.
Most high-quality regional plans offer a pre-activation feature. This means you can buy your plan, scan the QR code to install the profile, and then simply leave it “Off” in your settings until you land. This doesn’t start your 14-day or 30-day timer; it just stages the hardware for the trip. If you are curious about timing, you can check eSIM activation times to see how quickly the delivery usually happens. Usually, it takes less than five minutes from payment to having the code in your inbox.
Arrival Day Checklist
Once the pilot announces you have cleared the Tasman Sea and you are on your final approach, it is time to flip the digital switch. Your phone needs a specific sequence of settings to find the local cell towers in Australia or New Zealand. If you don’t do this, you might see “No Service” even if your plan is technically active. I treat this like a three-step ritual to ensure I am online before I even reach customs.
Follow these specific steps the moment you are allowed to use your phone:
- Activate the eSIM and Enable Data Roaming: Go into your cellular settings and toggle your travel eSIM to On. Once it is active, you must look for the Data Roaming toggle inside that specific profile and turn it On. Since this is a regional plan working across borders (even if you are currently in Australia using an NZ-based provider profile), roaming is the bridge that allows the data to flow.
- Set the eSIM as Primary Data: Your phone might try to use your home SIM for data by default. You need to manually select your new travel plan as the Primary Data Source. This ensures you aren’t accidentally racked up with massive roaming fees from your provider back home.
- The “Hardware Handshake” (Restart): Modern 2026 networks are faster, but they can be finicky. If your phone shows bars but no “5G” or “LTE” icon after three minutes, restart the device. This forces the phone to re-scan the local frequency bands and perform a fresh “handshake” with the local towers like Telstra or One NZ.
If you find that the activation is hanging or you aren’t seeing a signal, double-check that you aren’t in a “dead zone” inside the airplane hangar or a concrete parking garage. Sometimes walking toward a window or the main terminal exit is all it takes to finalize the connection. For 2026 travelers, remember that newer phones often try to sync with satellite SOS features during activation; being near a window helps this process complete without timing out. Following these steps turns a potentially stressful arrival into a smooth, connected transition.
Conclusion
A regional eSIM for Australia and New Zealand is the most efficient and cost-effective way to stay connected in 2026, offering a unified data solution that moves with you across the Tasman Sea. Buying a plan based on your specific itinerary is a total no-brainer, and you should always favor Telstra-connected plans if your journey involves exploring rural areas or the vast outback.
This digital approach lets you skip the long lines and high markups found at airport kiosks so you can start your adventure the second you land. Since both countries are moving toward biometrics and integrated travel apps, having a reliable high-speed connection is no longer just a luxury; it is a fundamental part of the modern travel experience down under. Whether you are navigating the mountain passes of the South Island or the busy streets of Melbourne, the right eSIM ensures your connection is as vast as the landscape.