Best eSIM For iPhone Travelers In 2026 (Quick Setup + Road-Trip Tips)
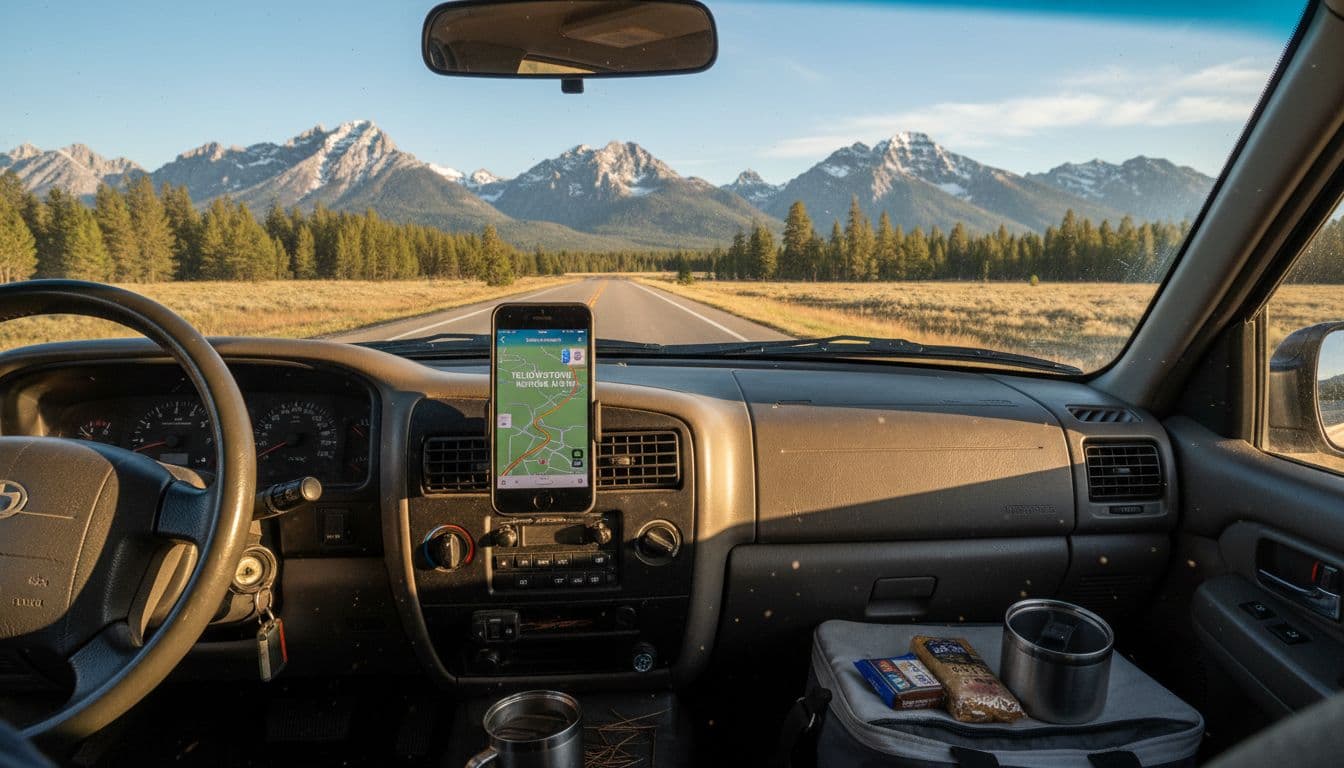
A dead phone signal is annoying in a city, but on a road trip it can ruin the day, especially when you’re hauling kids, coolers, and camping gear toward the next national park stop. That’s why finding the best eSIM for iPhone matters before the wheels start rolling.
A travel eSIM is a digital SIM you download to your phone, there’s no plastic card to swap. On iPhone (iPhone XS and newer), you can add it in minutes, label it “Travel,” and switch data lines right in Settings. It’s the cleanest way to keep maps, messages, and emergency calls working without hunting for a store on arrival.
This guide is for iPhone travelers, with a special nod to families doing road trips, camping weekends, and national park loops where service gets spotty fast. Expect a straight plan to pick a good-value eSIM, set it up quickly, avoid common mistakes (like activating too late or burning through data), and stay connected when coverage thins out.
Four sections, no fluff: how travel eSIMs work on iPhone, what to look for when choosing a provider (coverage, price, hotspot rules), a quick setup walkthrough, and road-tested tips for remote areas (offline maps, city-first testing). Then it’s time to talk about why eSIM beats a physical SIM for travel, starting with convenience and fewer points of failure. If route planning is still on the list, Stay Connected on Your USA Road Trip is a solid companion read.
Why eSIM Beats Physical SIM For iPhone Family Road Trips And Camping
For iPhone road trips and camping weekends, eSIM wins because it cuts out the fiddly stuff (tiny cards, store visits, roaming surprises) and keeps your setup flexible when plans change. On a family trip, that flexibility matters more than people think. One kid streams cartoons in the back seat, another is sending photos, and somebody always needs maps right now, not after you find Wi-Fi.

Key Advantages For First-Time iPhone Users
Dual SIM on iPhone means you can keep your normal phone number active while using an eSIM for travel data. Think of it like having two lines living in one phone: your home SIM handles calls and texts (so banks, family, and two-factor codes still reach you), and your travel eSIM handles data for maps, iMessage, FaceTime, weather, and park info.
The nice part is how beginner-friendly it feels on iPhone. Most travelers are covered because iPhone XS and newer commonly support eSIM, and the setup doesn’t require a shop stop or a SIM tool. No plastic card to lose in a campground picnic table situation (been there, hated that).
Here’s the easiest “first-timer win” workflow, and it’s honestly why people convert after one trip:
- Scan a QR code from your eSIM provider to add the plan.
- Label the line something obvious like “Travel” (this matters later when you are tired and trying to fix data with one bar of signal).
- In Settings > Cellular, set Cellular Data = Travel, keep your Default Voice Line = Primary.
Small UX detail, big real-life payoff: when something goes weird, you aren’t guessing which line is which. “Primary” stays your anchor, “Travel” is your data engine. Clean, simple, and hard to mess up.
If setup steps are on the checklist, this guide is the most direct walkthrough: Step-by-step guide to install eSIM on iPhone.
Cost Savings On Value Plans, Compared To Roaming
eSIM plans usually charge by the GB or by a fixed package, which makes them far easier to control than daily roaming fees. Roaming loves vague rules and surprise bills. Travel eSIMs are blunt in a good way: you pick a bucket of data, you use it, you top up if needed.
The pricing logic stays simple:
- Roaming often charges a daily fee (even if you barely use data), or high per-GB rates.
- Travel eSIMs sell prepaid data in chunks (1 GB, 5 GB, 10 GB, unlimited for X days).
On a family road trip, the real savings comes from matching the plan to how the phone gets used. A “maps-only” adult doesn’t need the same plan as the person uploading photos and letting kids stream at rest stops.
A practical way to think about it:
- Light user (navigation + messages): about 1 to 3 GB for a short trip. Maps, checking campground reservations, weather radar, basic browsing.
- Heavy user (photos, social, streaming, hotspot): 10 GB+ (or unlimited) for a week. Video uploads and streaming burn data fast.
The trick is to plan around the big three data hogs that always show up on road trips:
- Maps and route planning (steady, but manageable if you cache areas on Wi-Fi)
- Photos and video backups (spiky, especially after hikes)
- Streaming (the “are we there yet?” tax)
If your trip is moving across regions or borders, buying ahead also saves time. Shopping plans online before you leave beats trying to find a local SIM kiosk with a tired crew in tow. A good starting point for browsing options is here: Affordable international eSIM plans for iPhone.
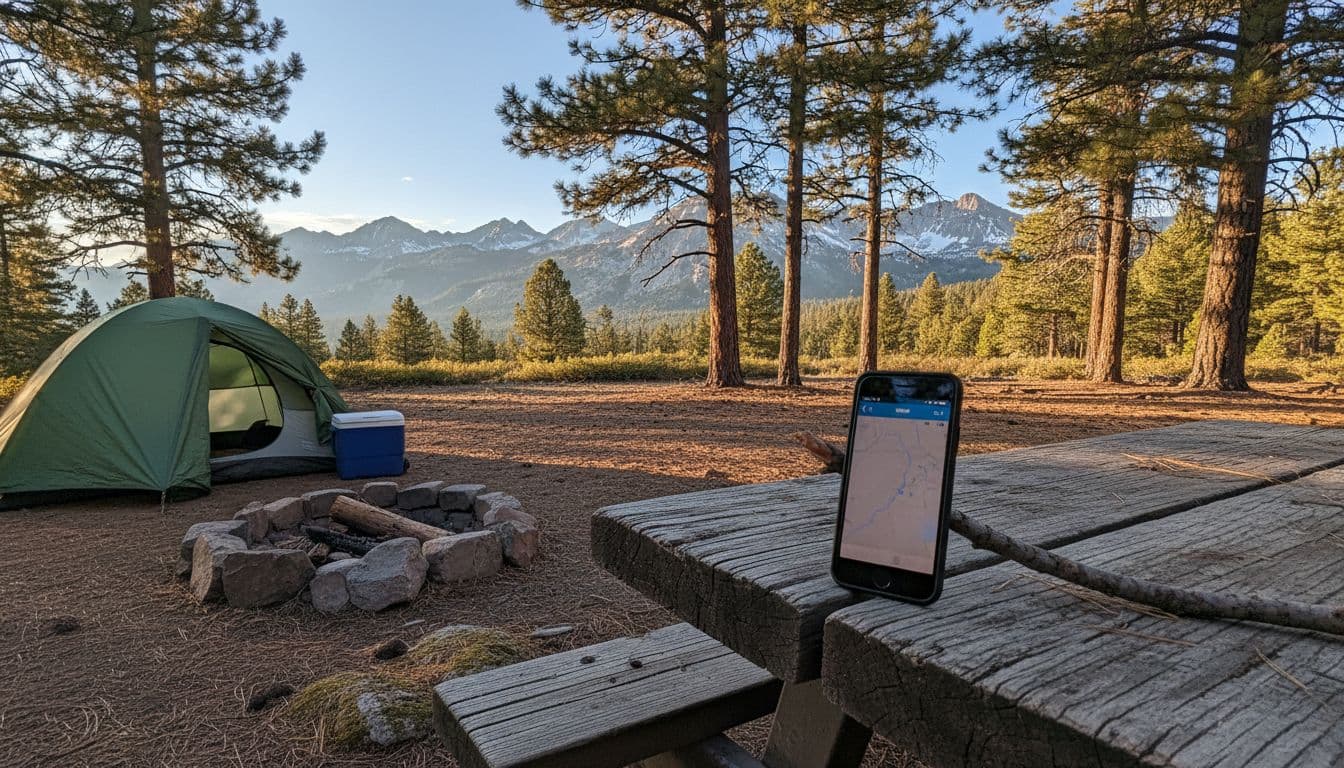
Reliability In Remote Camping Spots, What To Expect
eSIM does not create signal where none exists, it simply connects you to local carrier networks without a physical SIM card. That’s the expectation to lock in before you head into national parks or deep rural routes. If the campground sits in a valley with no coverage, an eSIM can’t fix geography.
What an eSIM can do is improve your odds by putting you on strong network partners for the region. In the US, many travel eSIMs ride on major networks (AT&T, T-Mobile, Verizon), and some plans can switch between partner networks when one is weak. That “partner choice” matters in parks and on backroads because coverage changes fast between visitor centers, trailheads, and canyon roads.
Still, the smartest family setup includes offline fallbacks, because camping is where phones become safety tools:
- Offline maps for the park and your driving route
- Saved reservations and permits (screenshots count)
- Emergency numbers and key addresses written down
- A charging plan (car charger, battery bank, and a backup cable)
One habit that saves trips: test the eSIM with a small plan before relying on it for the whole week. Install it at home, confirm it shows up as “Travel,” then do a quick real-world check in town: maps load, messages send, hotspot works if you need it. Once that’s solid, scaling up to a larger plan feels way less risky.

Top eSIM Providers That Make Sense For Budget iPhone Travelers In 2026
For budget iPhone travel in 2026, the “best” eSIM provider is the one that matches your route and your uncertainty. Border-hopping itinerary? Pick a brand that does multi-country well. First time setting up eSIM for the family? Pick the simplest app experience with flexible top-ups. Mostly staying in the US for a long loop of national parks? A domestic plan with longer bundles usually wins on cost.
One thing to keep straight: coverage is always a partnership story. Most travel eSIM brands don’t own towers; they resell access to local carrier networks. That’s why two travelers can buy the “same” destination plan and still get different results depending on where they sleep, which partner network the eSIM uses, and whether the nearest tower is on the other side of a ridge.
Nomad For Multi-Country Trips And Harder-To-Reach Areas
Nomad is a strong budget-friendly pick for international travel when the trip crosses borders, because it supports 200+ destinations and offers both country and broader regional options. The big win is psychological as much as practical: you can land with a plan already installed, and you don’t spend your first hour in a new country hunting for Wi-Fi to buy the next one.
From recent research, Nomad regularly lists coverage in 200+ countries, and some global options span a large set of destinations (the exact list depends on the plan). Pricing also starts in the “small commitment” zone, with some plans beginning around $3 to $5 for 1 GB (common short validity windows), and in certain places the effective cost per GB can be lower, while other destinations price higher. That range is exactly why it works for budget travelers who plan ahead and cherry-pick the right region or country plan.
Why it makes sense when borders are involved
- Multiple profiles ready: load a few eSIMs before departure, label them clearly (France, Spain, Italy), then activate as the trip moves.
- Less admin on travel days: no store stops, no paperwork, no “can I buy a SIM at 10 pm” stress.
- Coverage depends on partner networks: speeds and signal can change by area because the eSIM rides on local carriers, not one universal network.
A practical way to use Nomad on iPhone is to treat it like a travel folder: install more than one profile, keep only one active, and switch when needed. If you want a quick reality check on how many profiles an iPhone can store (and why labeling matters), this guide helps: How many eSIM profiles can iPhone hold?
Saily For Simple App-Based Setup And Flexible Data Packs
Saily makes sense for budget iPhone travelers who want a simple, app-led setup and flexible data pack sizes, because it’s built around choosing the amount you need without overcommitting. When a trip includes kids, group chats, and a lot of “wait, are we uploading this now?” moments, flexibility is the difference between a calm trip and constant top-up friction.
In research, Saily is commonly framed around flexible data sizes, often in the 1 GB to 20 GB range (availability varies by destination). Pricing can land around $1 to $3 per GB in some regions, but it changes by country, season, and plan type, so the smart move is comparing the same data size across your shortlist before buying.
Why flexibility matters for families (and not just “heavy users”)
- Kids use data in weird spikes: one rainy afternoon of streaming can eat the “we’ll barely use data” plan.
- You can right-size per device: parent phones run maps and bookings, a teen phone runs socials, and the needs are not the same.
- Beginner-friendly onboarding: app-first flows usually reduce setup errors, which is a big deal when someone is installing an eSIM five minutes before boarding.
A clean way to shop flexible plans is to match the plan to the itinerary, not to optimism. If the trip includes a lot of transit time, short-form video, and photo uploads, buy more upfront. If it’s mostly hiking and offline time, start small and top up after day one.
For travelers stitching together multiple stops across the region, a regional option can be easier to manage than buying a new country plan every few days. Example: Southeast Asia multi-country eSIM plan
Mint Mobile For US-Heavy Travel And National Park Road Trips
Mint Mobile is a smart budget pick for travelers who stay mostly in the US, especially on longer road trips, because longer-duration bundles typically improve the cost per month compared with short-term options. If the trip looks like a national parks loop, a family visit, and a few cities (all inside the US), a domestic plan can beat travel eSIM pricing simply because it’s priced for everyday use.
The key is planning around trip length. A weekend getaway doesn’t need a multi-month commitment, but a two to three-month road trip often does. When the plan covers a longer window, you stop thinking about “validity days” and start thinking about normal life usage: maps, campground check-ins, gas stops, weather radar, and hotspot moments when the lodge Wi-Fi gives up.
What to prioritize for a US road trip plan
- Longer bundles for better value: multi-month options tend to reduce the average cost.
- Hotspot expectations: confirm tethering rules if a laptop or kids’ tablets rely on the phone.
- Real-world coverage planning: national parks are famous for dead zones, so treat coverage as “good near towns and main roads, inconsistent deep inside parks,” and plan offline backups accordingly.
How To Pick The Best Value eSIM Plan For Your Exact Trip
The best value eSIM plan is the one that matches your real usage, your real route, and your trip length, not the biggest GB number on the checkout page. Think of data like water on a hike, carry what you need, but don’t haul a full jug if you are only doing a short loop. Start by estimating what you will do on your iPhone each day, then sanity-check it against where you will actually have reception.

Data Needs For Maps, Photos, Messaging, And Streaming
Maps and messaging stay light, streaming and hotspot usage get heavy fast. Real numbers help: navigation often sits around 5 to 25 MB per hour of active use, while video streaming ranges from about 40 MB per hour (normal) up to 150 MB per hour (very high). Photos also add up, often 2 to 5 MB per photo.
To keep your plan small (and your wallet happier), download the heavy stuff before leaving on Wi-Fi:
- Offline maps for the park area and the drive between stops (Google Maps offline areas).
- Playlists and podcasts in Apple Music, Spotify, or YouTube Music.
- Shows for kids inside streaming apps, set to a lower download quality.
- Reservations, permits, QR codes as screenshots, plus campground addresses in Notes.
If streaming or hotspot is non-negotiable, buy more data upfront and treat it like fuel, not a bonus.
Coverage Reality In National Parks And Campgrounds
Service in nature changes in minutes because the land blocks signal. Ridges, canyon walls, thick trees, and plain distance from towers all mess with reception. One overlook can be “full bars,” and the next turn drops to nothing.
Set practical expectations: towns, visitor centers, and main highways often work better than trailheads and deep camp loops. For eSIM shopping, prioritize plans that connect to major local networks in your destination, because partner network choice matters when coverage gets thin. If the trip is US-heavy, compare options built for wide-area coverage, not just city travel (see Top USA eSIM plans for road trips and national parks).
Short-Term Vs Long-Term Plans, What You Trade Off
Short plans (7 to 10 days) win when the trip is tight, fixed, and you want the cheapest total checkout price. They are great for a single park weekend, a one-week loop, or a quick city-plus-nature combo.
Longer plans (30 days or multi-month) win on price per GB and mental load. You stop counting validity days, top-ups feel less urgent, and it’s easier to roll into a second trip without buying again. Families that do multiple getaways in a season often save by choosing a plan with longer validity, then using the same setup for each drive.
Step-By-Step eSIM Setup On iPhone, Plus Fixes For Common Problems
eSIM on iPhone is one of those travel upgrades that feels boring until you need it, like packing a headlamp. Do the setup right once, and the rest of the trip is just flipping the right switches, not fighting “No Service” in a parking lot with 2 percent battery.
 About page with subtle indicators like model name and carrier lock status visible, surrounded by travel backpack, coffee mug, and passport nearby, bathed in warm morning sunlight.” />
Check iPhone Compatibility And Unlock Status Before You Buy
Confirm your iPhone supports eSIM and is carrier-unlocked before paying for a travel plan. This is the fastest way to avoid the classic “I bought it, now it won’t install” headache.
Start with the model baseline: iPhone XS, XS Max, XR, and newer support eSIM (including the newer generations through 2026). That’s the general floor most travelers rely on. The bigger gotcha is regional hardware. Some iPhones sold in certain markets (commonly referenced: mainland China and some Hong Kong variants) don’t include eSIM the same way, even if the model name looks identical. So don’t trust the box, trust Settings.
Here are the quick checks that take less than a minute:
- Settings > General > About
- Scroll until you see an EID. If EID shows, the device has an eSIM chip.
- Look for Carrier Lock (or similar wording like Network Provider Lock). It needs to say “No SIM restrictions” for most travel eSIM use.
- You may also see Digital SIM details listed when an eSIM is installed, or fields that appear once you add a plan.
Then do one more sanity check where it actually matters:
- Settings > Cellular (or Mobile Data)
- If you see Add eSIM / Add Cellular Plan, you’re in the right place.
Why the unlock check matters: a locked iPhone is basically a bouncer. It lets only its approved carrier inside. A travel eSIM is usually a different provider, so it gets blocked even if everything else is correct.
If you want a quick compatibility cross-check before you hit checkout, use a reference list like this one: Check your device’s eSIM compatibility.
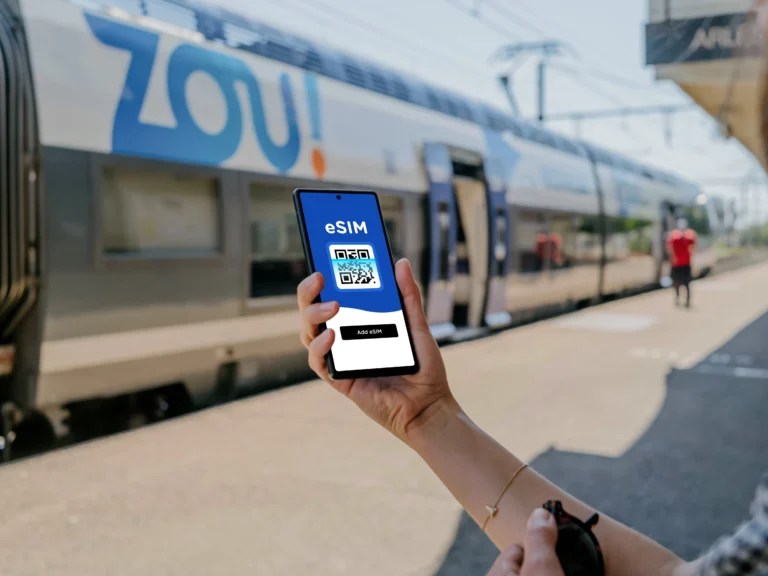
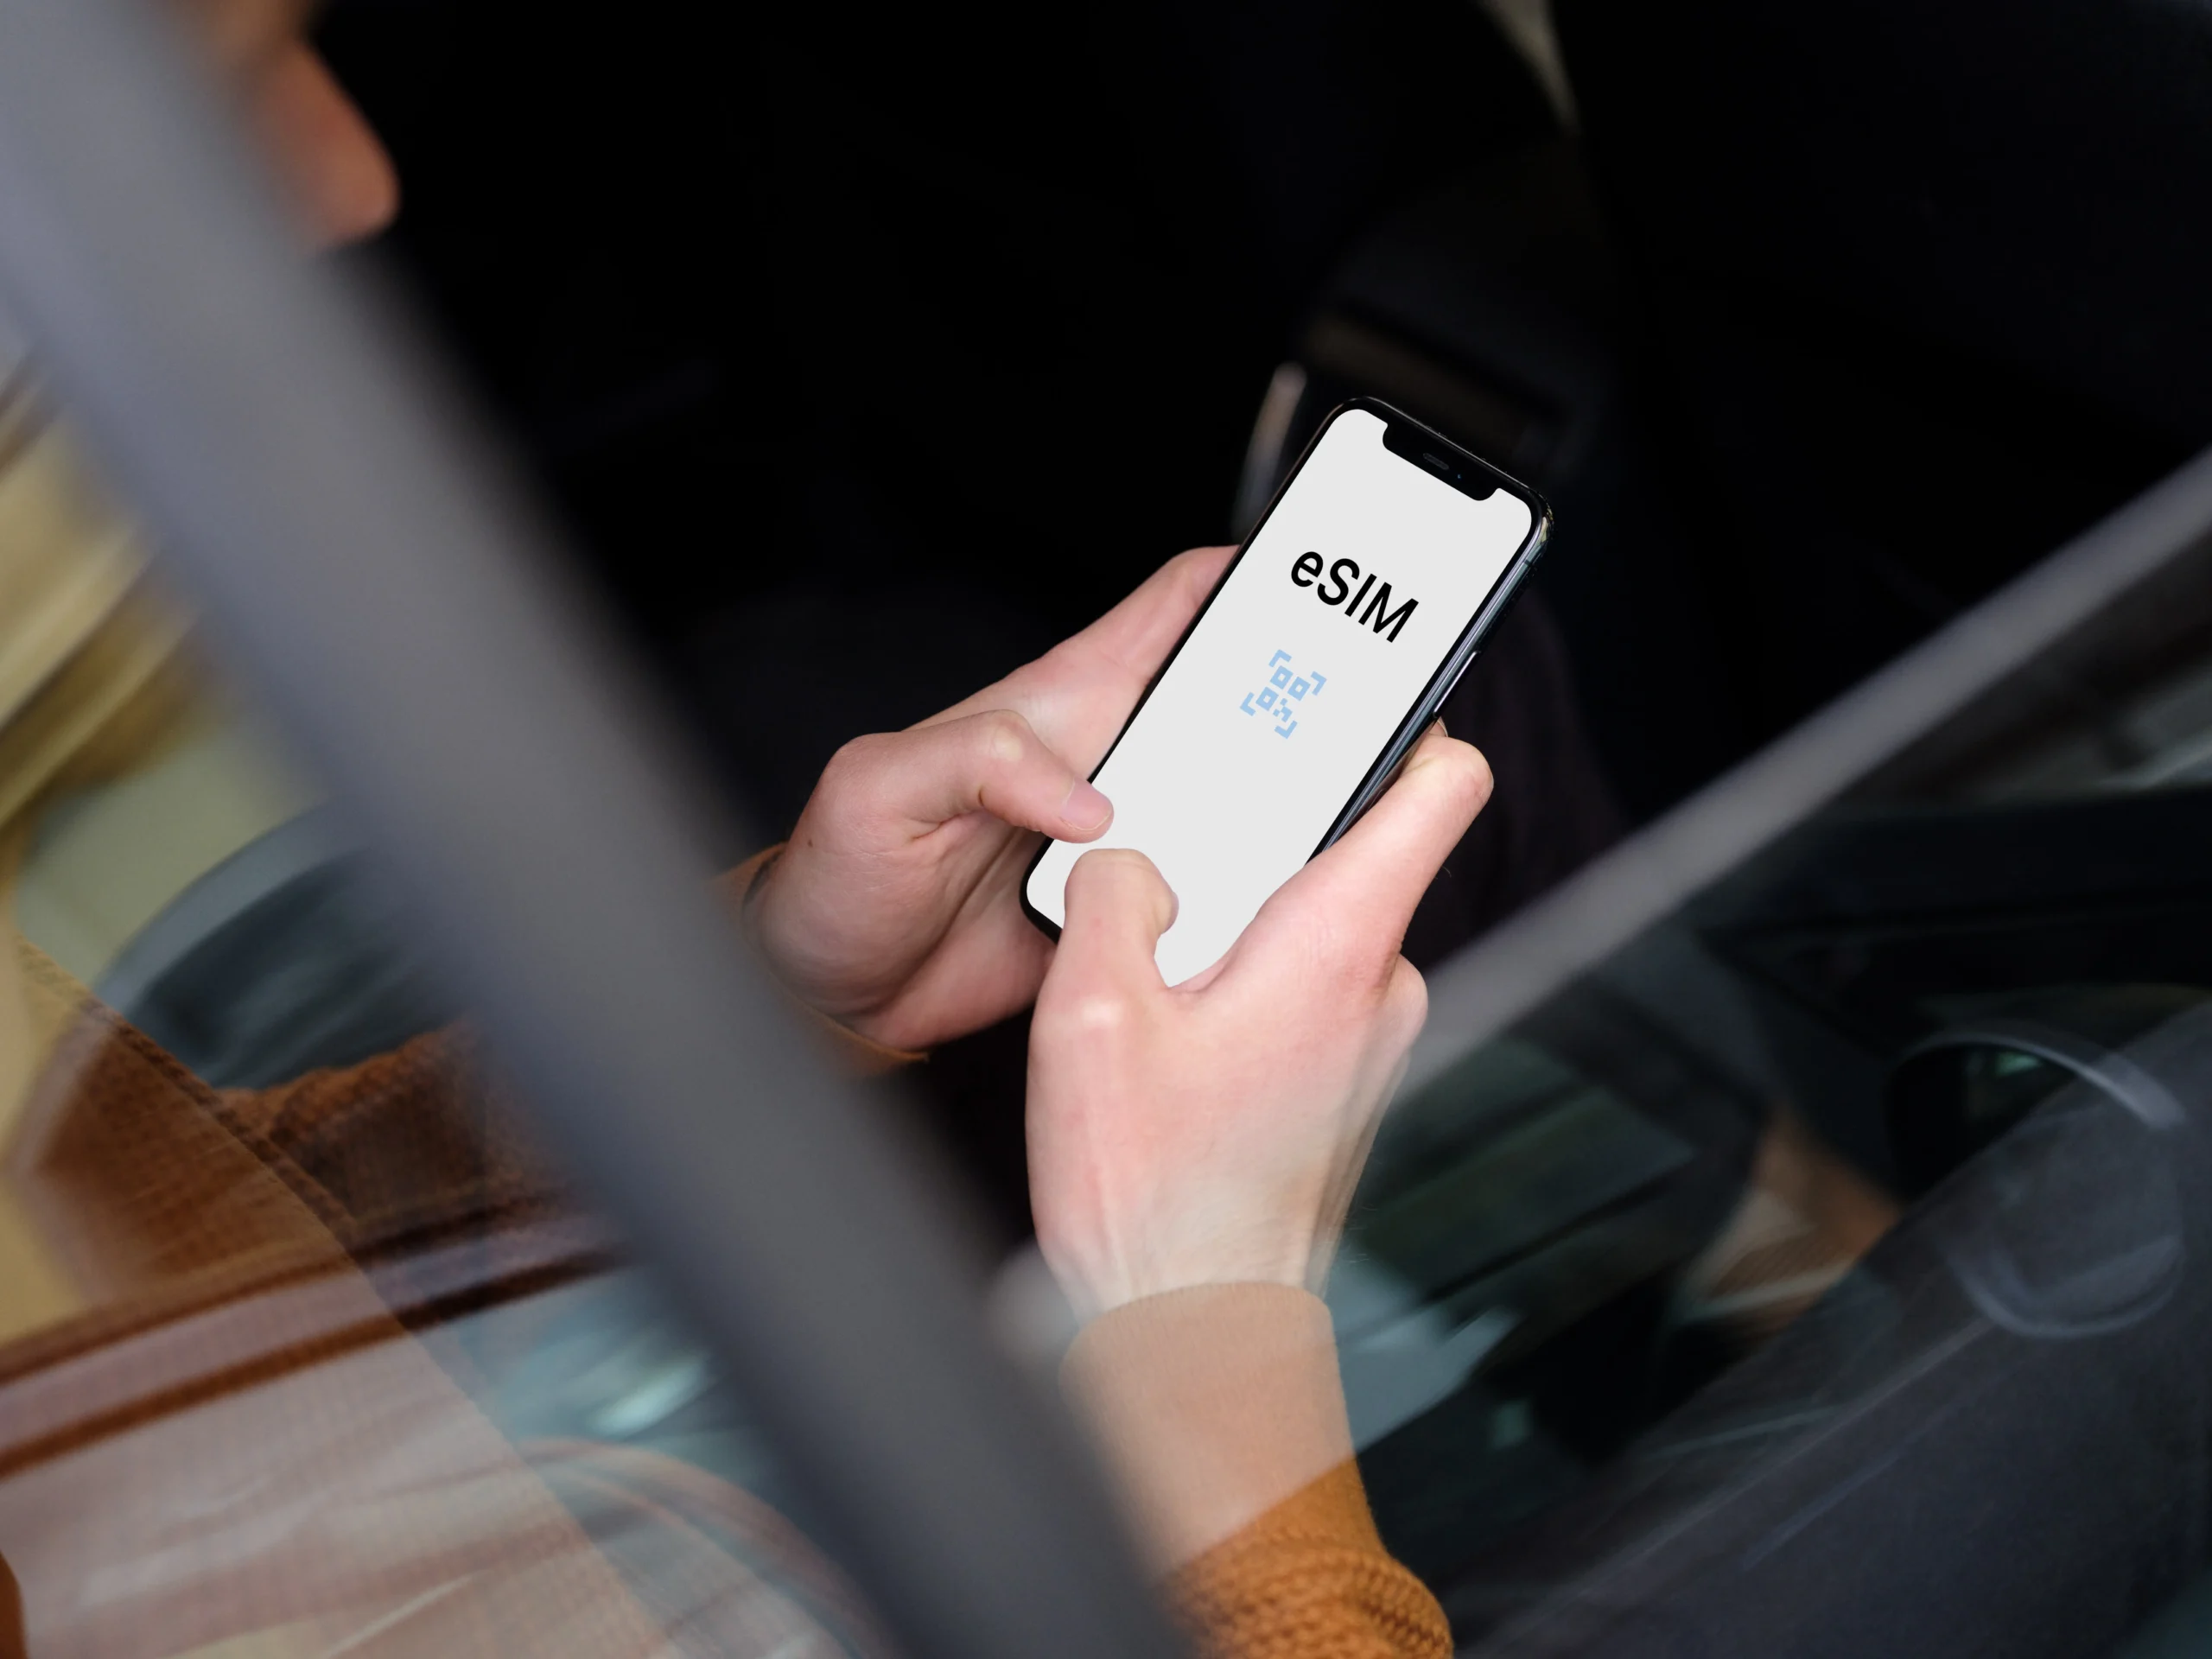
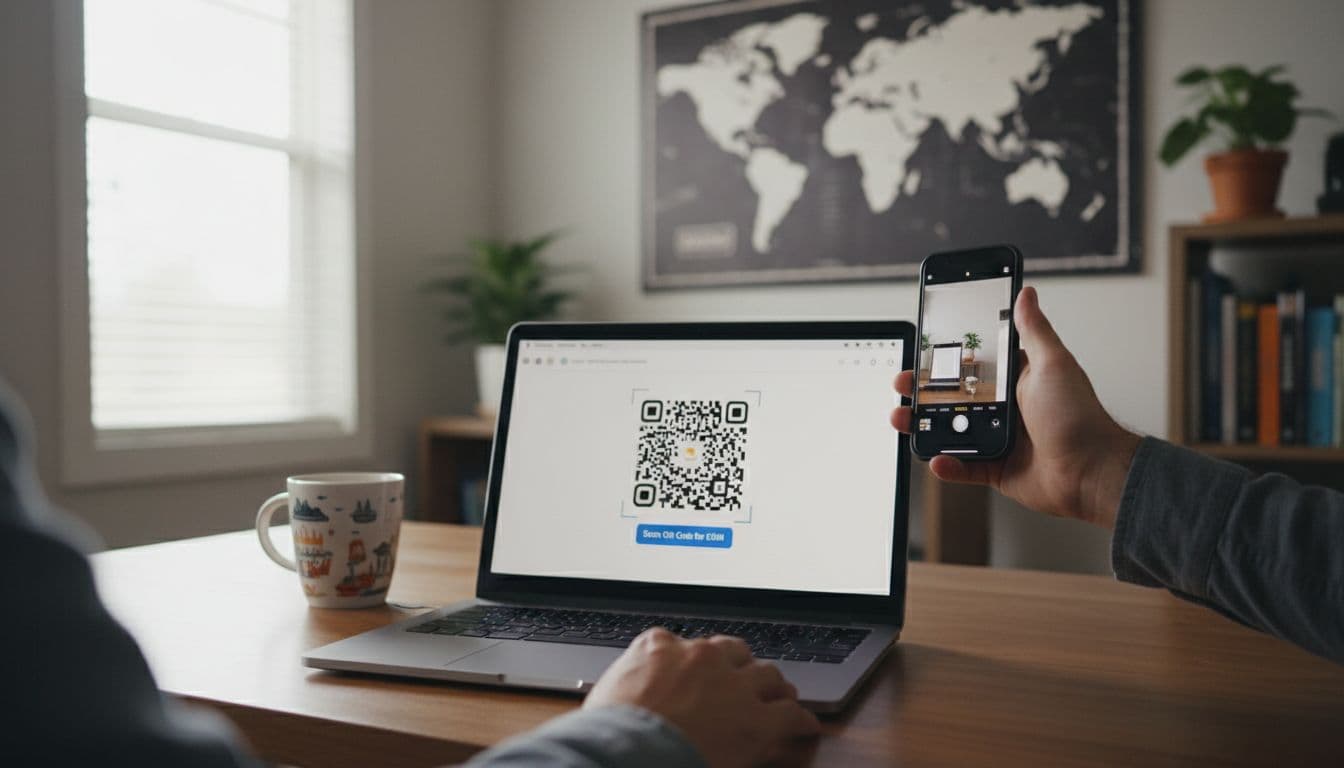
Install And Activate Your eSIM, QR Code Method In Plain Steps
Install the eSIM from iPhone Settings (not the Camera app alone), then label it clearly and assign data to it. Think of this as setting up a second “fuel tank” for the trip, you want the label and the switch to be obvious later.
The best practice is simple: install at home on stable Wi-Fi when possible. The eSIM profile downloads during setup, and flaky airport Wi-Fi is the perfect place for it to stall. Many travelers also like installing ahead, then turning the line off until arrival.
Follow these steps:
- Open Settings.
- Tap Cellular (or Mobile Data).
- Tap Add eSIM (or Add Cellular Plan).
- Choose Use QR Code.
- Scan the QR code from your eSIM email, dashboard, or printed card.
- When prompted, label the line something unmistakable like Travel (or “Japan Travel”, “EU Data”, etc.).
- Set Default Voice Line to your normal line (usually Primary) if you want calls and SMS to keep behaving normally.
- Set Cellular Data to Travel (this is the big one).
- Tap into the new plan and confirm Turn On This Line is enabled.
A small timing note that saves stress: activation speed is usually quick, but it still depends on network conditions and the provider flow. If you want a realistic expectation check, this explainer is helpful: How quickly does an eSIM activate on iPhone?.
One more practical habit: screenshot your QR code and any manual details (SM-DP+ address, activation code) the moment you receive them. If your inbox goes offline mid-trip, you still have what you need.
Fix The Most Common First-Timer Mistakes Fast
Most “my eSIM doesn’t work” situations come from one setting being flipped the wrong way. The iPhone setup is clean, but it’s also easy to tap the wrong line when you’re tired, rushing, or doing this on a hotel balcony with low signal.
Here are the mistakes that show up constantly, plus the fastest fixes.
1) Data roaming is off for the travel line
If your plan requires roaming (many travel eSIMs do), the iPhone blocks the connection until you allow it.
- Go to Settings > Cellular > Travel (your eSIM).
- Tap Cellular Data Options.
- Turn Data Roaming ON for the travel eSIM.
- Keep roaming OFF on your home line to avoid charges.
2) Cellular Data is still set to the wrong SIM
This is the silent budget killer. Your phone works, but you are burning roaming on your home SIM.
- Go to Settings > Cellular.
- Tap Cellular Data.
- Select Travel.
3) You turned the eSIM line off by accident
It happens a lot after fiddling.
- Go to Settings > Cellular > Travel.
- Turn Turn On This Line ON.
4) iOS just needs a reset of the radio stack
When the phone clings to a weak network, it acts stubborn.
Try these in order:
- Toggle Airplane Mode ON for 30 seconds, then OFF.
- Restart the iPhone (power off, wait, power on).
- Go to Settings > Cellular > Travel > Network Selection, turn off Automatic, then manually pick a network (useful in border areas and rural zones).
5) “eSIM cannot be added” or “code is no longer valid” during install
This usually comes down to a bad scan, expired details, or a QR code that was already used. First, check if the plan actually installed in the background:
- Go to Settings > Cellular and look for a new line.
- If it exists, turn it on and set it as data.
If it truly failed and you need to try again:
- Remove the plan: Settings > Cellular > Travel > Delete eSIM.
- Re-scan the QR code only if your provider supports re-use. Many providers treat QR codes as single-use, so the correct move is requesting a fresh code.
For a focused troubleshooting flow that matches those exact errors, this guide is a solid reference: Fix the “eSIM cannot be added” error on iPhone.
Switch Profiles Mid-Trip And Use Dual SIM The Smart Way
Dual SIM on iPhone works best when the home line handles your identity (number, iMessage, FaceTime), and the travel eSIM handles data. That split keeps life normal, while your data stays on the plan you actually bought for the trip.
Here’s the clean setup that prevents surprise charges:
- Default Voice Line: keep Primary (home SIM).
- Cellular Data: set to Travel (eSIM).
- Cellular Data Switching: keep it OFF if you want strict control, so the iPhone doesn’t “helpfully” jump back to your home SIM for data.
If you care about iMessage and FaceTime behaving, keep your home number as the default line for those services. iPhone stays happiest when you avoid constant identity flipping.
Switching profiles mid-trip is straightforward, and it’s exactly what road-trippers and border-hoppers need. Example scenario: you drive from one country into the next, or you move from a mainland area to an island where your current plan isn’t covered.
Do this when you cross into the new region:
- Go to Settings > Cellular.
- Under SIMs, tap the plan you need (for example, “Italy Travel”).
- Turn Turn On This Line ON for the correct plan.
- Tap Cellular Data and select that plan.
- Turn Turn On This Line OFF for the plan you are done using (optional, but it keeps the menu clean).
- Toggle Airplane Mode for 30 seconds if the network doesn’t switch promptly.
The mental model is simple: treat eSIM profiles like jackets in the trunk. Keep a few, label them clearly, and grab the right one when the weather changes. That’s how dual SIM stays powerful instead of confusing.
Conclusion
Pick a value eSIM that matches your route’s real coverage, set it up on Wi-Fi before you leave, then keep the quick fixes (data line, roaming toggle, airplane mode) ready so data stays on when the road gets remote. Choose your plan, install it, and do a short test drive before departure.