What Is an eSIM? A Simple Explanation for Travelers (2026)
Ever land in a new country, switch off airplane mode, and watch your phone do… nothing? No maps, no rideshare, no messages, and suddenly your “I’ll figure it out when I get there” plan feels shaky.
That’s where eSIM comes in. It’s the easiest way I know to get mobile data abroad without hunting for a plastic SIM card kiosk or gambling on hotel Wi-Fi.
eSIM, explained like you’re packing for a trip
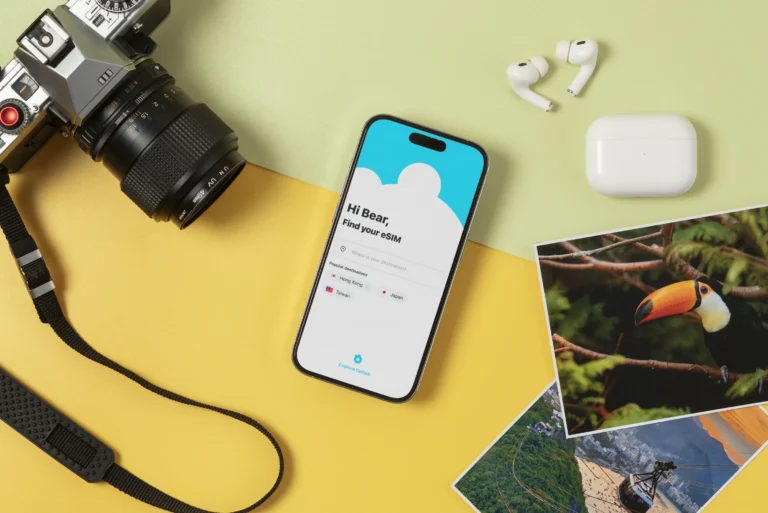
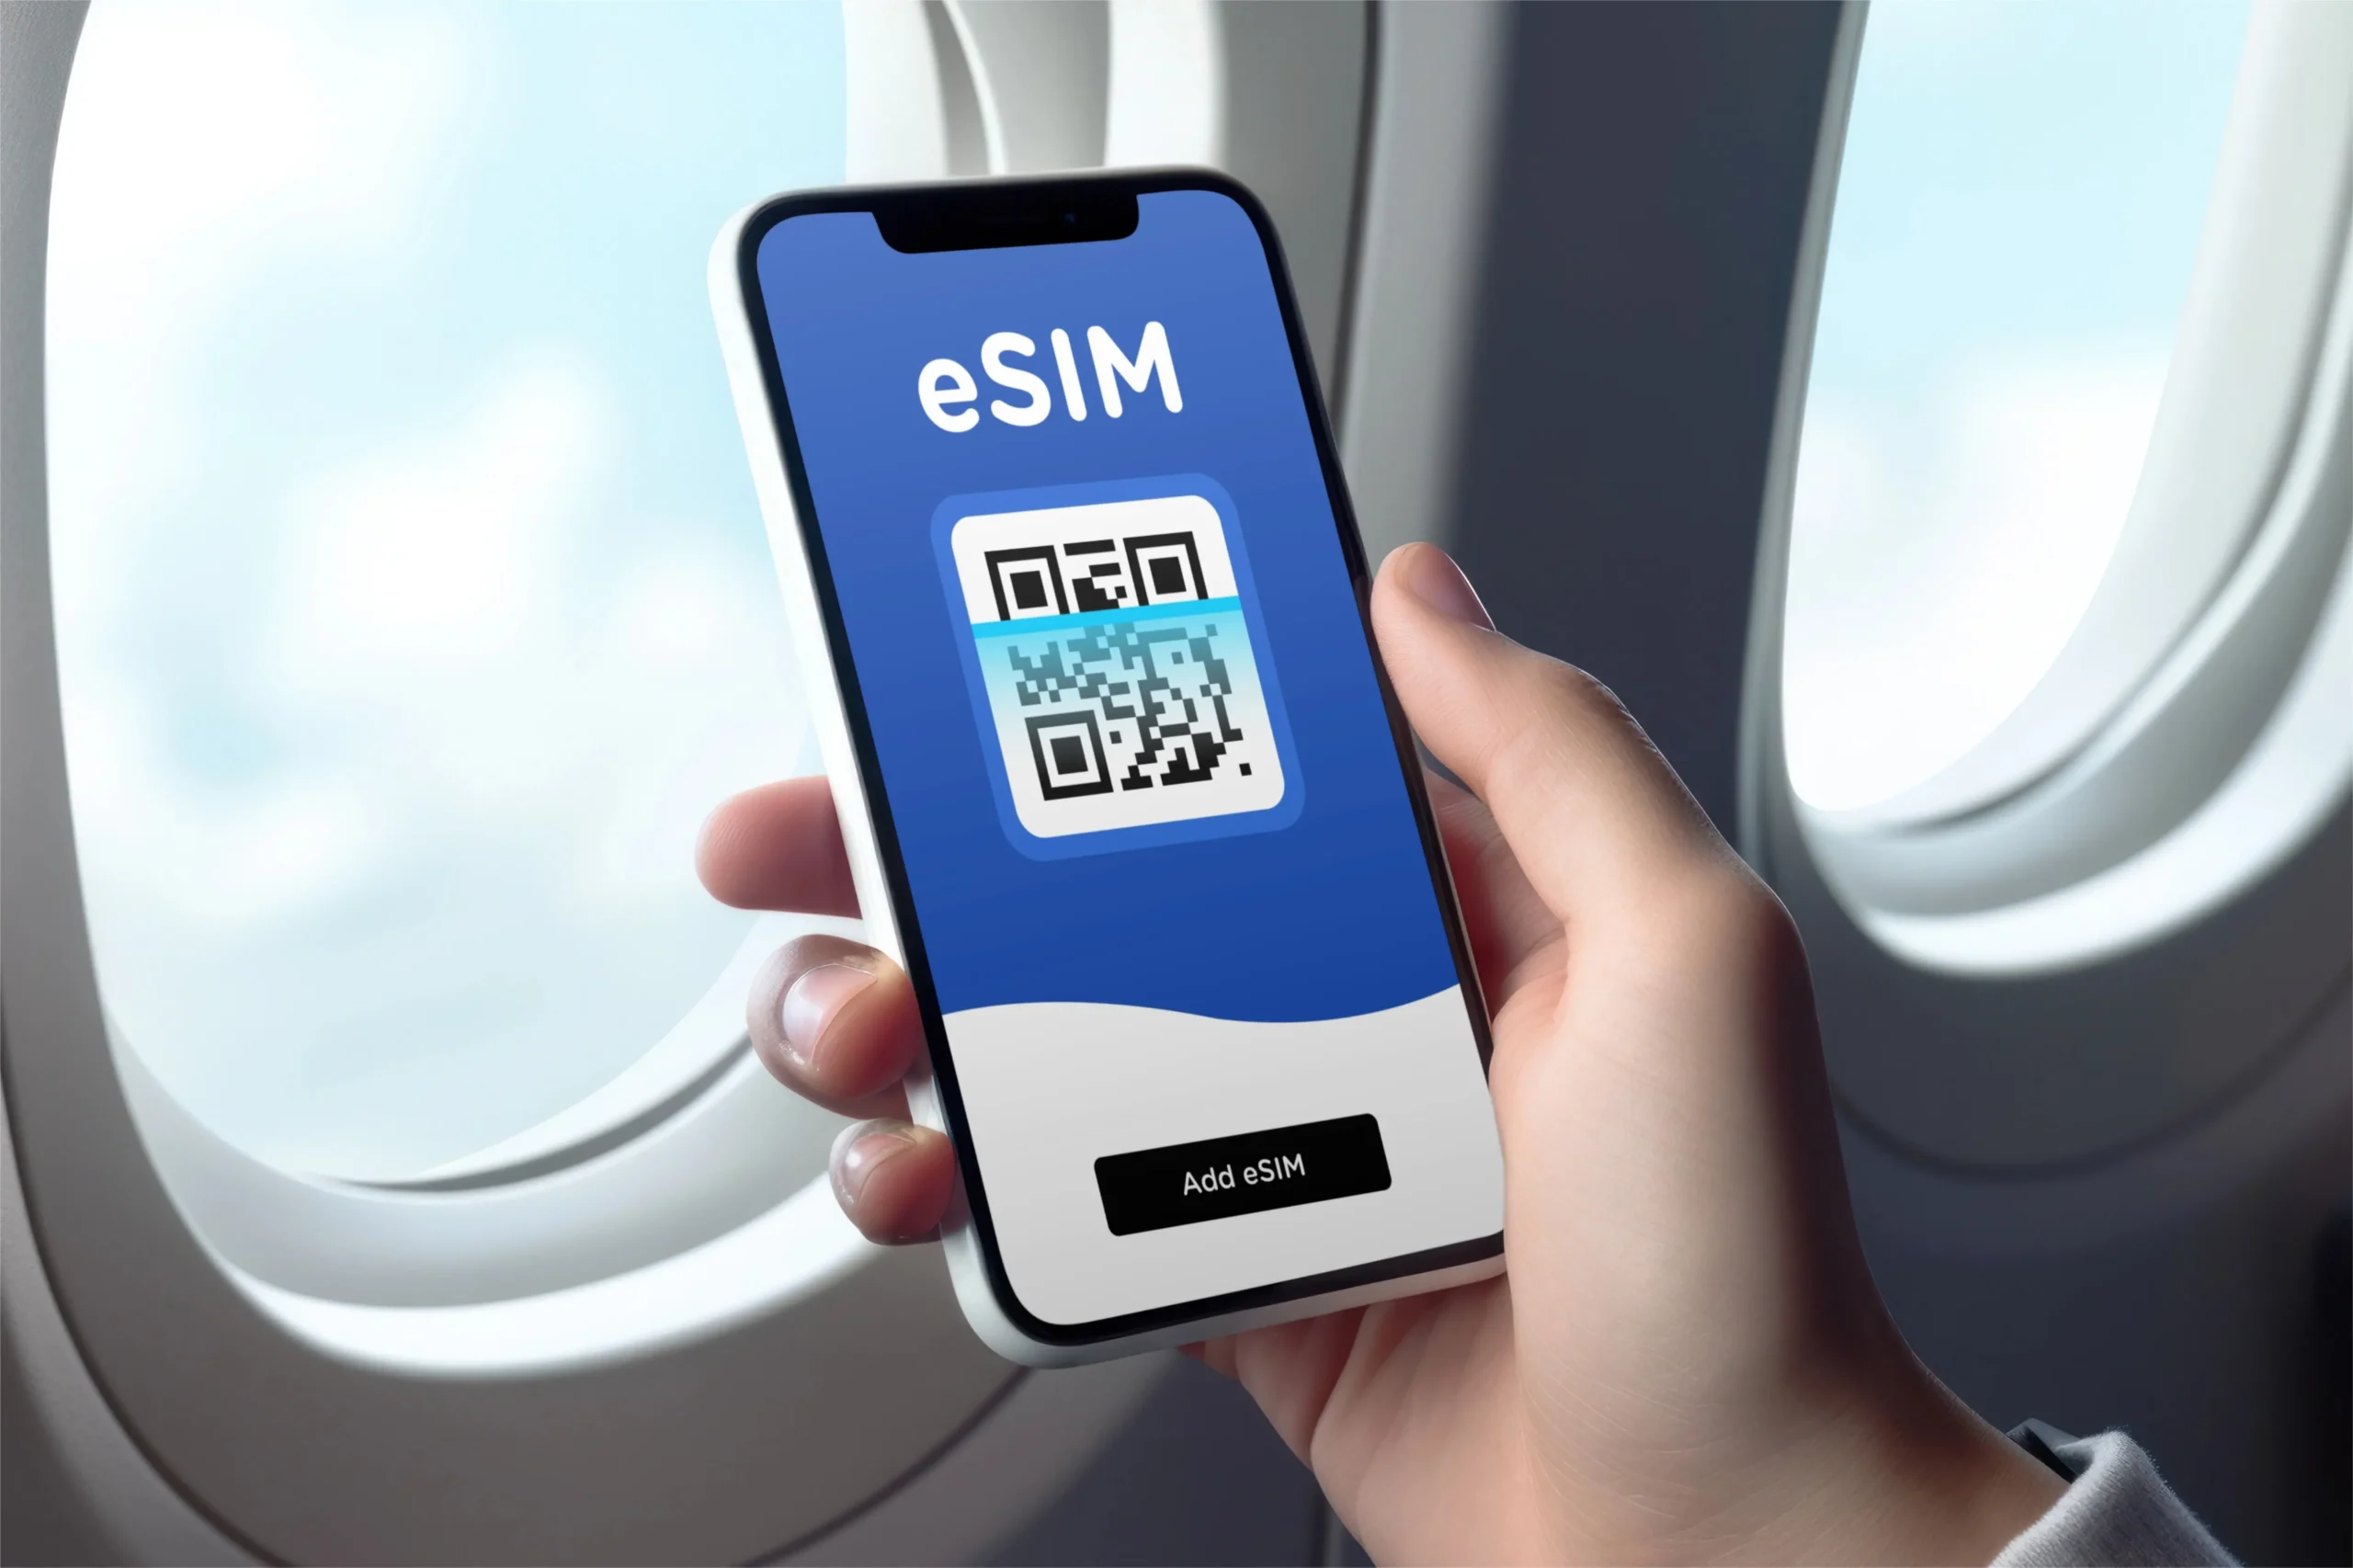
An eSIM is a SIM card that’s already inside your phone. The “e” just means “embedded.” Instead of inserting a tiny piece of plastic, you download a mobile plan to your device, kind of like adding a boarding pass to your wallet app. Same purpose as a physical SIM, different delivery.
Here’s the simple job of any SIM, physical or embedded: it tells a network who you are so you can connect for data, calls, and texts. With an eSIM, that “who you are” info is stored as a digital SIM profile. You install it by scanning a QR code or tapping an activation button in an app, and your phone does the rest.
The practical difference you’ll feel as a traveler is speed and convenience. Physical SIMs require a shop visit, a tiny ejector tool, and a moment of panic when the tray doesn’t want to go back in. eSIMs are more like, “Buy plan, install, go.”
A few quick clarifiers (because this is where people get tripped up):
- eSIM isn’t the same as Wi-Fi. It uses cellular networks, so it works in the car, on trails, and in the places where Wi-Fi is a myth.
- eSIM doesn’t magically improve coverage. If a carrier doesn’t have service in a valley, your eSIM can’t invent towers.
- Many phones can store multiple eSIMs, but you usually use one for data at a time (some models let you run two active lines, which is great if you like options).
If your phone supports eSIM and is unlocked, you’re basically holding a travel-friendly SIM toolkit in your pocket.
Why travelers love eSIMs (and why campers should care)
To me, the best travel tech is the stuff you stop thinking about. eSIMs fall into that category fast. You set it up once, then you’re just… online when you need to be.
The biggest wins for travel are straightforward:
You can land with data already working: Buy a plan before you fly, turn it on when you arrive, and you’re immediately on maps, translation, and messaging.
You can keep your home SIM active: This is huge. Keep your main number for iMessages, WhatsApp, bank codes, and emergency calls (depending on your setup), while your eSIM handles local data.
You avoid surprise roaming bills: Carrier roaming is the classic “small mistake, big invoice” problem. With an eSIM plan, your cost is usually upfront and predictable.
It’s perfect for multi-stop trips: If you’re bouncing across borders, regional eSIM plans can be cheaper and less annoying than swapping SIMs every few days.
And now the part that matters for outdoor trips: connectivity isn’t just for scrolling. It’s for logistics. If you’re road-tripping between trailheads, checking weather shifts, pulling up offline maps that didn’t download correctly, or confirming a campsite gate code, data is the quiet hero.
I’m picky about this because I’ve had the “no service, wrong turn, sunset incoming” moment more than once. Having a working data plan makes route changes and last-minute bookings way less stressful, especially when you’re chasing big scenery and small time windows. If you’re planning a nature-heavy itinerary, this guide to top camping spots in world’s national parks is the kind of inspiration that pairs nicely with an eSIM plan that actually works on the road.
Here’s a quick side-by-side that matches real travel life:
| Feature | Physical SIM | eSIM |
|---|---|---|
| Setup | Buy in person, insert card | Download plan, scan QR or activate in app |
| Switching plans | Swap cards | Toggle lines in settings |
| Risk | Lose the tiny SIM, bend the tray | Mostly software-based, no tiny parts |
| Best for | Local number seekers, older phones | Quick data access, multi-country trips |
If you’re the type who likes your travel days calm and your “admin tasks” minimal, eSIM is a no-brainer.
How to use an eSIM on your trip (without headaches)
Setting up an eSIM is usually easy, but “usually” depends on two things: whether your phone supports eSIM, and whether it’s unlocked.
Step 1: Check if your phone supports eSIM and is unlocked
Most newer iPhones and many recent Android phones support eSIM. If you bought your phone through a carrier, it might be locked for a period. A locked phone can block eSIM activation from other providers, which is the most annoying surprise, because it shows up right when you’re trying to pack.
A quick habit I swear by: check eSIM support and unlock status a week before your trip, not the night before your flight.
Step 2: Buy the right type of plan for your travel style
Travel eSIM plans are often data-only, meaning you’ll use apps for calls and messages (WhatsApp, FaceTime, Messenger). If you need a local phone number for regular calls or local SMS, read the plan details carefully. Some packages include voice, many don’t.
As of January 2026, recent reviews consistently put a few names at the top for international travel eSIMs: Saily, Airalo, Holafly, and Ubigi. The pattern is simple:
- Saily tends to score well for overall value and adds security features like VPN-style protection on some plans.
- Airalo is popular for broad country coverage and lots of plan choices.
- Holafly is the one people grab for unlimited data style plans, great if you’re working or uploading a ton (speeds can slow in less-served areas).
- Ubigi is a strong pick for regional and global options, especially when you’re hopping around.
Prices change constantly by country and promo, so treat any “starting at” claim as a moving target and check right before you buy.
Step 3: Install the eSIM before you leave (my strong opinion)
Install at home on stable Wi-Fi. Airports are chaotic, and the Wi-Fi login page will pick the worst possible moment to fail.
Most providers give you one of these flows:
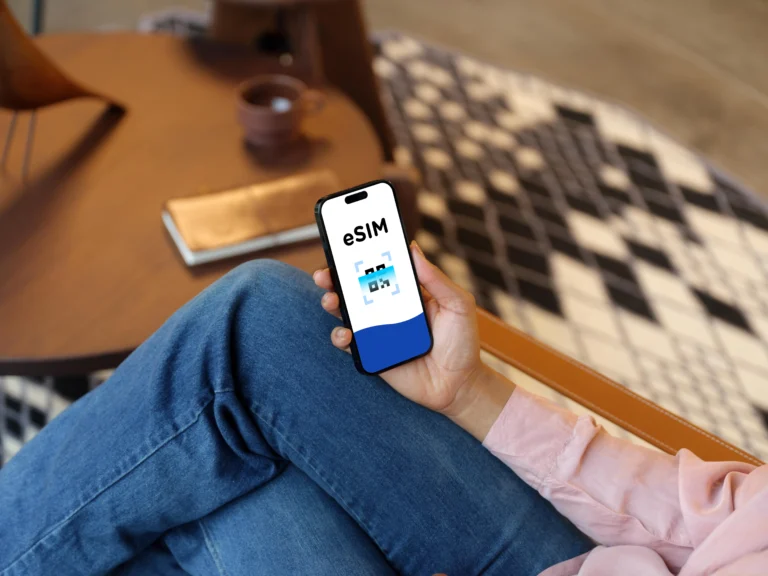
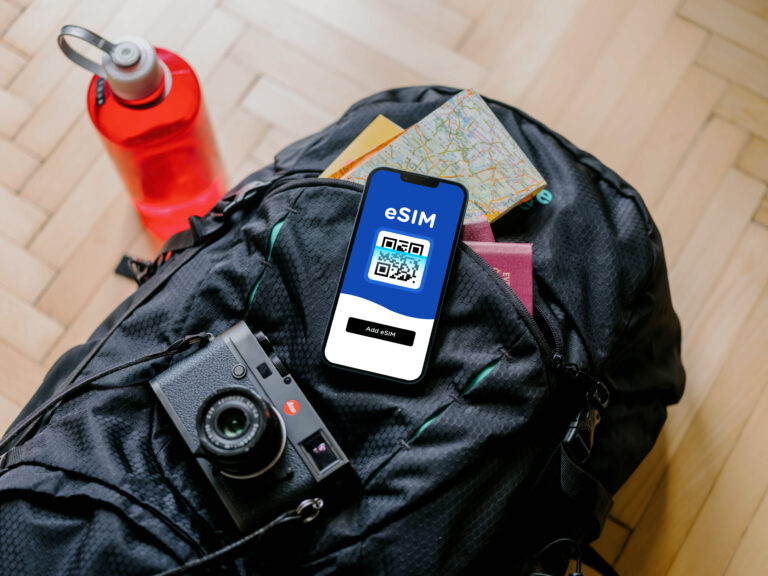
- QR code install: Scan it in your phone’s cellular settings.
- In-app install: The app adds the plan with a couple taps.
Name your lines something obvious like “Home” and “Travel Data.” That one tiny step prevents a lot of fiddling later.
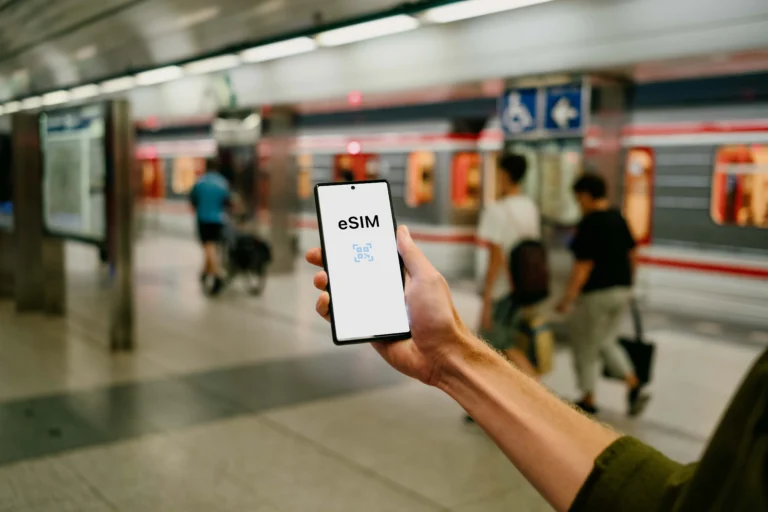
Step 4: On arrival, switch data to the eSIM
When you land, go into cellular settings and set mobile data to your travel eSIM. Keep your home line on for calls and texts if you want, but turn off data roaming on your home line if you’re trying to avoid accidental charges.
A couple of practical tips that save real frustration:
- Turn off “data switching” if your phone tries to be too smart and hops between lines.
- Save the QR code email somewhere you can access offline, just in case you need to reinstall.
- Download offline maps anyway, because even great networks get spotty near mountains, deserts, and deep forest roads.
When an eSIM might not be the best choice
I love eSIMs, but I don’t pretend they fit every trip.
Skip or rethink eSIM if:
- You’re using an older phone without eSIM support.
- You truly need a local number for calls and SMS (some countries and services still rely on this).
- Your route is extremely remote, where only one local carrier has coverage and a specific physical SIM is the practical move.
The good news is you can mix approaches, like keeping your home SIM and adding an eSIM for data, or using an eSIM most days and grabbing a local SIM only if you hit a coverage wall.
Conclusion: eSIM is the “pack it once” solution for staying connected
An eSIM is a digital SIM that lets you download a travel plan straight to your phone, no plastic, no shop stops, no fumbling with SIM trays on a curb. For most travelers, it’s the cleanest way to get reliable data for maps, bookings, and the little surprises that make trips feel real. Set it up before you fly, label your lines, and keep your home SIM available for the stuff that matters. If you want less hassle and more time outside, eSIM is a smart addition to your packing list.